Set up a list
Set up a list when the statuses, fields or Task IDs it started with don't fit the work in it. For example, you can add:
- a status such as
Waiting; - repeating tasks;
- time tracking;
- a Task ID prefix of your own, like HOME-012.
You set all of them in the list's settings window, which opens from its Configure menu item.
Before you start
You need a list: Organize folders and lists.
Edit access needed
To configure a list you need Edit access to it (Share a folder or a list) and Update in the Lists block of your permission set, such as List/Folder manager or Admin. See Permissions and access.
Open Configure
- In the sidebar, open the list's More actions (…) menu and choose Configure. A settings window opens on General, with the list's name above its pages.
No Configure in the menu
You can only read this list, or your permission set can't change lists: see Before you start.
Rename the list here
General also holds the list's name and icon: change them and click Save.
Turn features on or off
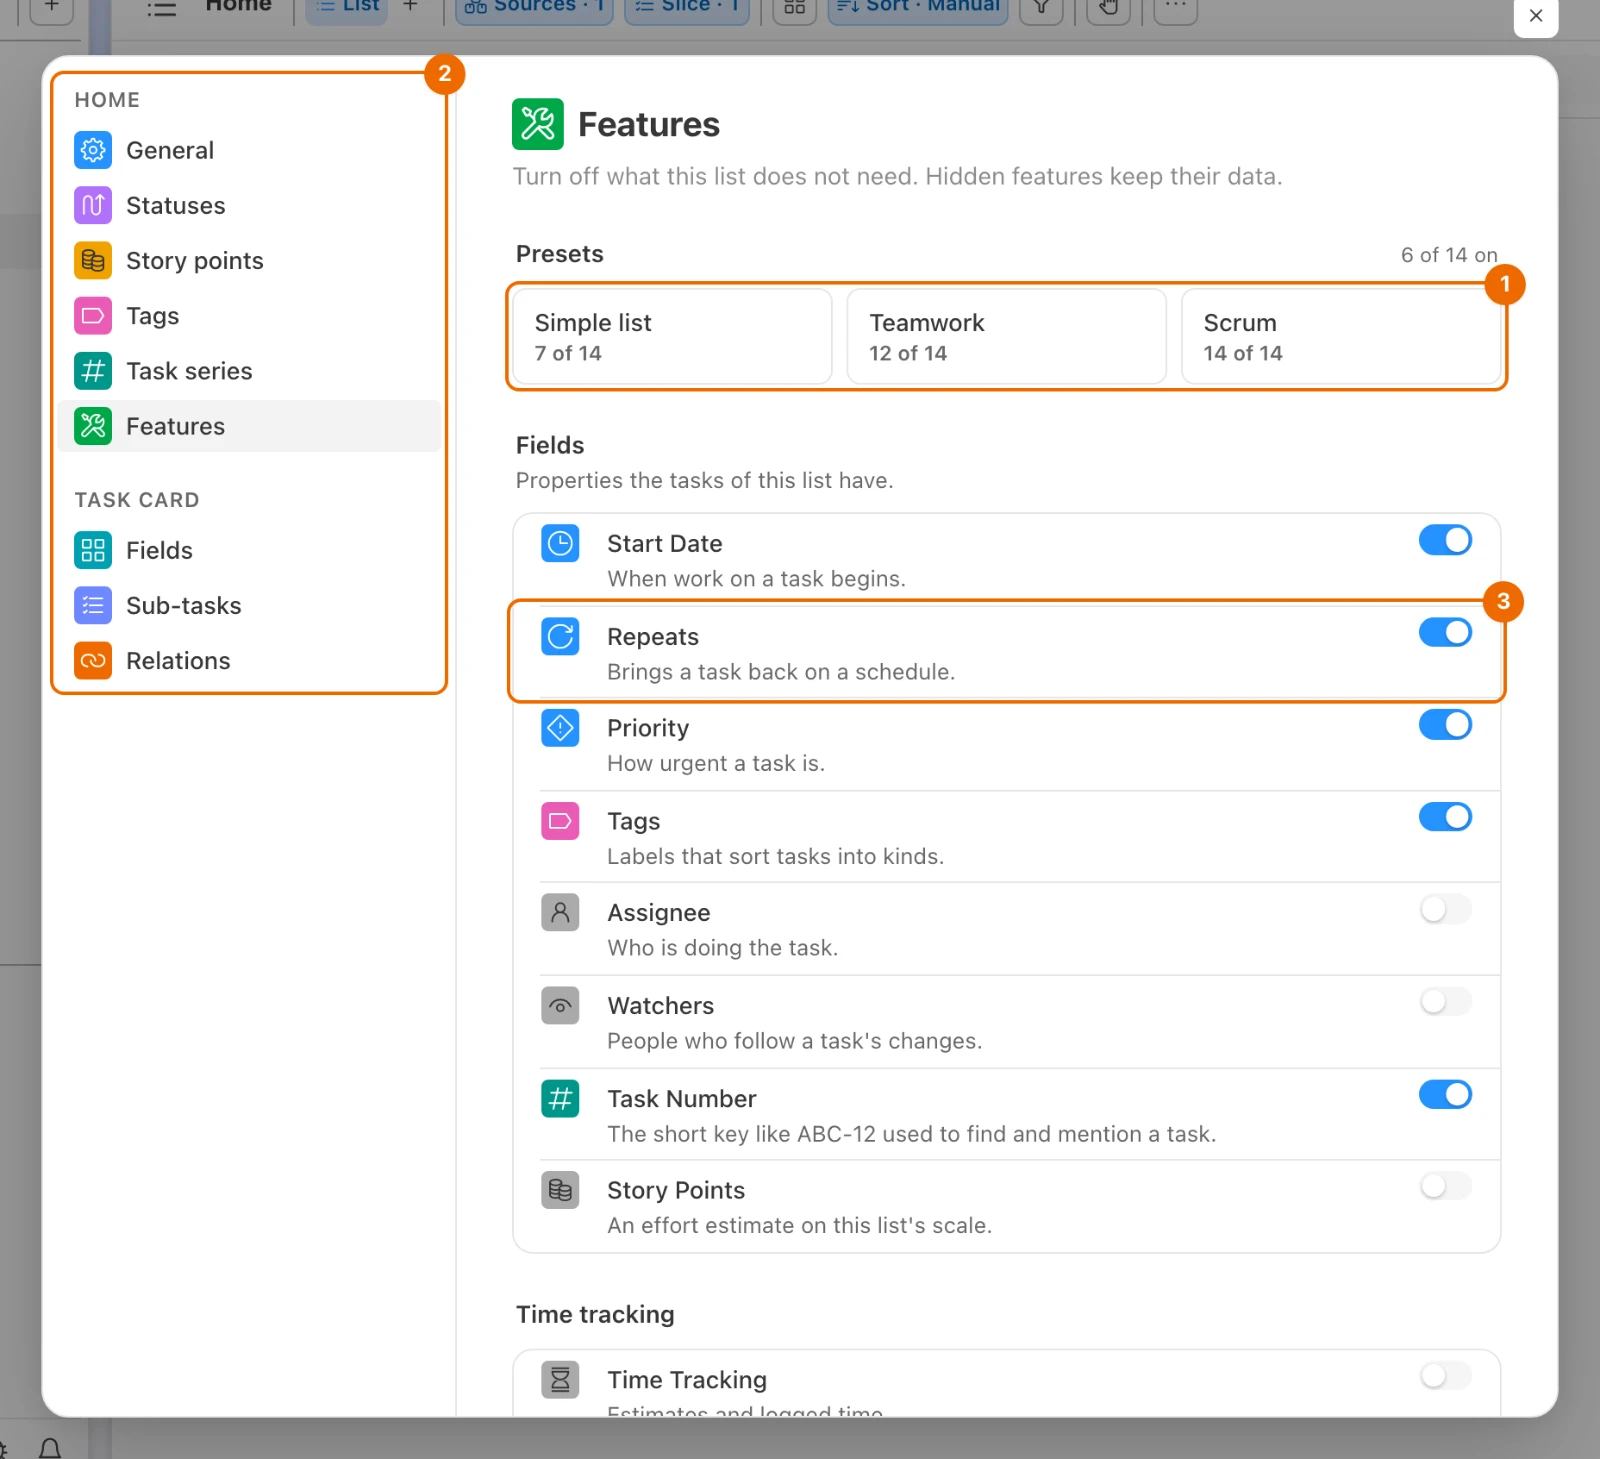
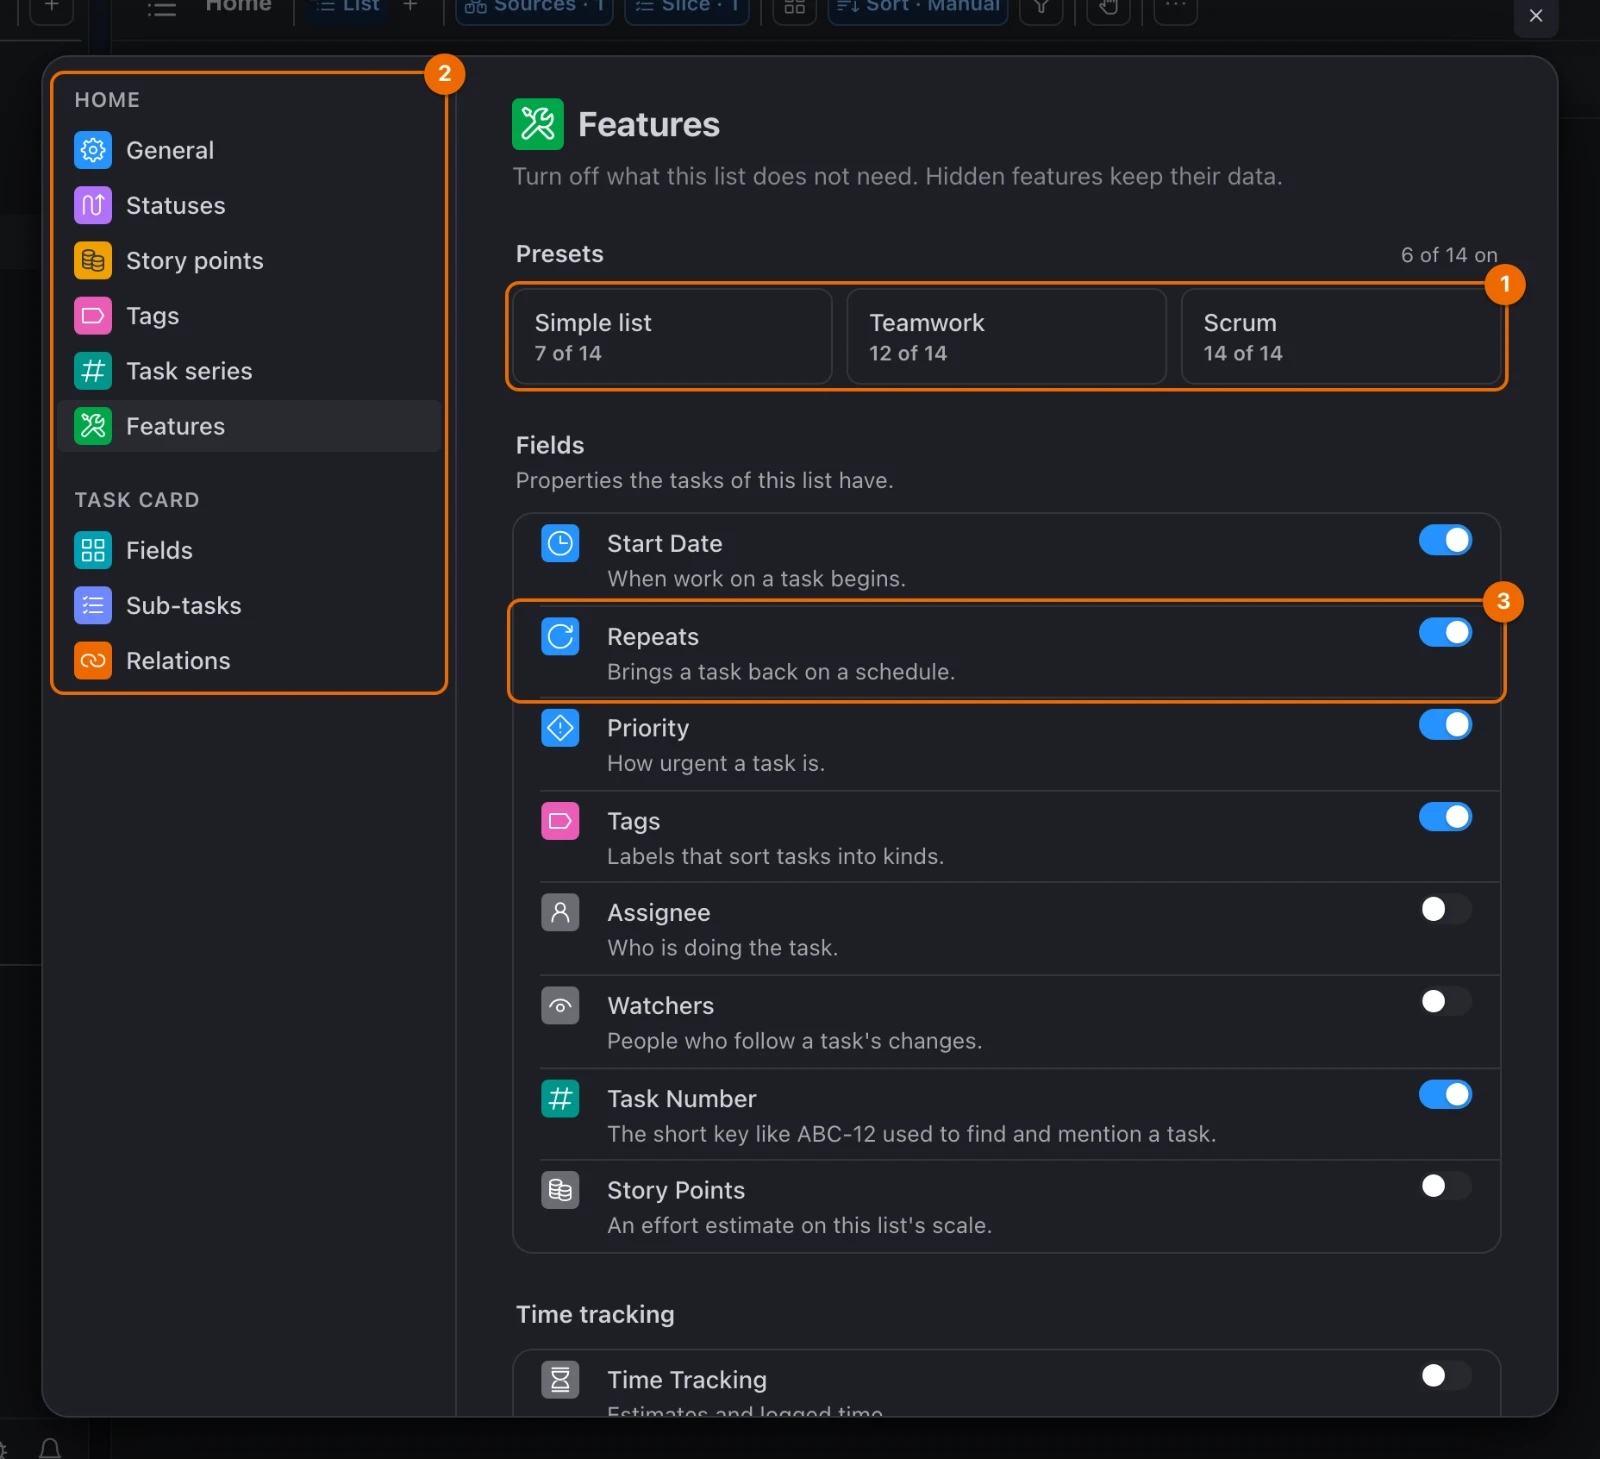
Open Features. You see three presets and the switches under three groups:
- Fields: properties the tasks of this list have;
- Time tracking: the time row and its timer;
- Task sections: blocks inside the task card.
Pick a preset to set every switch at once:
- Simple list:
- Start Date
- Priority
- Tags
- Task Number
- Relations
- Comments
- Subtasks
- Teamwork: everything except Repeats and Story Points;
- Scrum: everything.
The preset saves at once, and tasks in the list show the change.
- Simple list:
Flip single switches to add or remove a feature. Each switch saves as you flip it.
Timer needs Time Tracking
The Timer switch stays off while Time Tracking is off: switch Time Tracking on first.
| Feature | What it adds to a task | Guide |
|---|---|---|
| Start Date | When work on a task begins | Task fields |
| Repeats | Brings a task back on a schedule | Set up a recurring task |
| Priority | How urgent a task is | Task fields |
| Tags | Labels that sort tasks into kinds | Tag tasks |
| Assignee | Who is doing the task | Assign and watch tasks |
| Watchers | People who follow a task's changes | Assign and watch tasks |
| Task Number | The short key like ABC-12 used to find and mention a task | Task IDs and series |
| Story Points | An effort estimate on this list's scale | Estimate with Scrum Poker |
| Time Tracking | Estimates and logged time | Track time on a task |
| Timer | A start/stop timer in the time row that logs what it counts | Track time on a task |
| Relations | Links between tasks: blocks, duplicates and the like | Link related tasks |
| Activity | The history of changes to a task | See what changed in a task |
| Comments | Discussion on a task | Comment and mention people |
| Subtasks | Splitting a task into smaller ones | Break a task down with subtasks |
Off means hidden, not deleted
Turning a feature off only hides it: the data stays on the tasks and comes back when you switch the feature on again. What already runs keeps running:
- repeating tasks keep coming;
- watchers are still notified;
- Timeline and Calendar still use start dates.
Change statuses
A list takes its statuses from a status template, and other lists can use the same template. Statuses and status templates explains why.
Switch templates
- Open Statuses and pick a template in Status Template, for example Simple or Development. The picker groups them under Custom and System. The page shows the template's statuses.
- Click Save statuses. Hule asks where each old status goes. Statuses with the same name are already matched, and the rest show (fallback — first open status): those tasks go to the default status of the Not started stage, unless you pick another.
- Check the matches and click Apply. The tasks move to their new statuses and the Statuses page shows the new template.
Edit statuses
Status templates permission
Saving a template's statuses needs Update in the Status templates block of your permission set. Admin has it.
Open Statuses. You see the list's Status Template and its statuses, grouped by stage:
- Not started
- Active
- Done
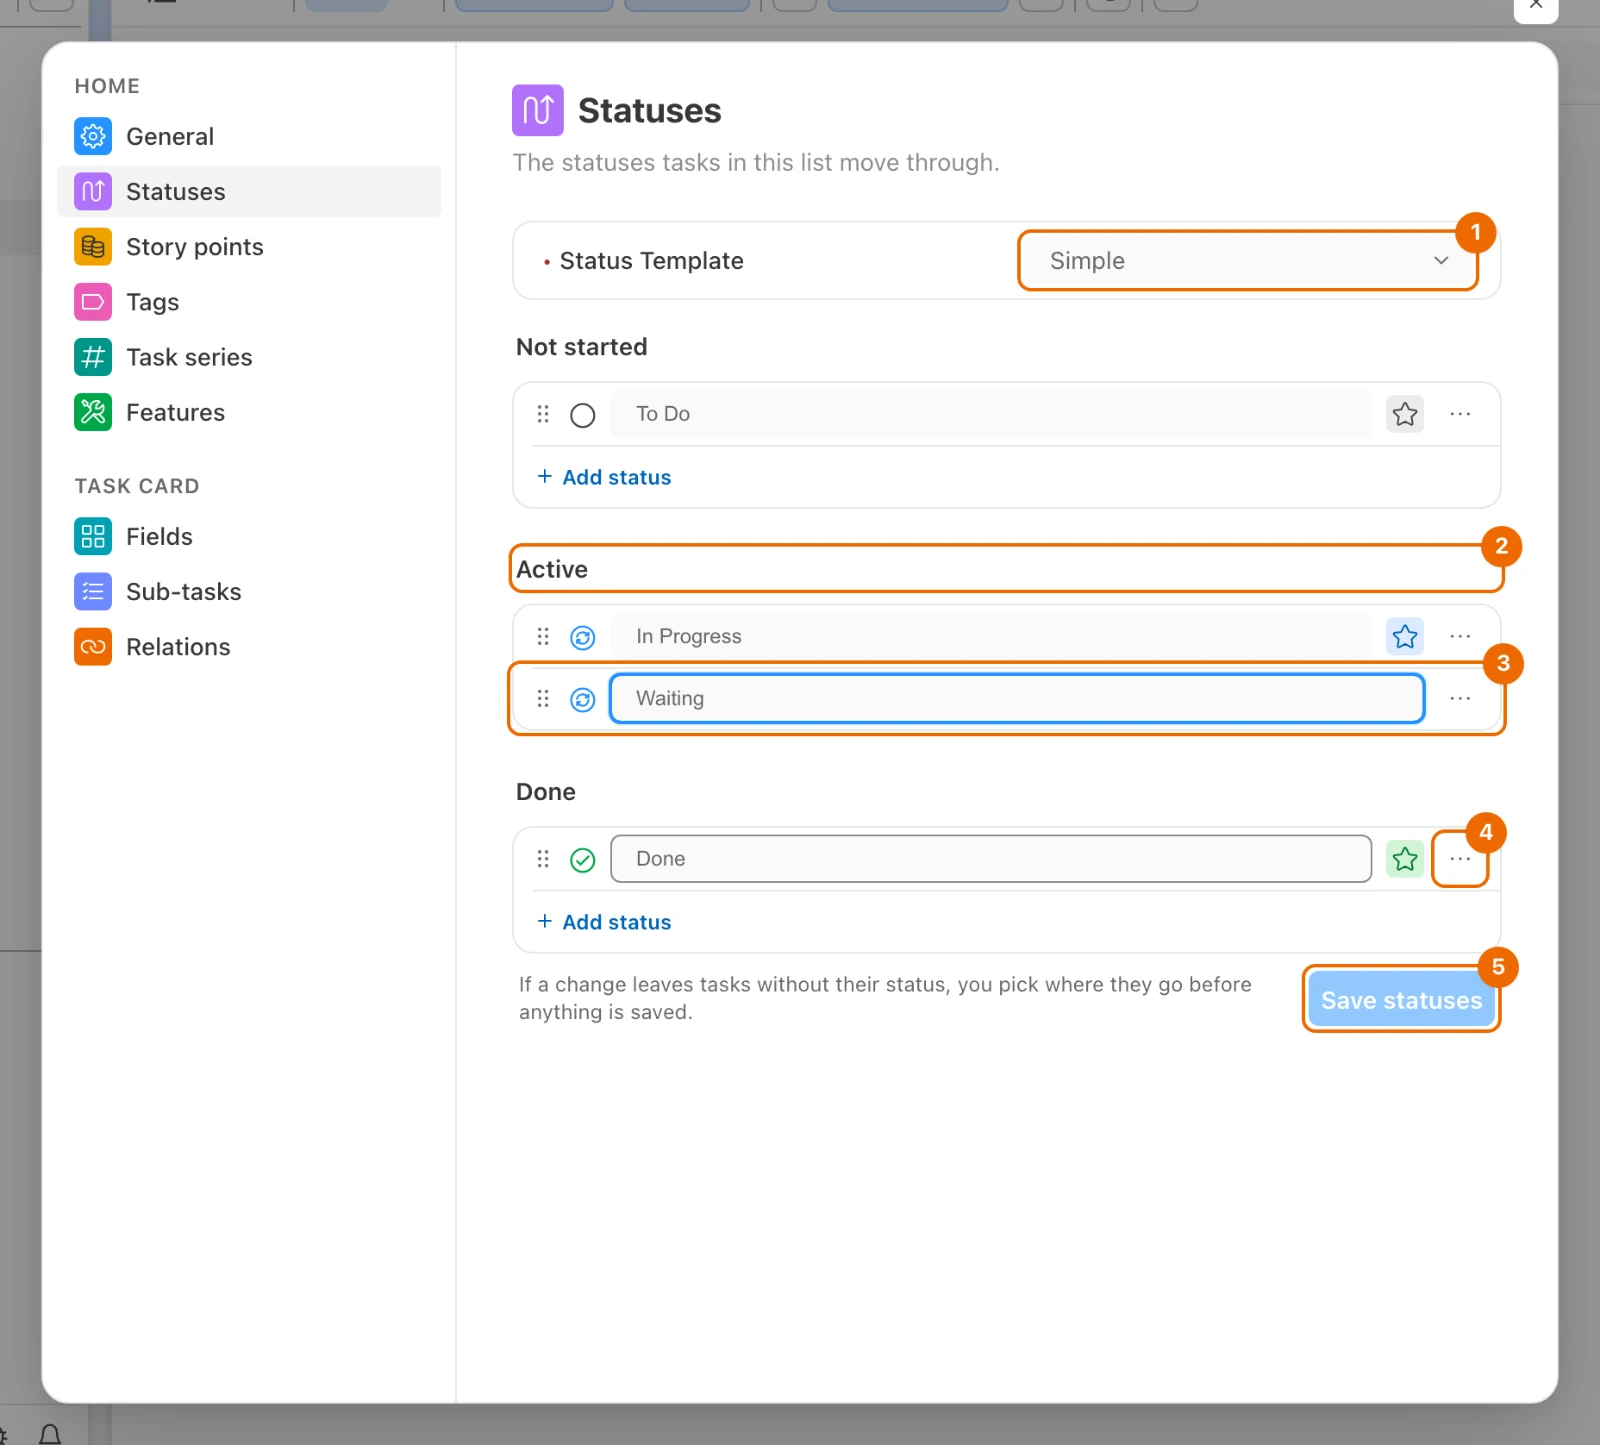
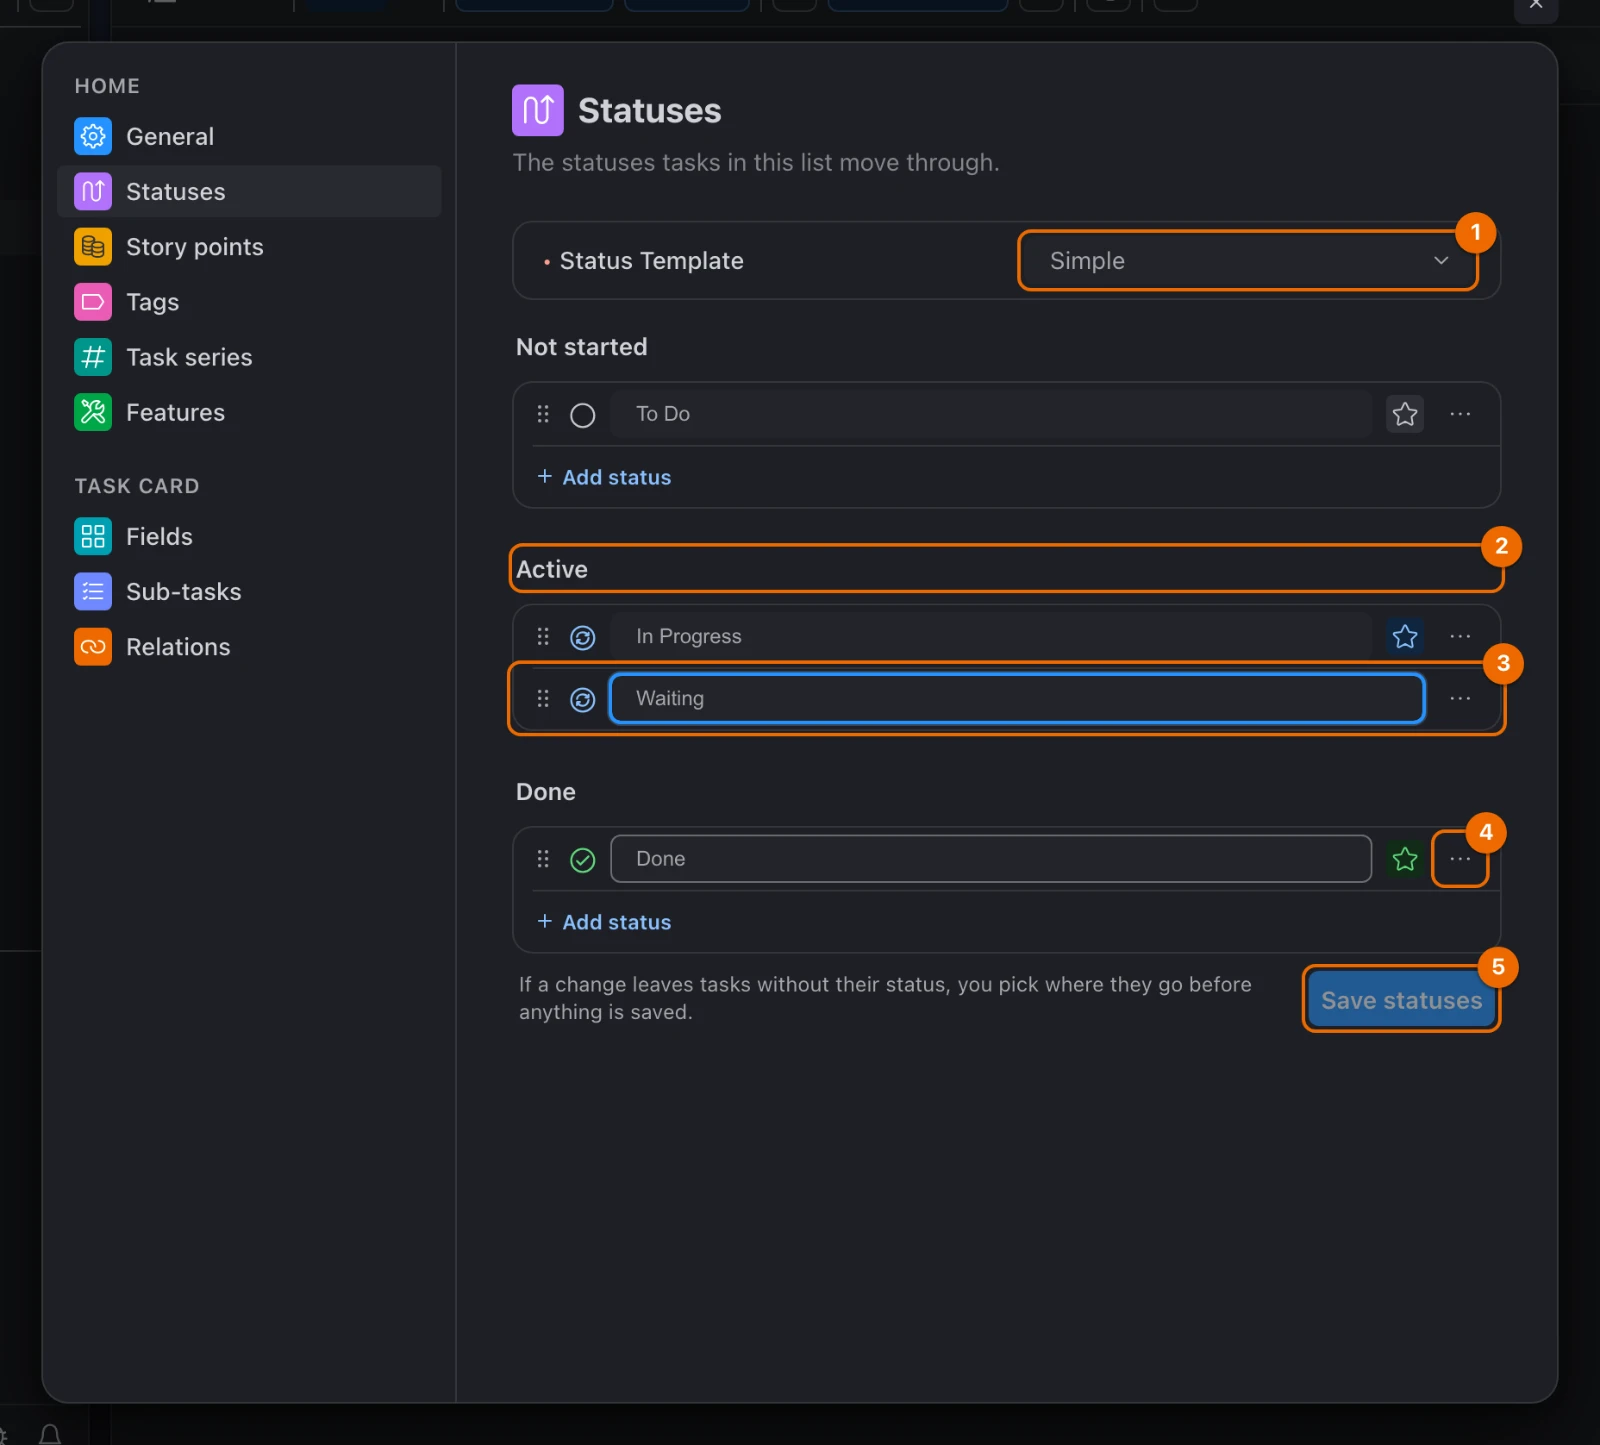
Make your changes:
Change What you do What you see Add Click Add status under a stage and type the name The status appears in that stage Rename Click a status's name and type the new one The row shows the new name Move Drag a status to another place or stage It appears where you drop it Remove Choose Delete… in the menu of a status no task uses It goes when you save A stage keeps at least one status.
Click Save statuses. If other lists use the template, confirm with Change statuses, because they change too. On a System template, Hule asks you to name a new template and saves your version under it.
A status tasks still use
If a status you removed still has tasks, saving fails with "Failed to update list: Status is in use by one or more tasks". Delete it as in Delete a status that tasks use.
Delete a status that tasks use
Before you delete
You need Update in the Status templates block of your permission set. Admin has it.
- If the list's template is a System one, first give the list its own template (Edit statuses, step 3: make any change, such as renaming a status, then save and name the new template). The list's Status Template shows the new name.
- Open Workspace settings → Status Templates (Statuses and status templates). The page lists Custom and System templates.
- Pick the list's template (the name shown in Status Template on the list's Statuses page). Its statuses appear, grouped by stage.
- In the status's menu, choose Delete…. A dialog asks where the status's tasks go.
- Pick where its tasks go and click Move and delete. The tasks move, and the status is gone.
Gone from every list on the template
Move and delete removes the status from every list that uses this template, and there is no undo.
Task ID prefix and numbering
Each task gets a Task ID from the list's task series, such as HOME-012. Here you change its prefix and padding; Task IDs and series covers sharing a series between lists and how the numbers are counted.
Open Task series. You see the Series the list draws its Task IDs from and, below it, its Pattern.
Type a Pattern, such as:
textHOME-{000}Next key shows what the next task will be called, for example
HOME-013.Click Apply series. New tasks get Task IDs in the new pattern. Existing tasks keep theirs.
Shared series
If other lists use this series, an orange note appears under Pattern as you edit it: the new pattern changes their next Task IDs too. To change only this list, pick New series… in Series and type a pattern that differs from the current one. A new series starts counting at 1.
Home list example
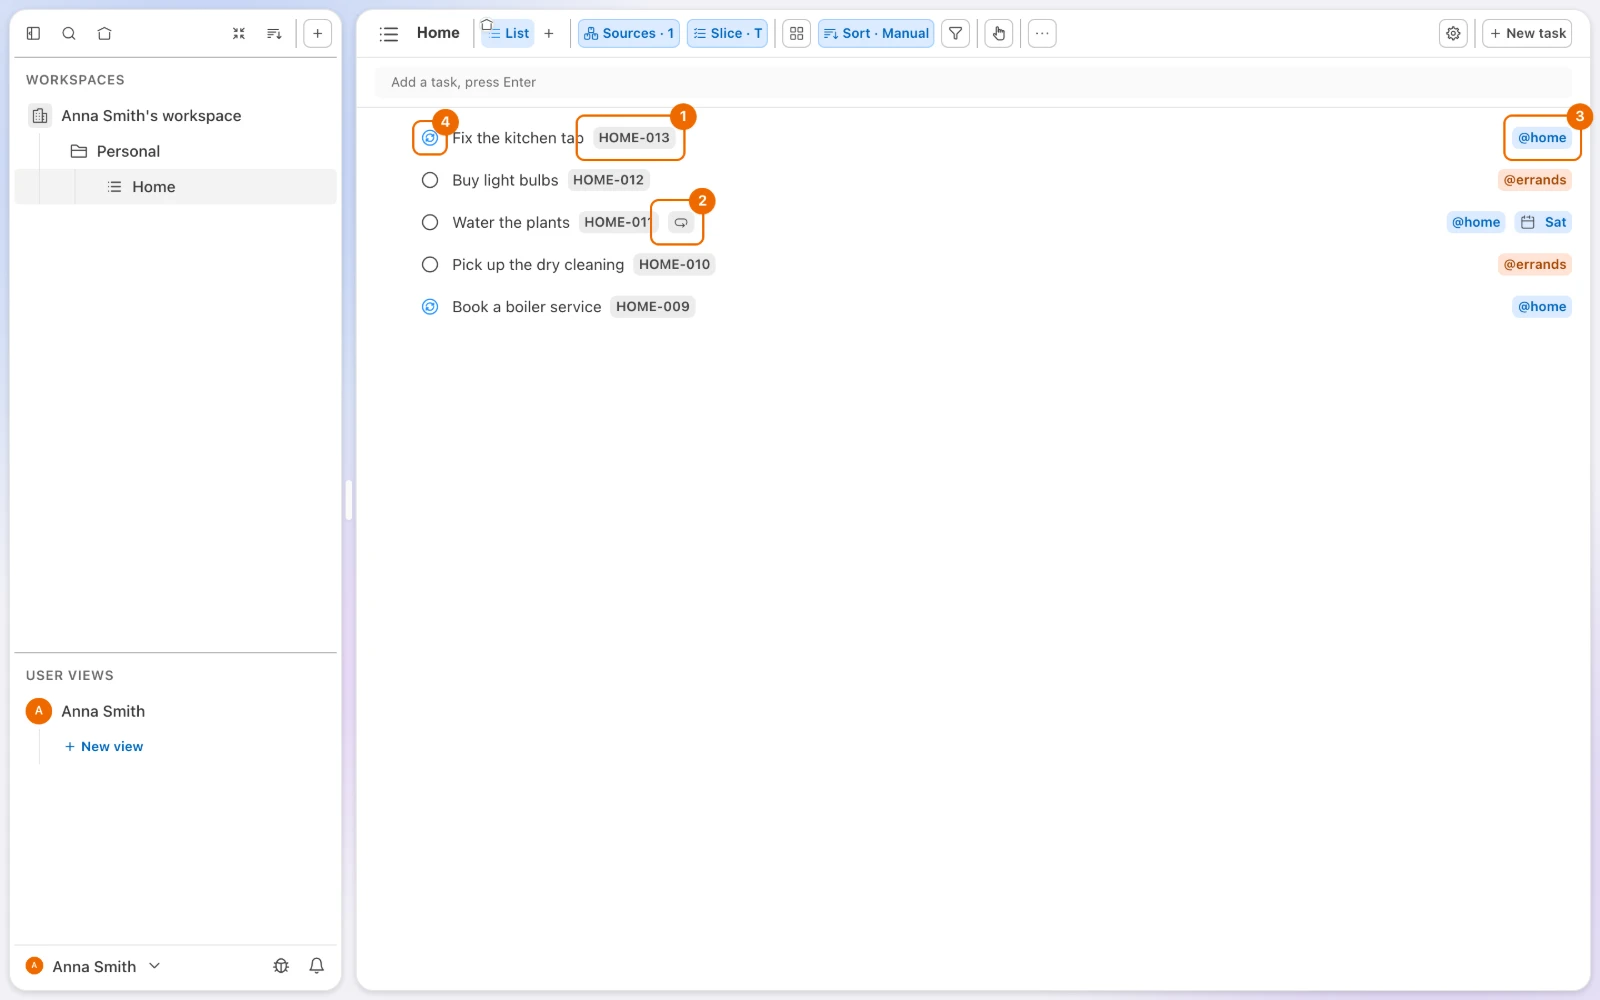
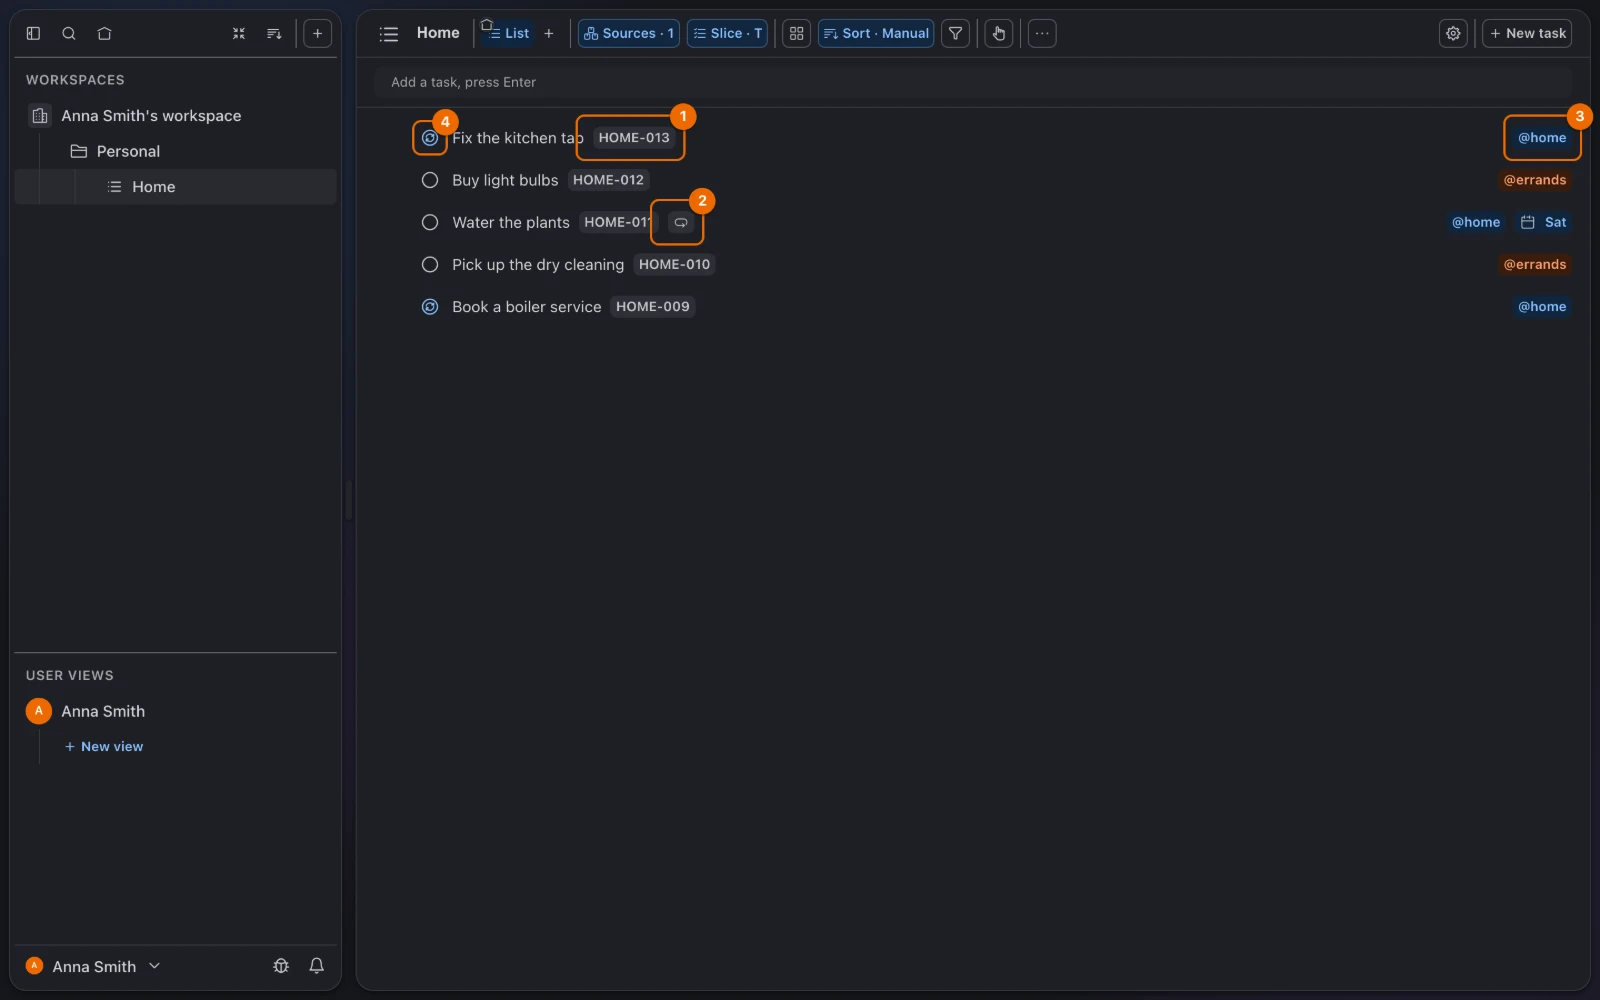
A list for household chores that repeat, with start dates and short Task IDs you can search for:
- Status Template: Simple, with the statuses:
- To Do
- In Progress
- Done
- Features on, the rest off:
- Start Date
- Repeats
- Priority
- Tags
- Task Number
- Subtasks
- Task series: the list's own series with the pattern
HOME-{000}. If it has issued 13 Task IDs, the next task isHOME-014.
If it doesn't work
There is no Configure in the list's menu. You can only read this list, or your permission set can't change lists. Ask a workspace admin for Edit access (Share a folder or a list) and a set such as List/Folder manager (Invite members and grant permissions).
Other lists changed their statuses too. They share the status template, and the change reached them when you confirmed Change statuses. To bring their statuses back, edit the template back and save again. To keep this list separate from now on, duplicate the template first:
- In Status Template (Switch templates), choose Duplicate in the template's … menu. The copy keeps the statuses and is picked for the list.
- Click Save statuses, then Apply.
Creating a template needs Create in the Status templates block (Permissions and access).
Saving statuses fails with "Failed to update list: Status is in use by one or more tasks". Tasks still use a status you removed. Delete it in Workspace settings → Status Templates instead, where you pick where its tasks go: see Delete a status that tasks use.
Old tasks kept their old Task IDs. That is expected: a new pattern applies to new tasks only (Task IDs and series).
The Timer switch won't turn on. It needs Time Tracking: switch that on first (Turn features on or off).
Related
- Statuses and status templates: why statuses live in templates and stages.
- Task IDs and series: patterns, shared series and how Task IDs are numbered.
- Task fields: what each feature adds to a task.
- Organize folders and lists: create the list first.
- Permissions and access: who can configure a list and edit status templates.
- Set up a recurring task: what Repeats turns on.
- Track time on a task: Time Tracking and Timer.
- Tag tasks: tags and tag sets for the list.