Start with Hule on your own
In about fifteen minutes you will have a personal system that works like GTD (Getting Things Done):
- an Inbox list that catches every new task;
- a few lists where sorted tasks live;
- a GTD session that empties the Inbox list;
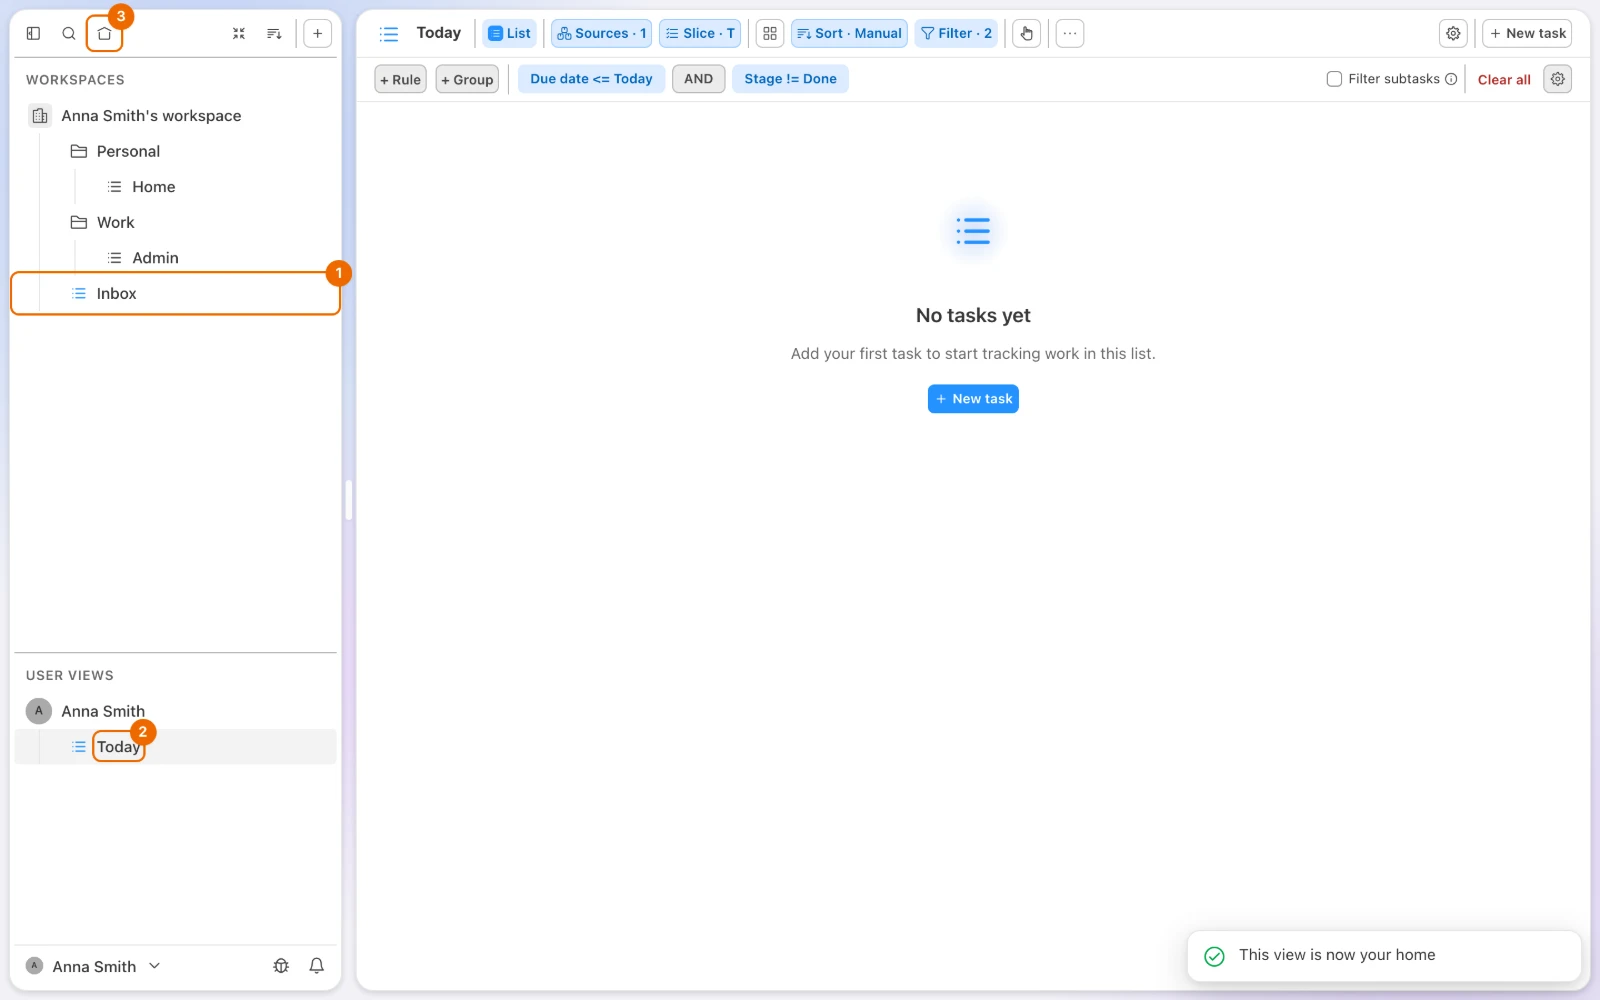
- a home page that shows what is due today.
What you need
- A browser. Hule runs at app.hule-do.com.
- An email address, to confirm your account.
1. Create your account
Open app.hule-do.com/register. The Create account form opens.
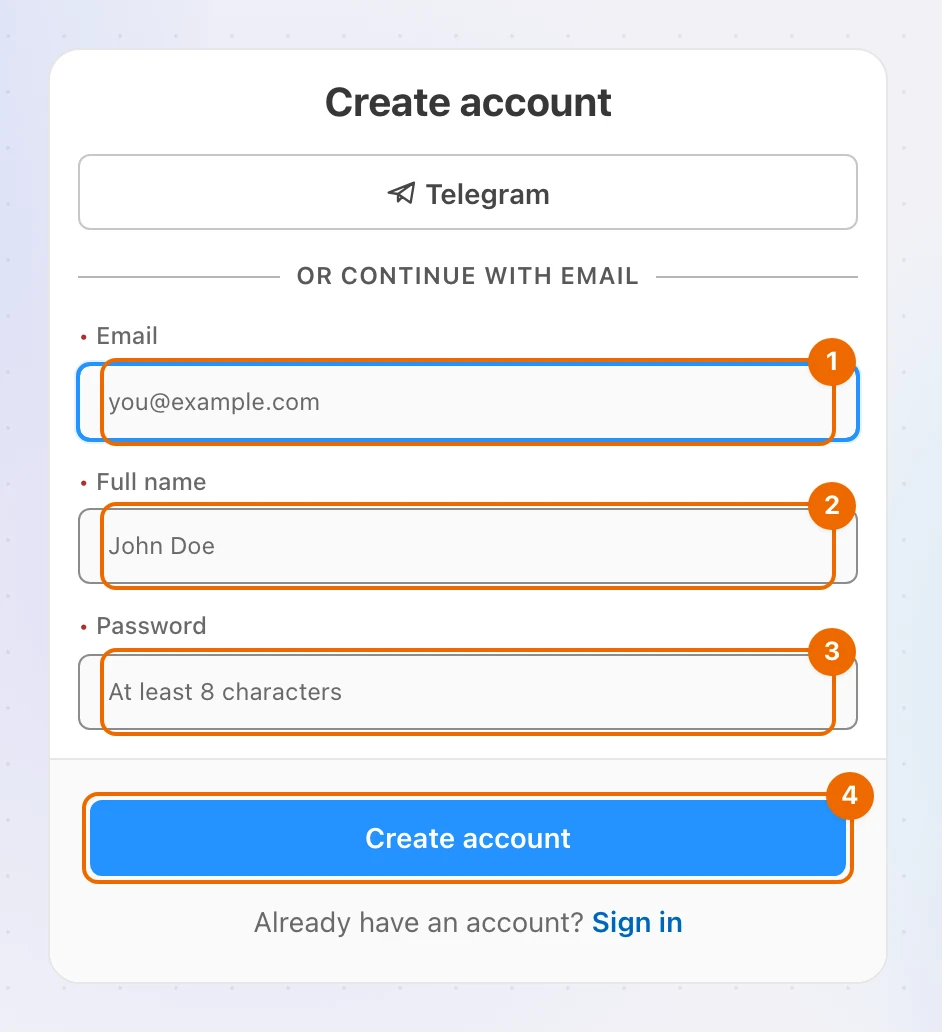
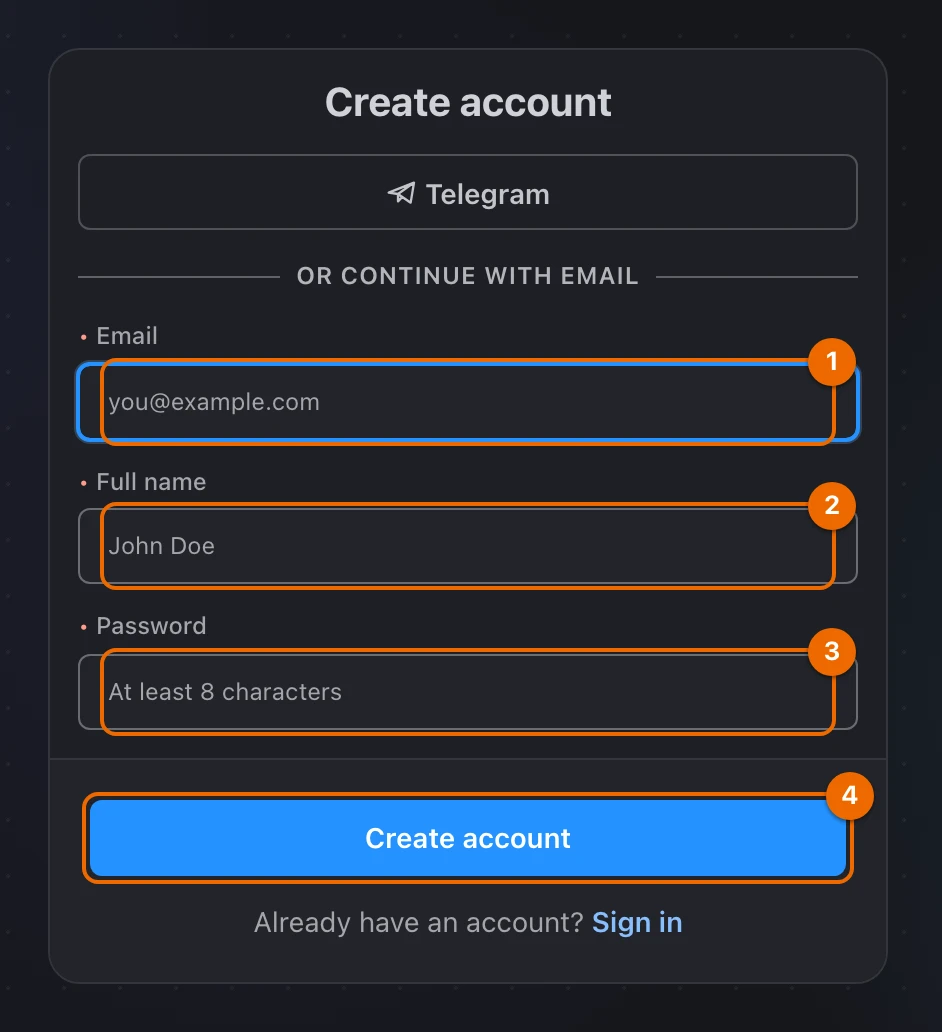
Fill in the form and click Create account:
- Full name
- Password, at least 8 characters
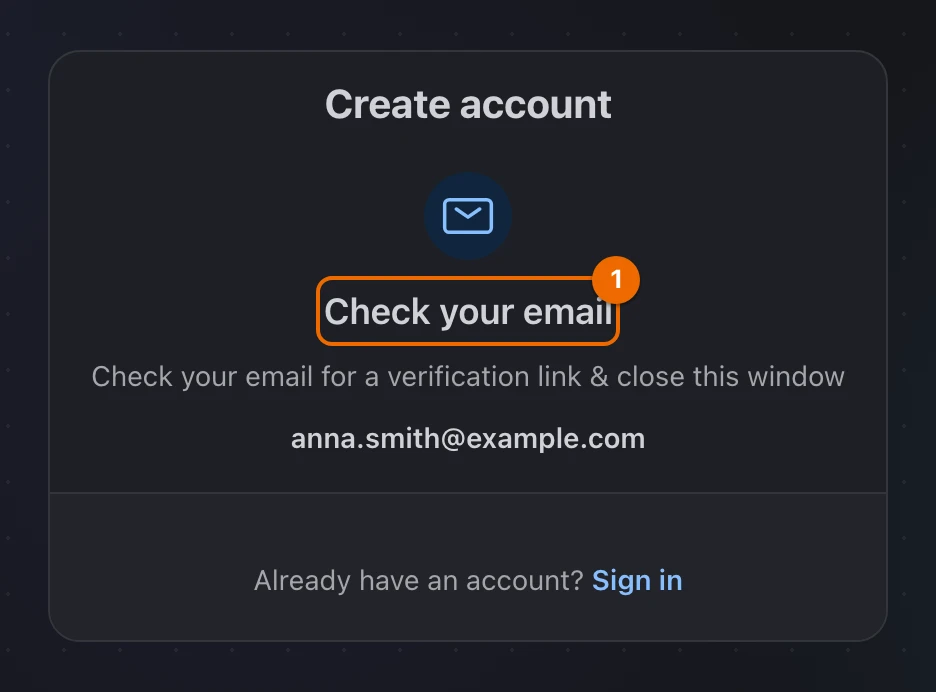
Hule says Check your email.
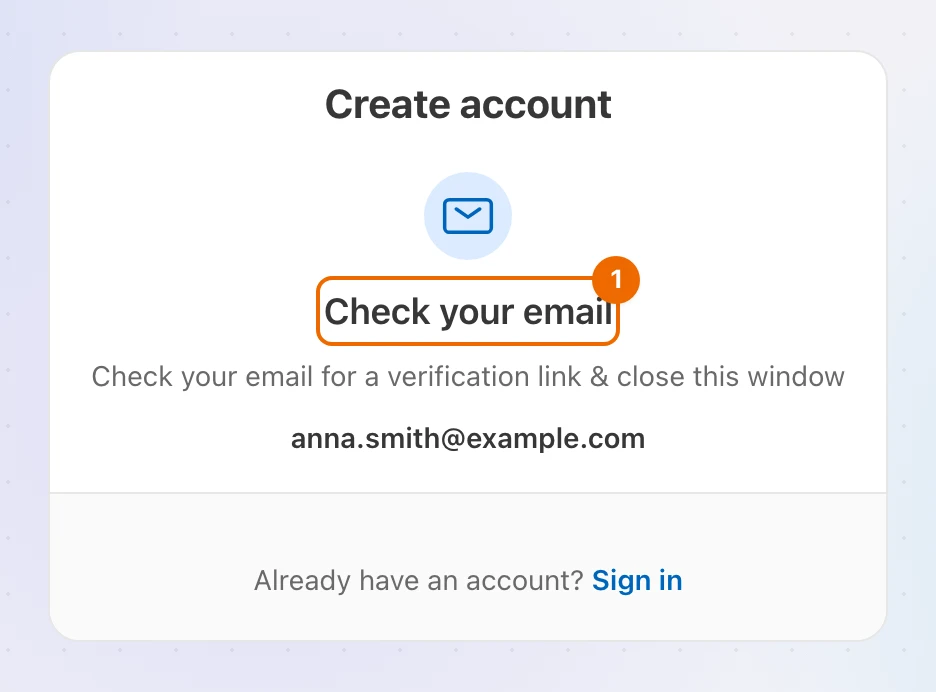
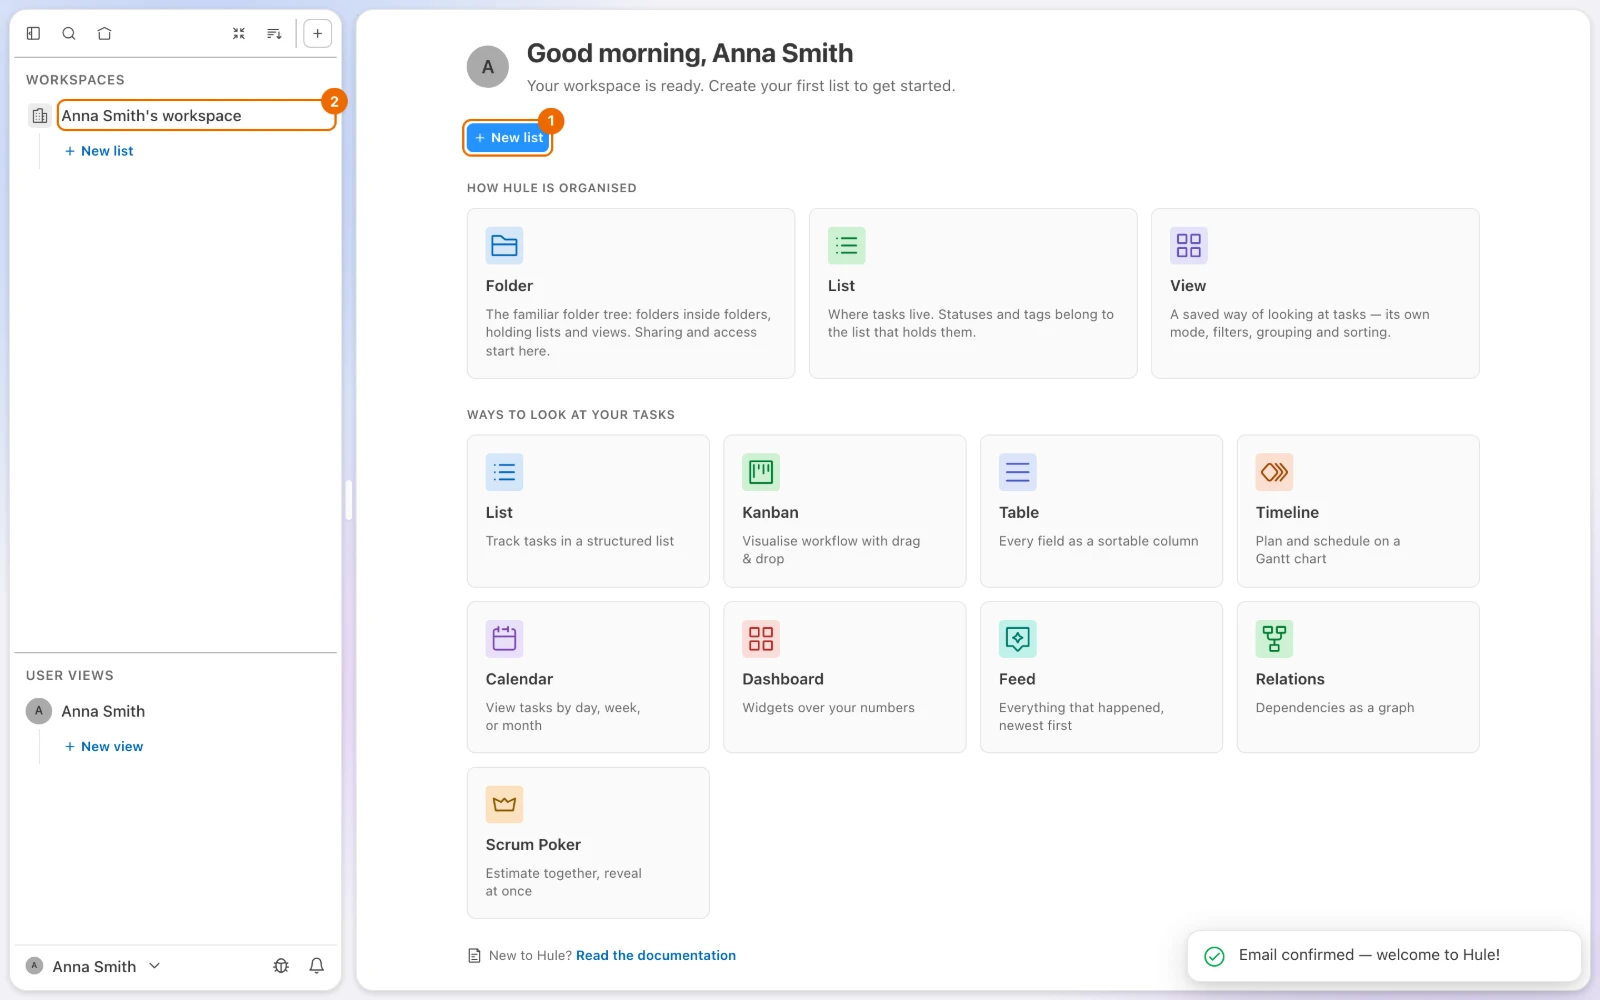
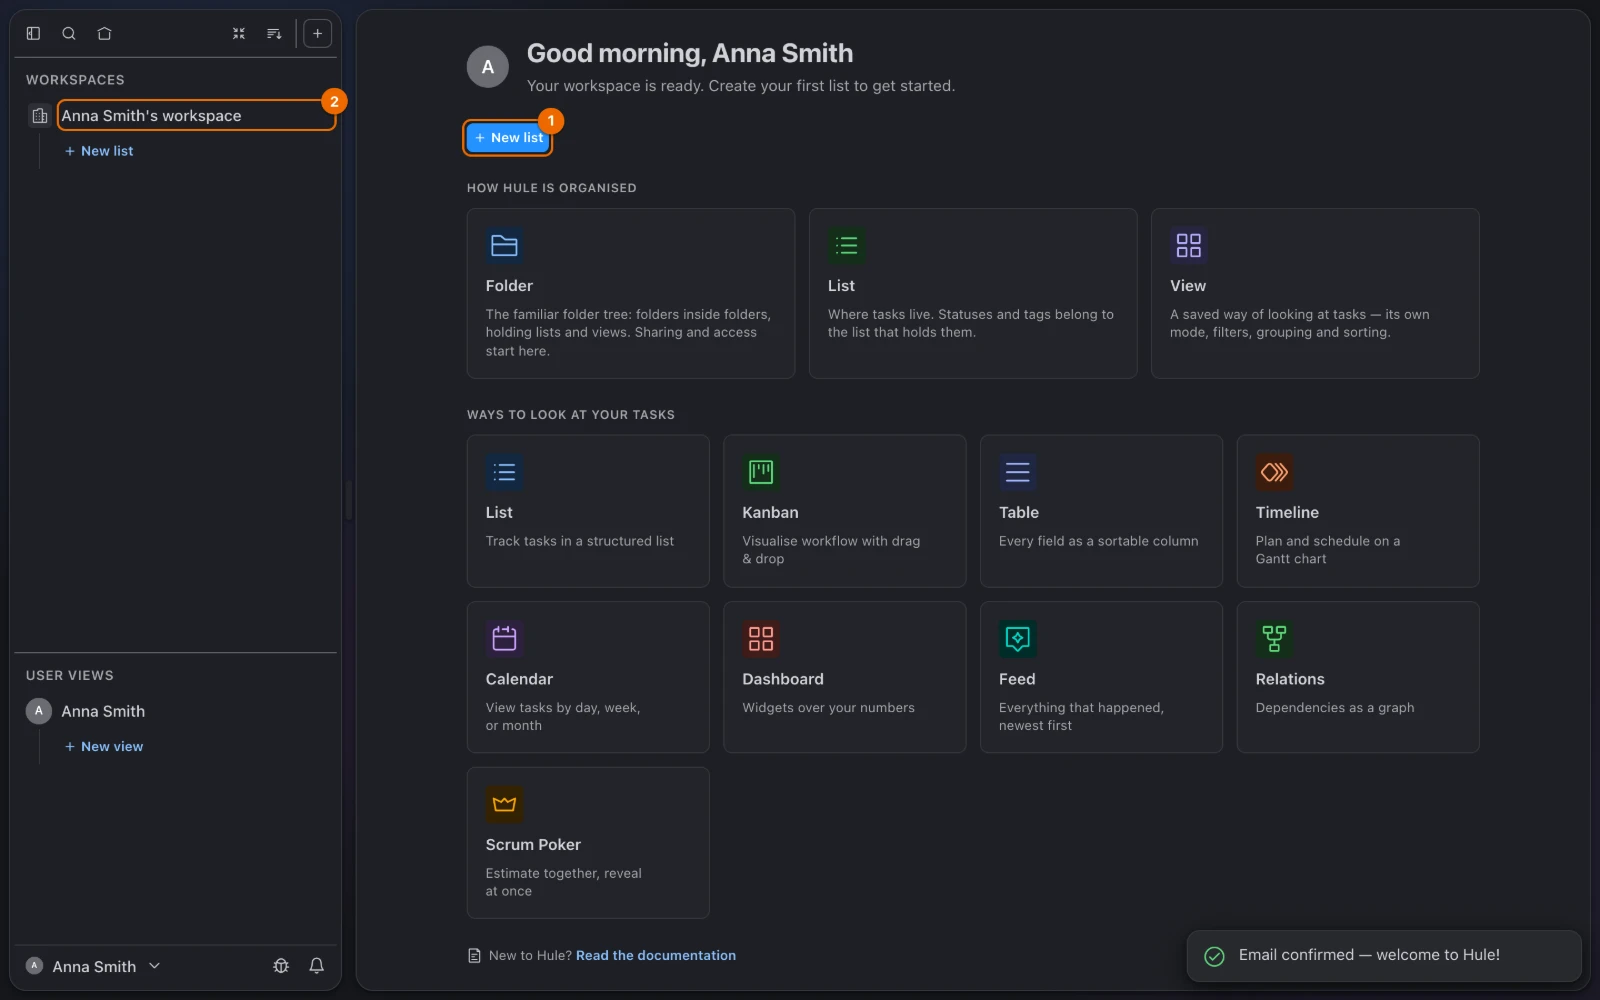
Open the email from Hule and click the confirmation link. Hule says Email confirmed — welcome to Hule!, and the Home page says Your workspace is ready. Create your first list to get started.
Link expired?
If the confirmation page says "Invalid or expired verification link" and you already opened this link, your account exists: sign in at app.hule-do.com/login. If the link is more than an hour old, register again and open the newest email: each registration replaces the previous link.
Hule created one workspace for you, named after the full name you typed, such as Anna Smith's workspace. It is empty: no lists, no tasks yet.
2. Inbox list for new tasks
Your Inbox list is an ordinary list where every new task lands before you decide what it is. In this tutorial it is called Inbox.
On the Home page, click New list. The new list form opens on Details.
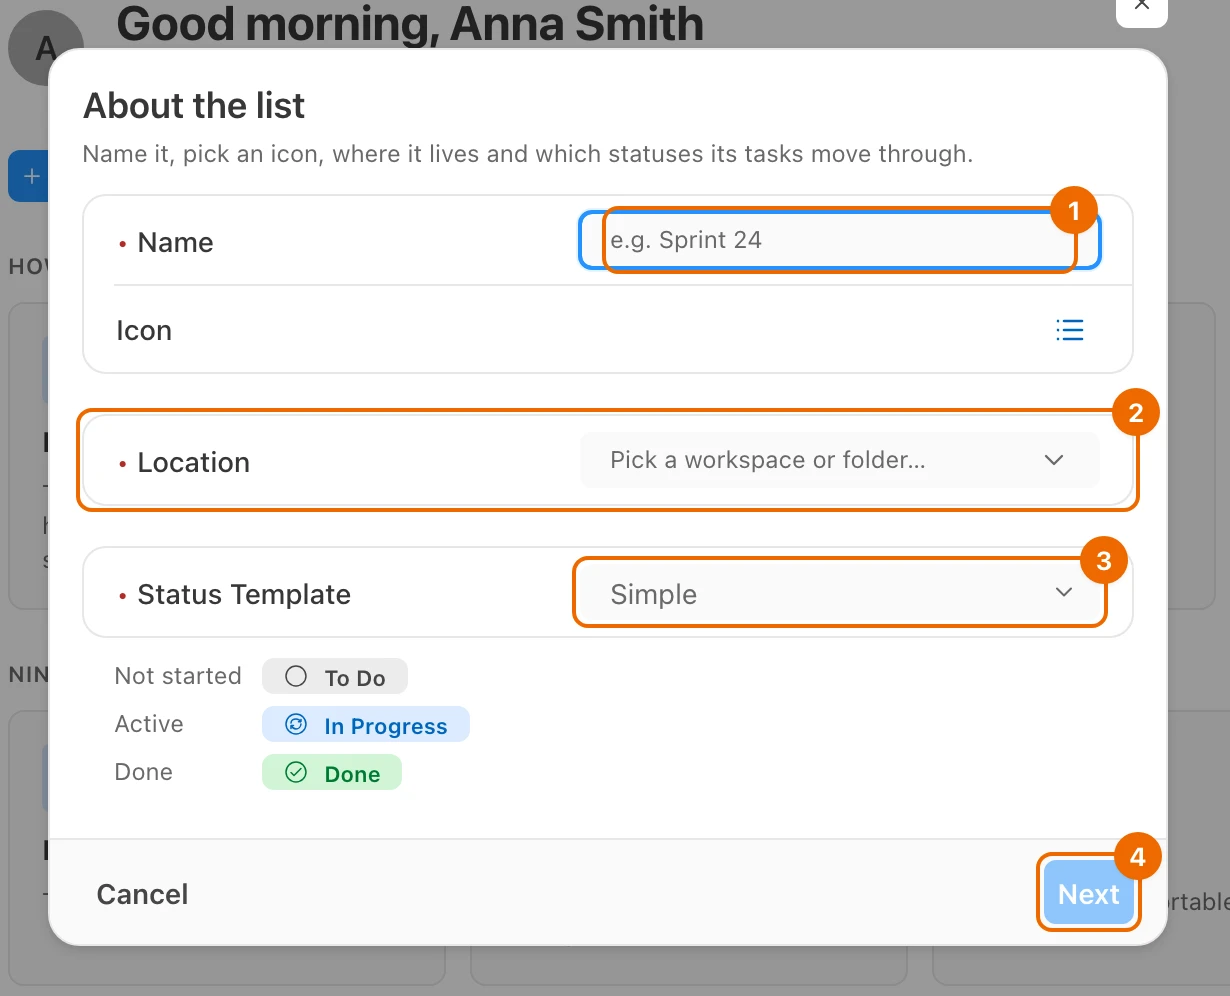
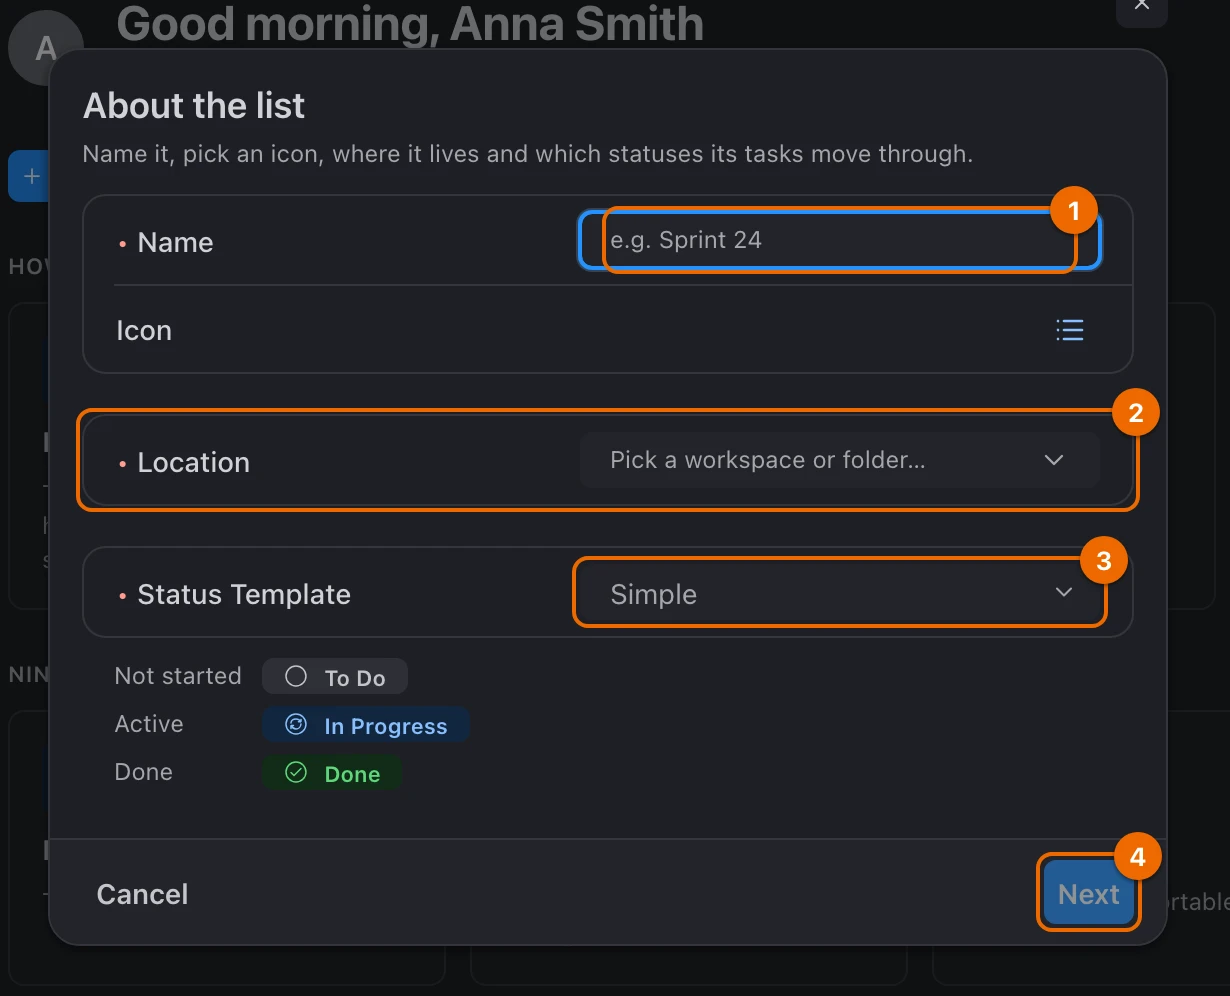
In Name, type Inbox. Next becomes available.
Leave Location empty and Status Template (statuses) on Simple.
Location looks required
Leave Location empty anyway: the list goes to the top of your workspace.
Click Next. The Features step opens with the Simple list preset (list features).
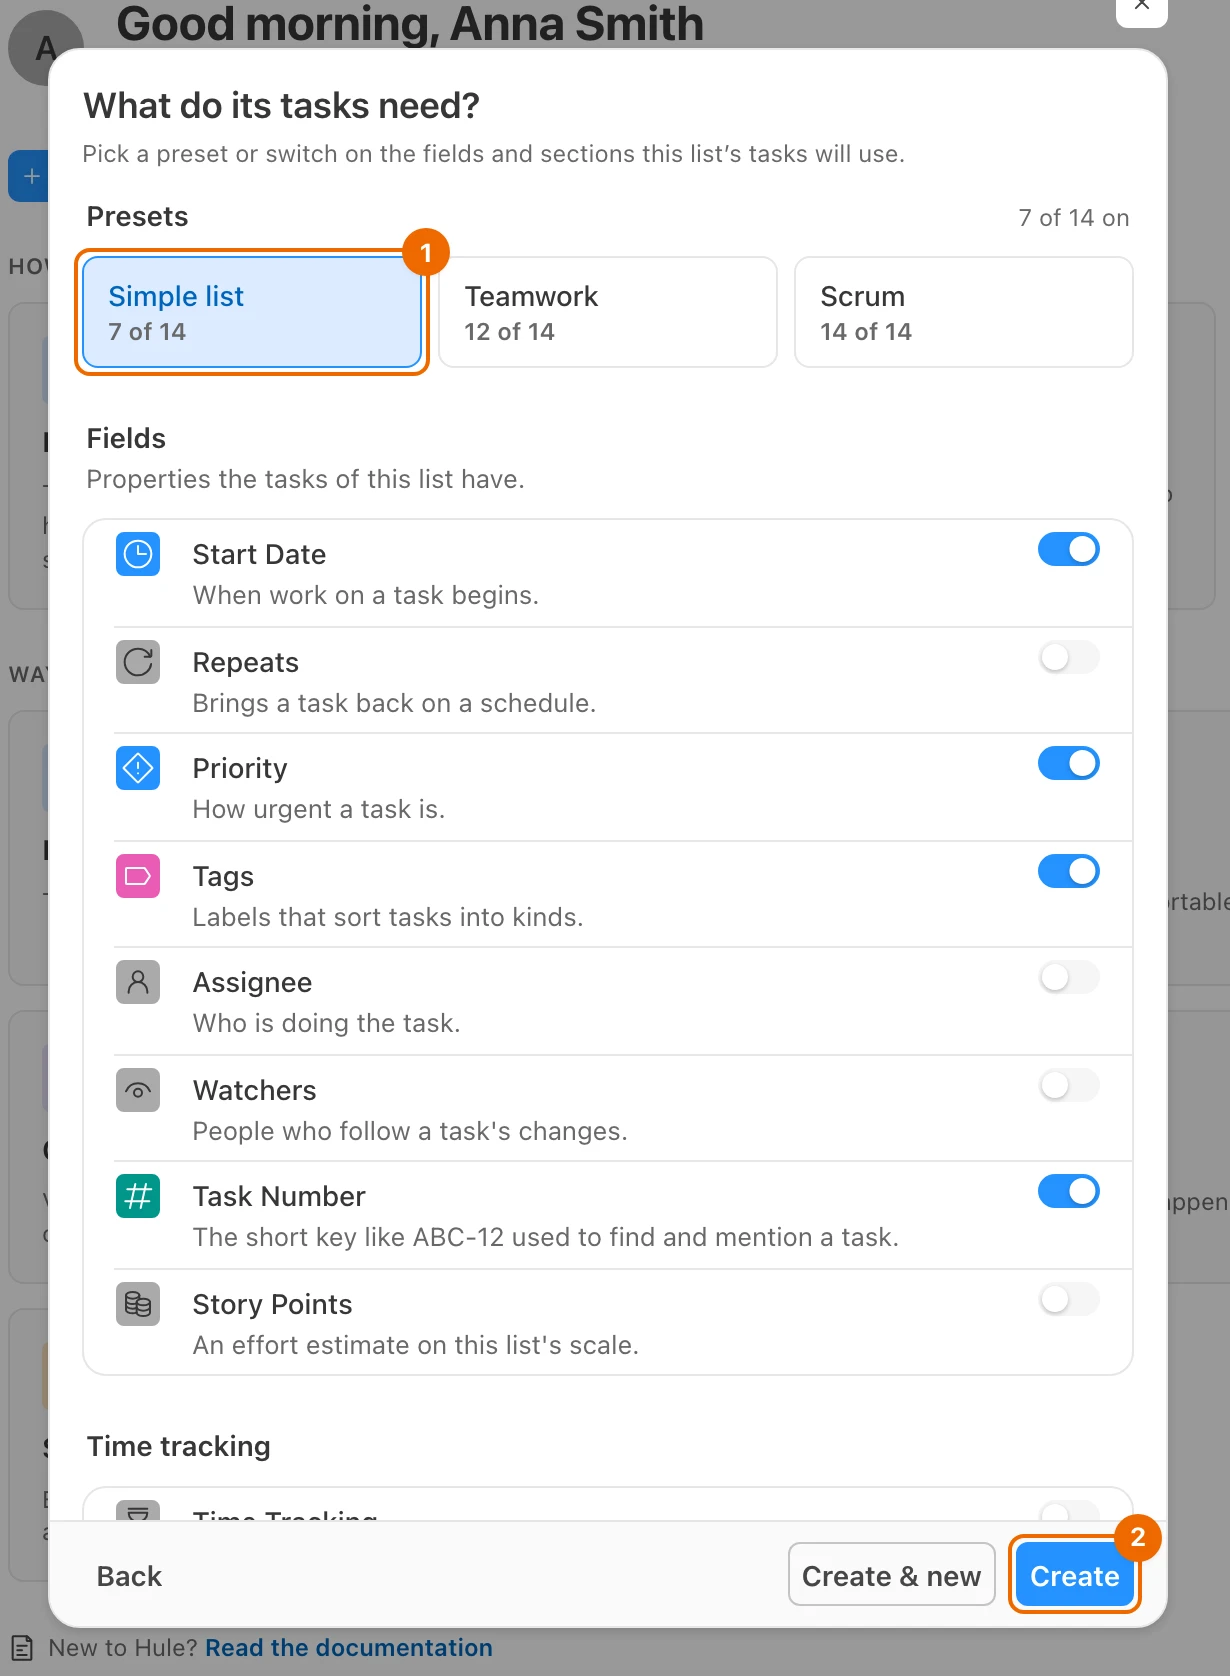
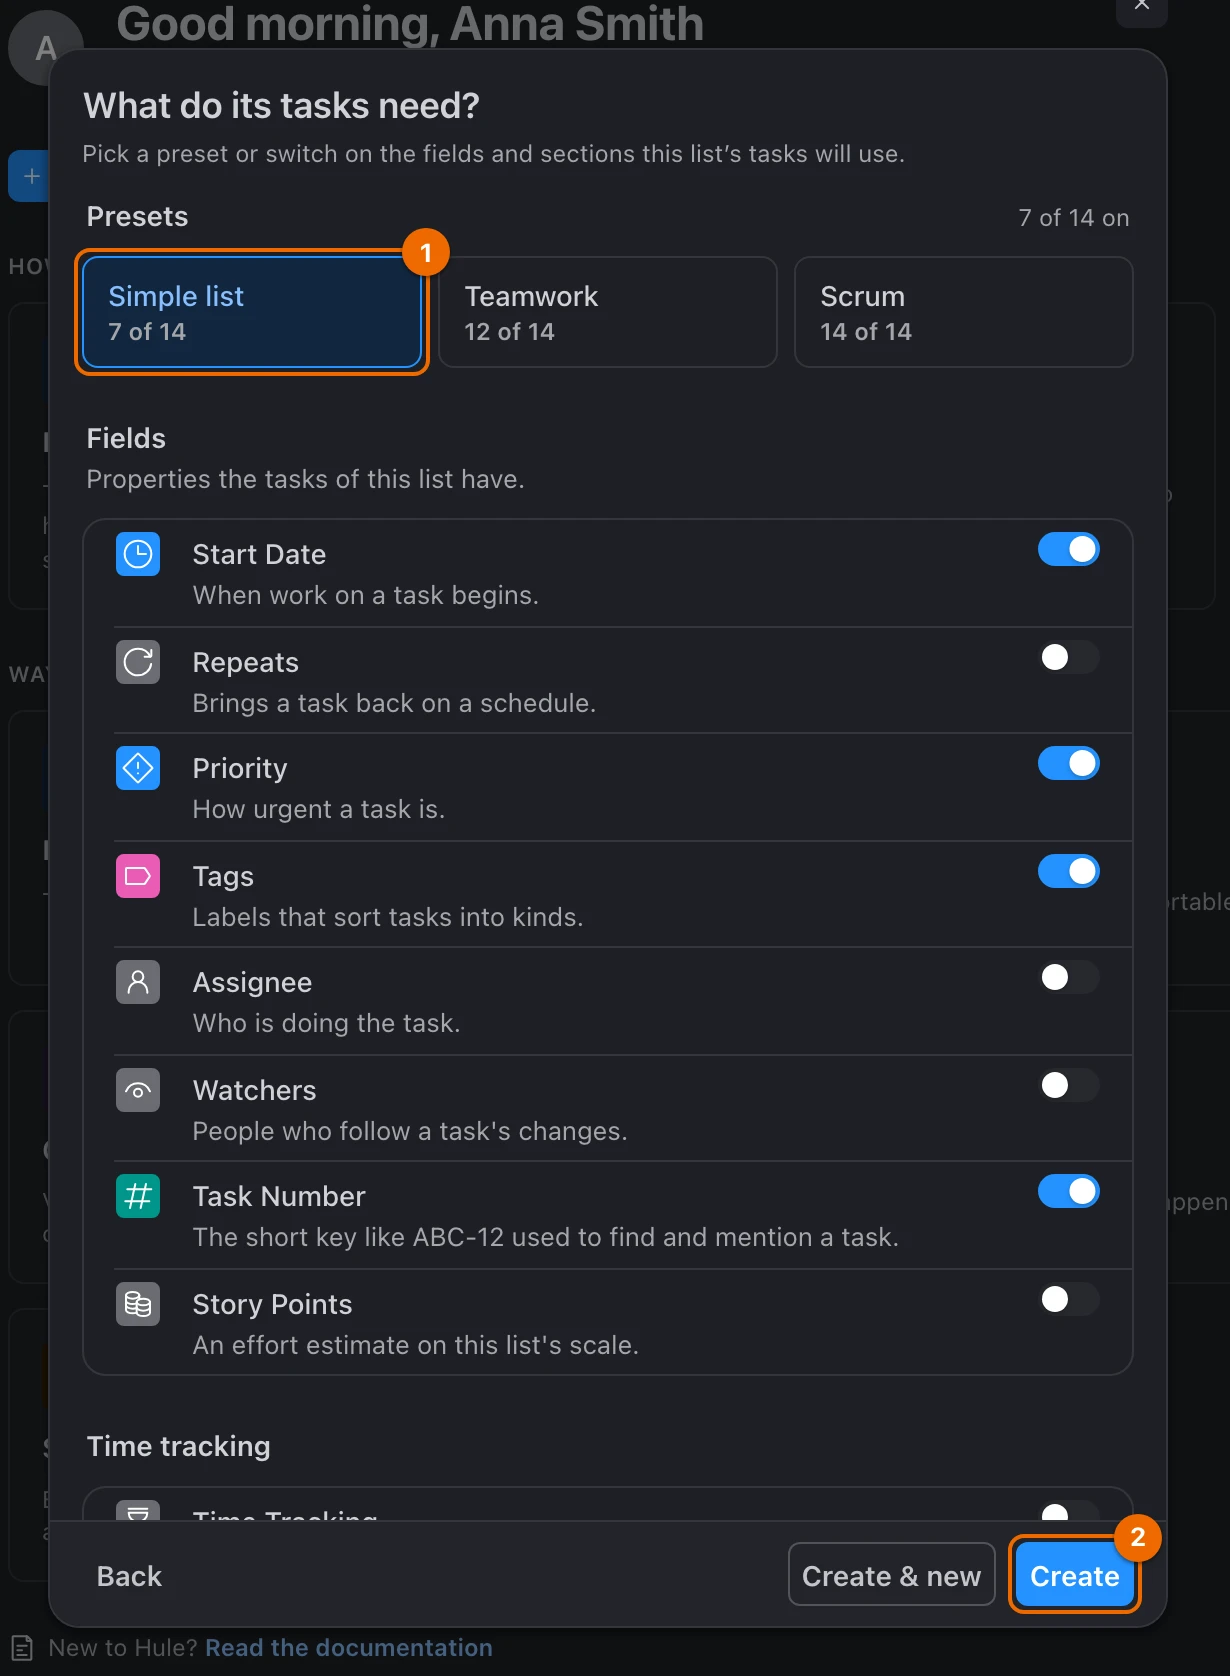
Click Create. The Inbox list opens and appears in the sidebar under Workspaces.
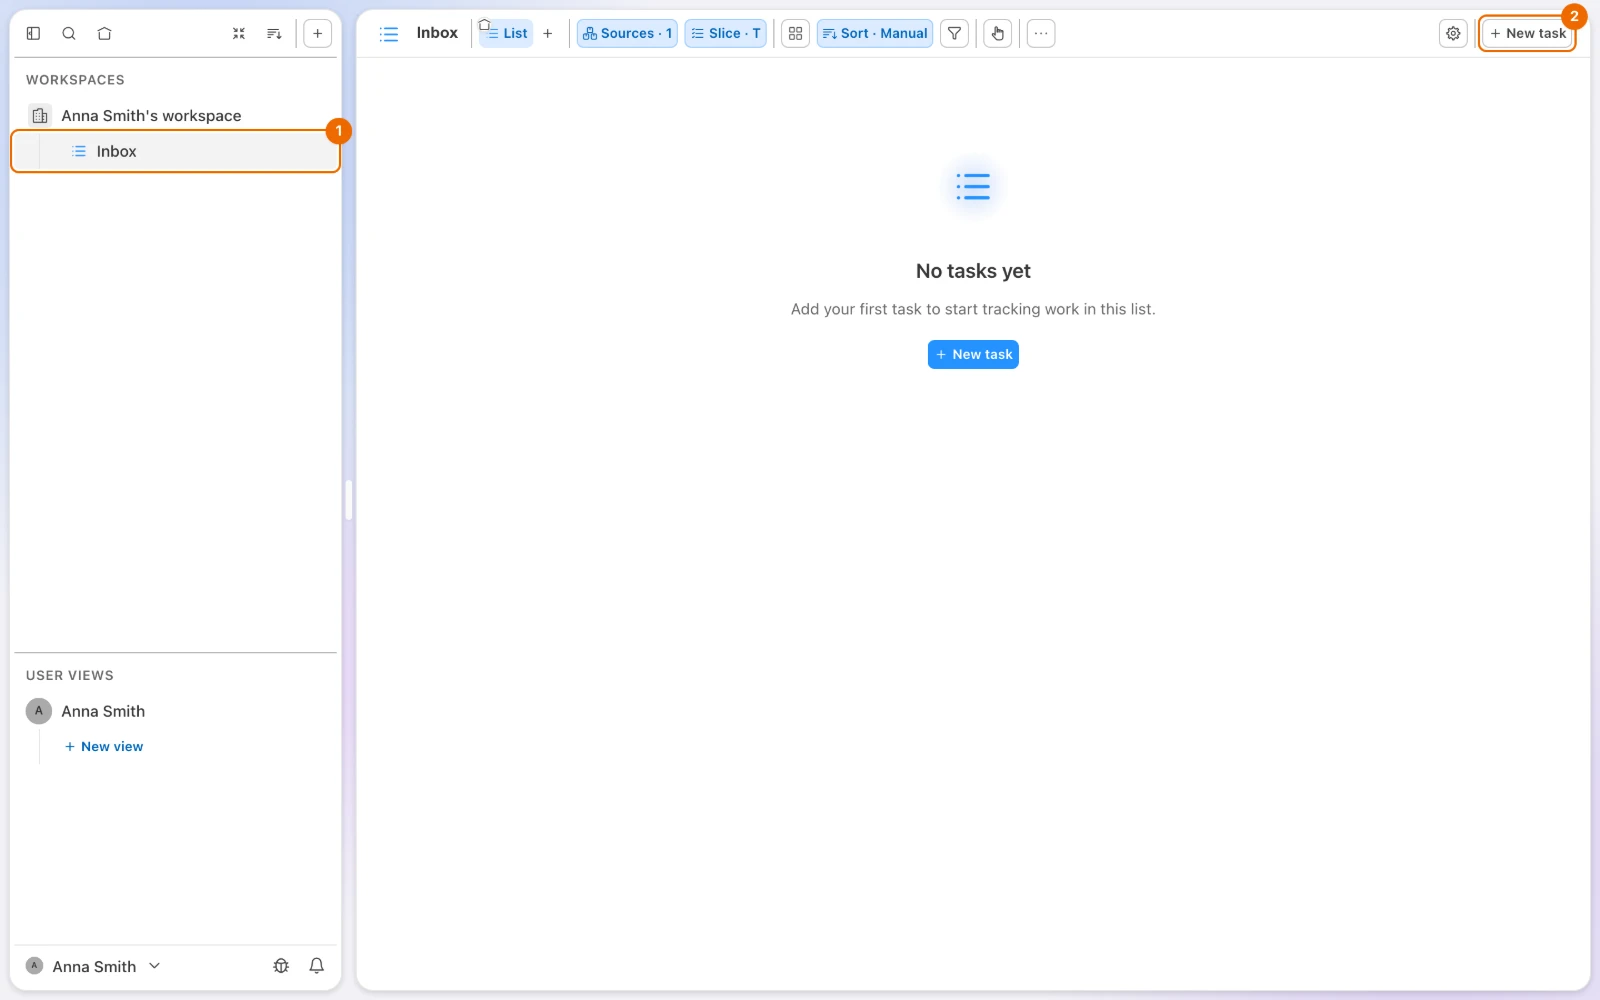
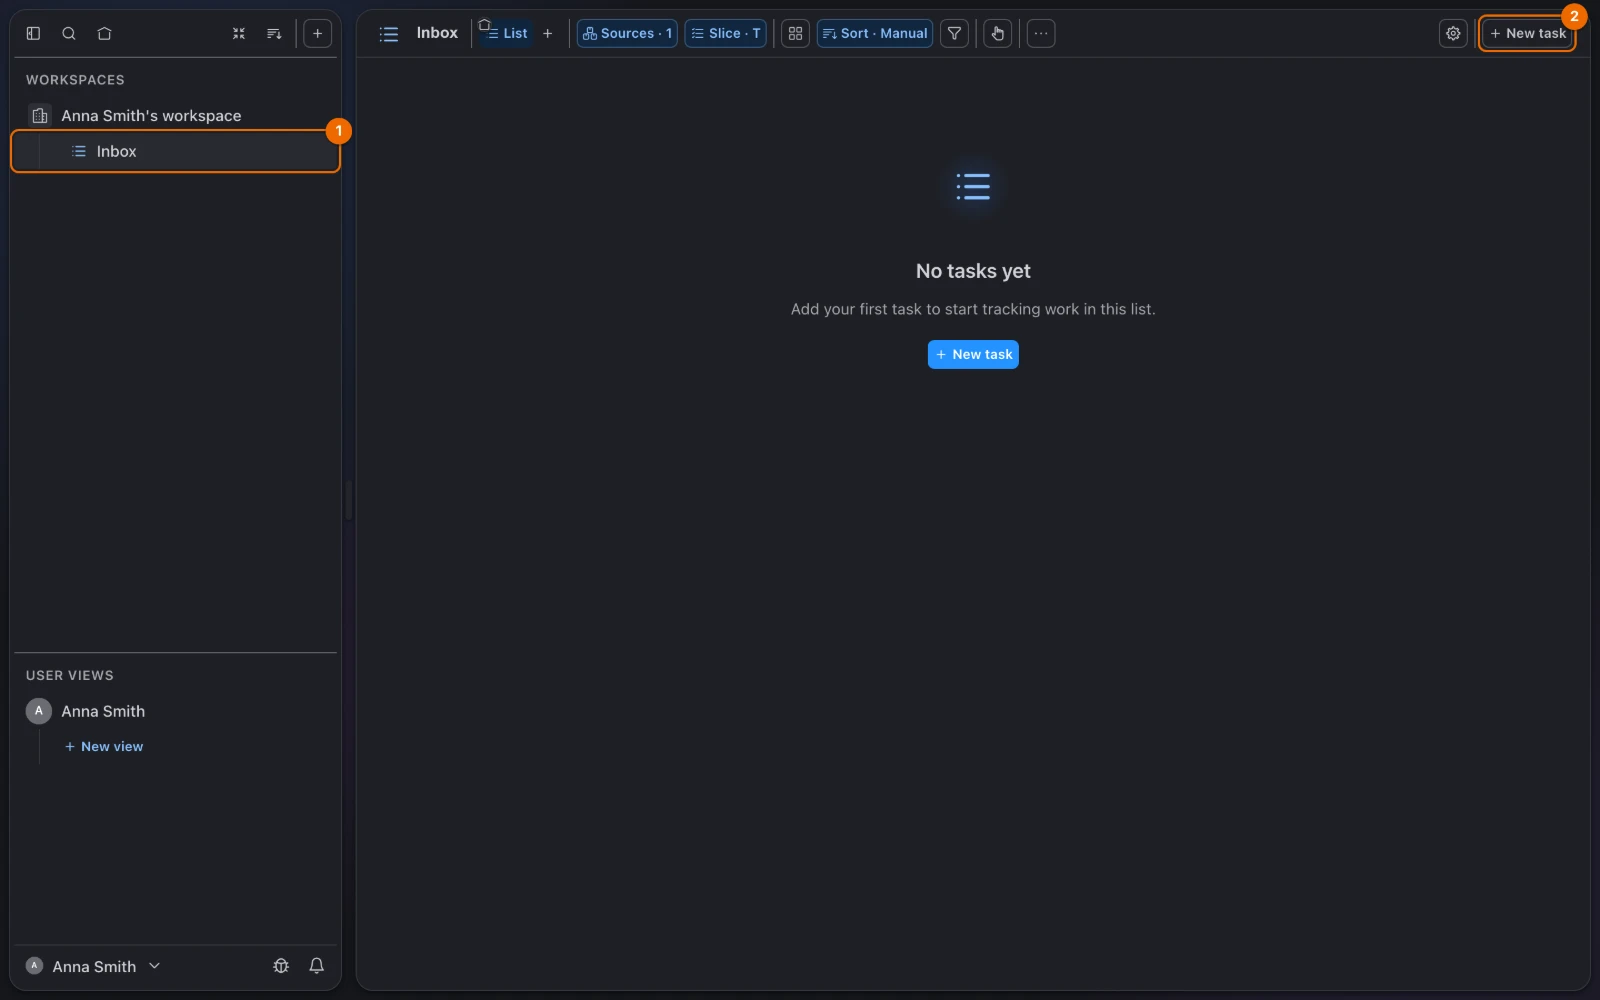
Open the menu at the bottom of the sidebar (your name) and choose Workspace settings. The settings open.
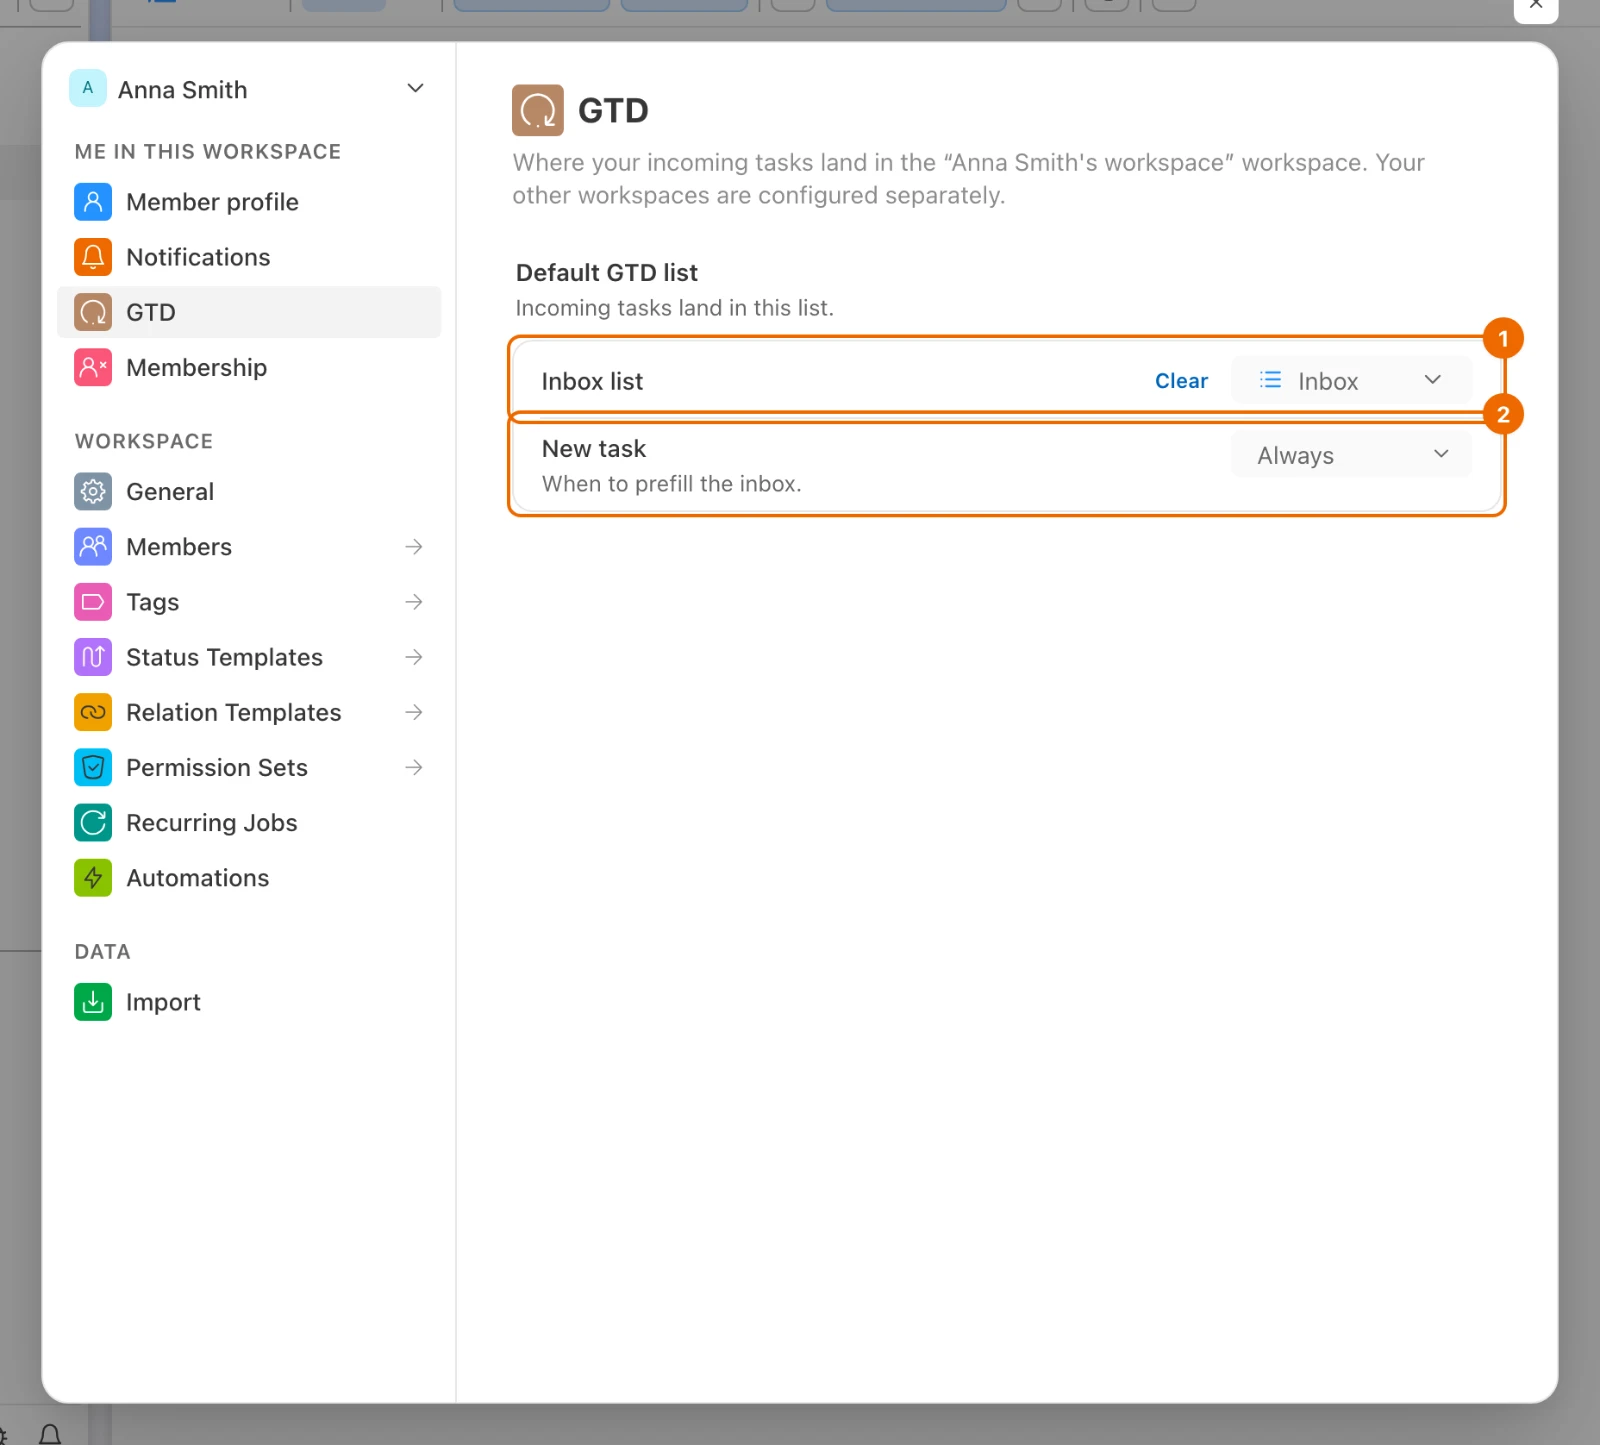
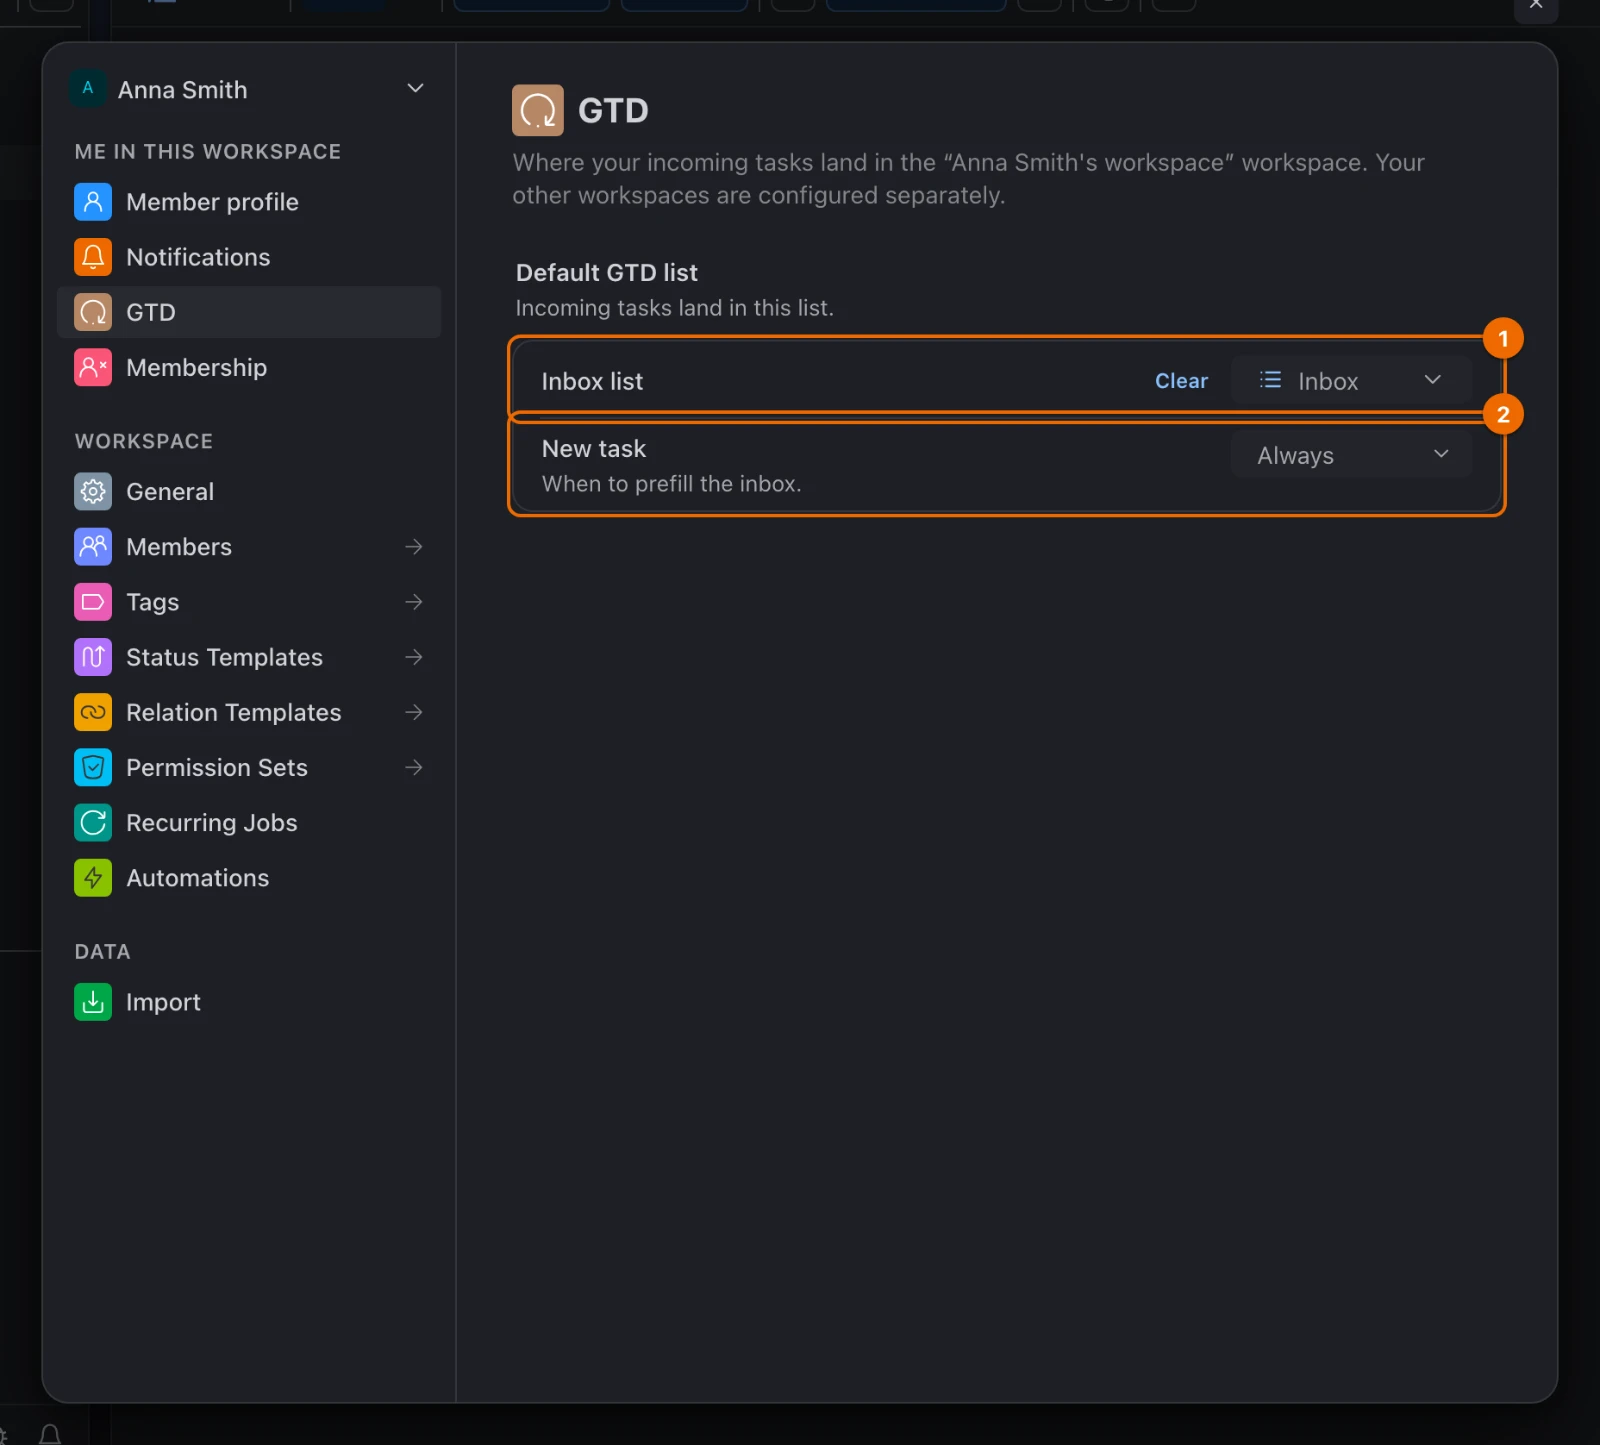
Under Me in this workspace, open GTD (Inbox list setting). The GTD page shows Inbox list set to Not selected.
In Inbox list, pick Inbox. The New task setting appears under it.
In New task, choose Always. From now on, the New Task form opens on your Inbox list.
Inbox list, not the Inbox page
The app's Inbox page holds your notifications. Your Inbox list is the list you just created and picked in Workspace settings → GTD.
3. Add folders and lists
Folders group lists and nest as deep as you like.
In the sidebar, point at your workspace row, click + and choose New folder. A Folder name field appears.
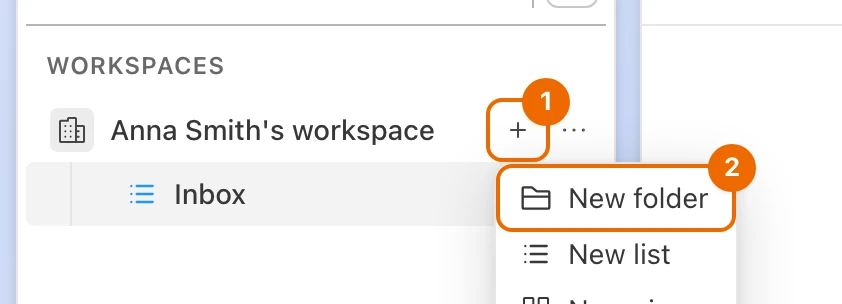
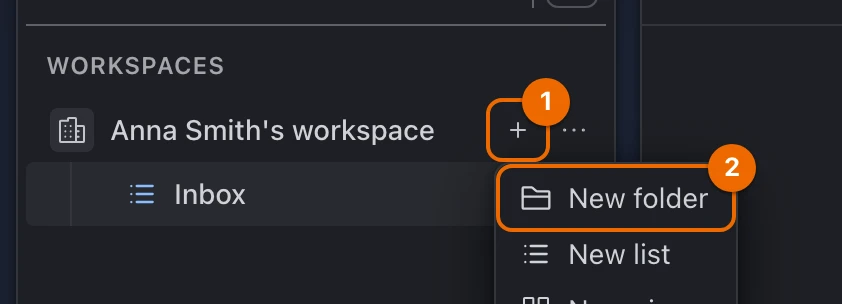
Type Personal and press
Enter. The folder appears in the tree.Point at Personal, click + and choose New list. The new list form opens with Location set to Personal.
In Name, type Home. Next becomes available.
Click Next. The Features step opens.
Click Create. Home appears inside Personal.
Create a second folder the same way (steps 1–6): the folder Work with the list Admin inside it. Admin appears inside Work.
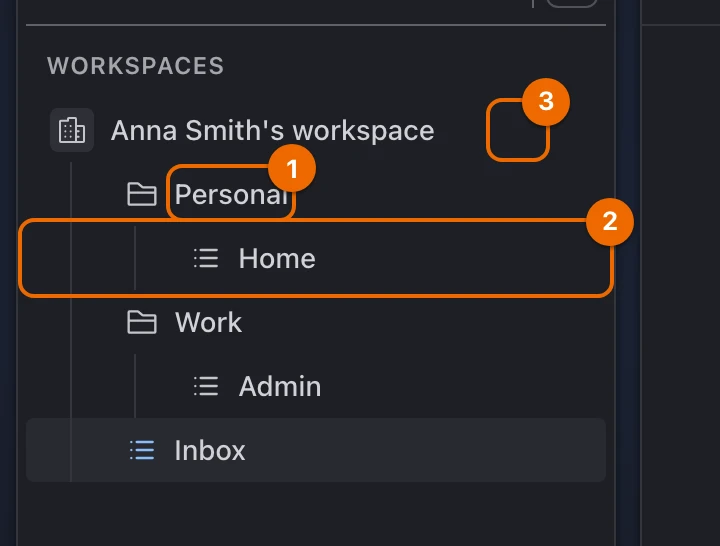
Your tree now looks like this:
Anna Smith's workspace
├── Personal
│   └── Home
├── Work
│   └── Admin
└── Inbox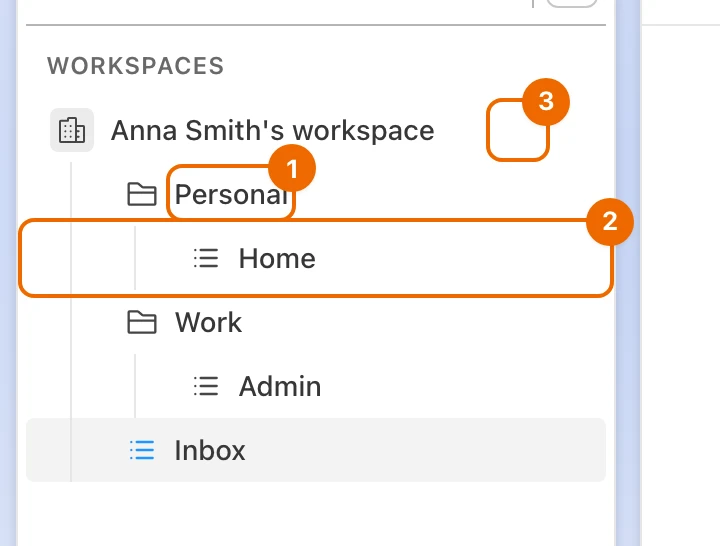
Sidebar order
By default the sidebar sorts by name and puts folders on top. Change it with Sort sidebar (Organize folders and lists).
4. Capture three tasks
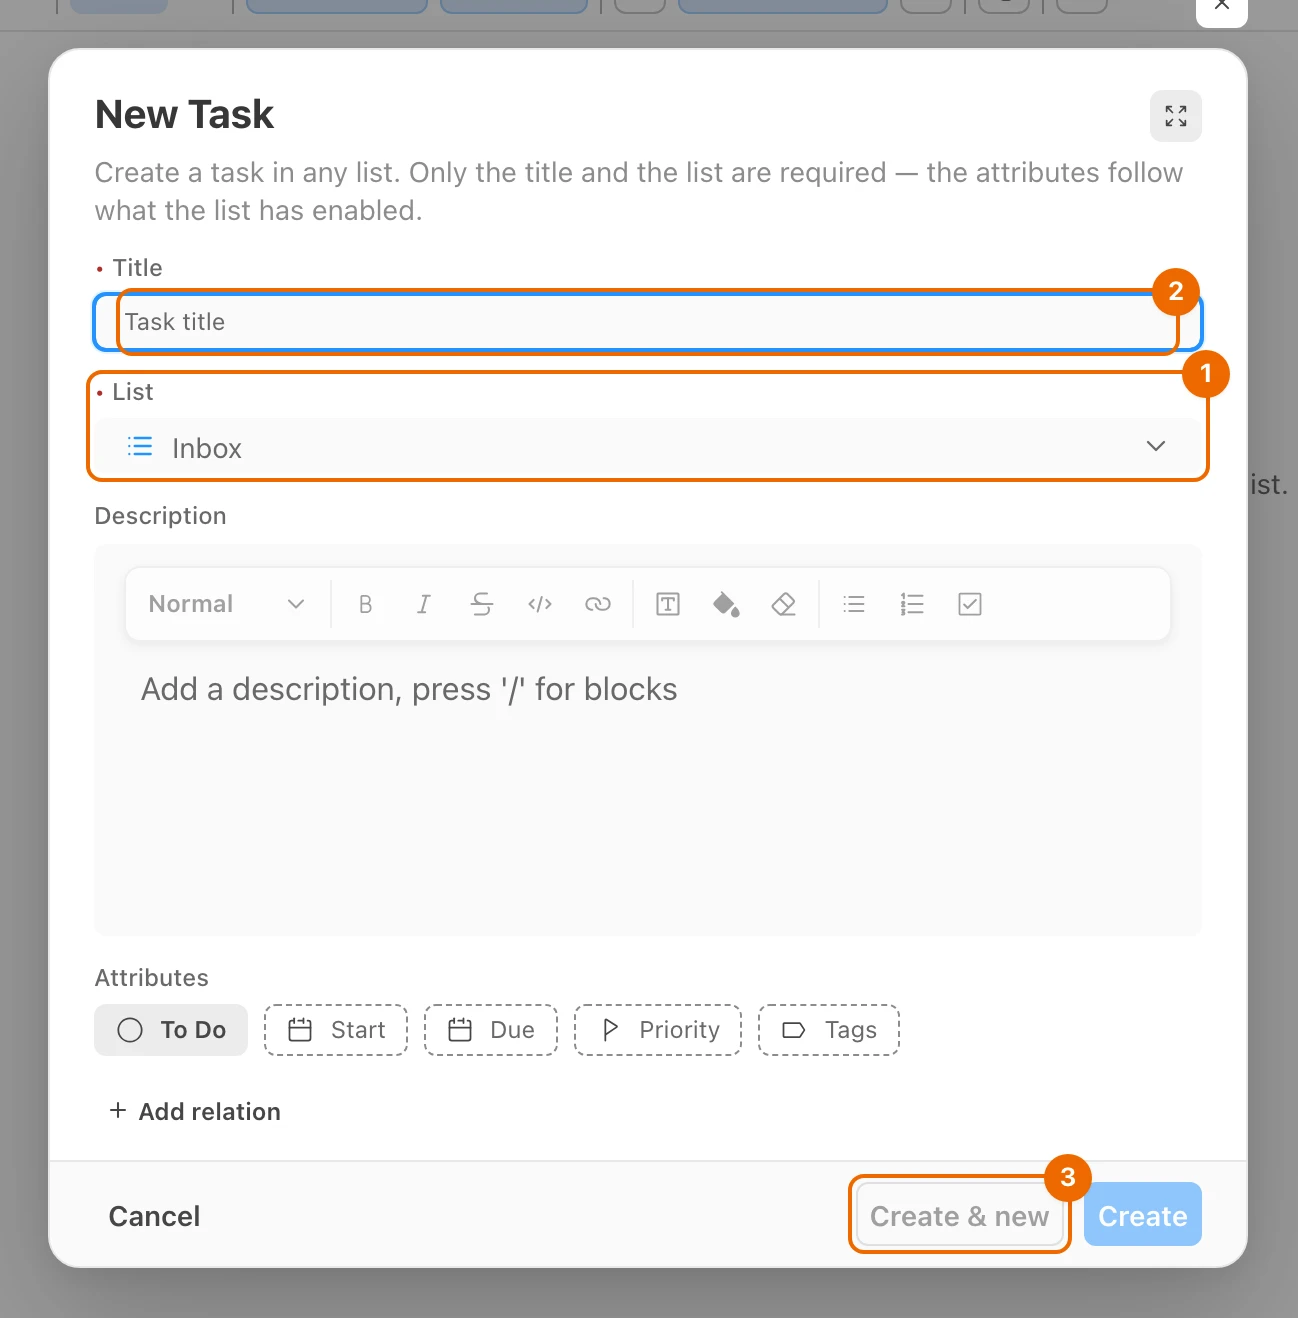
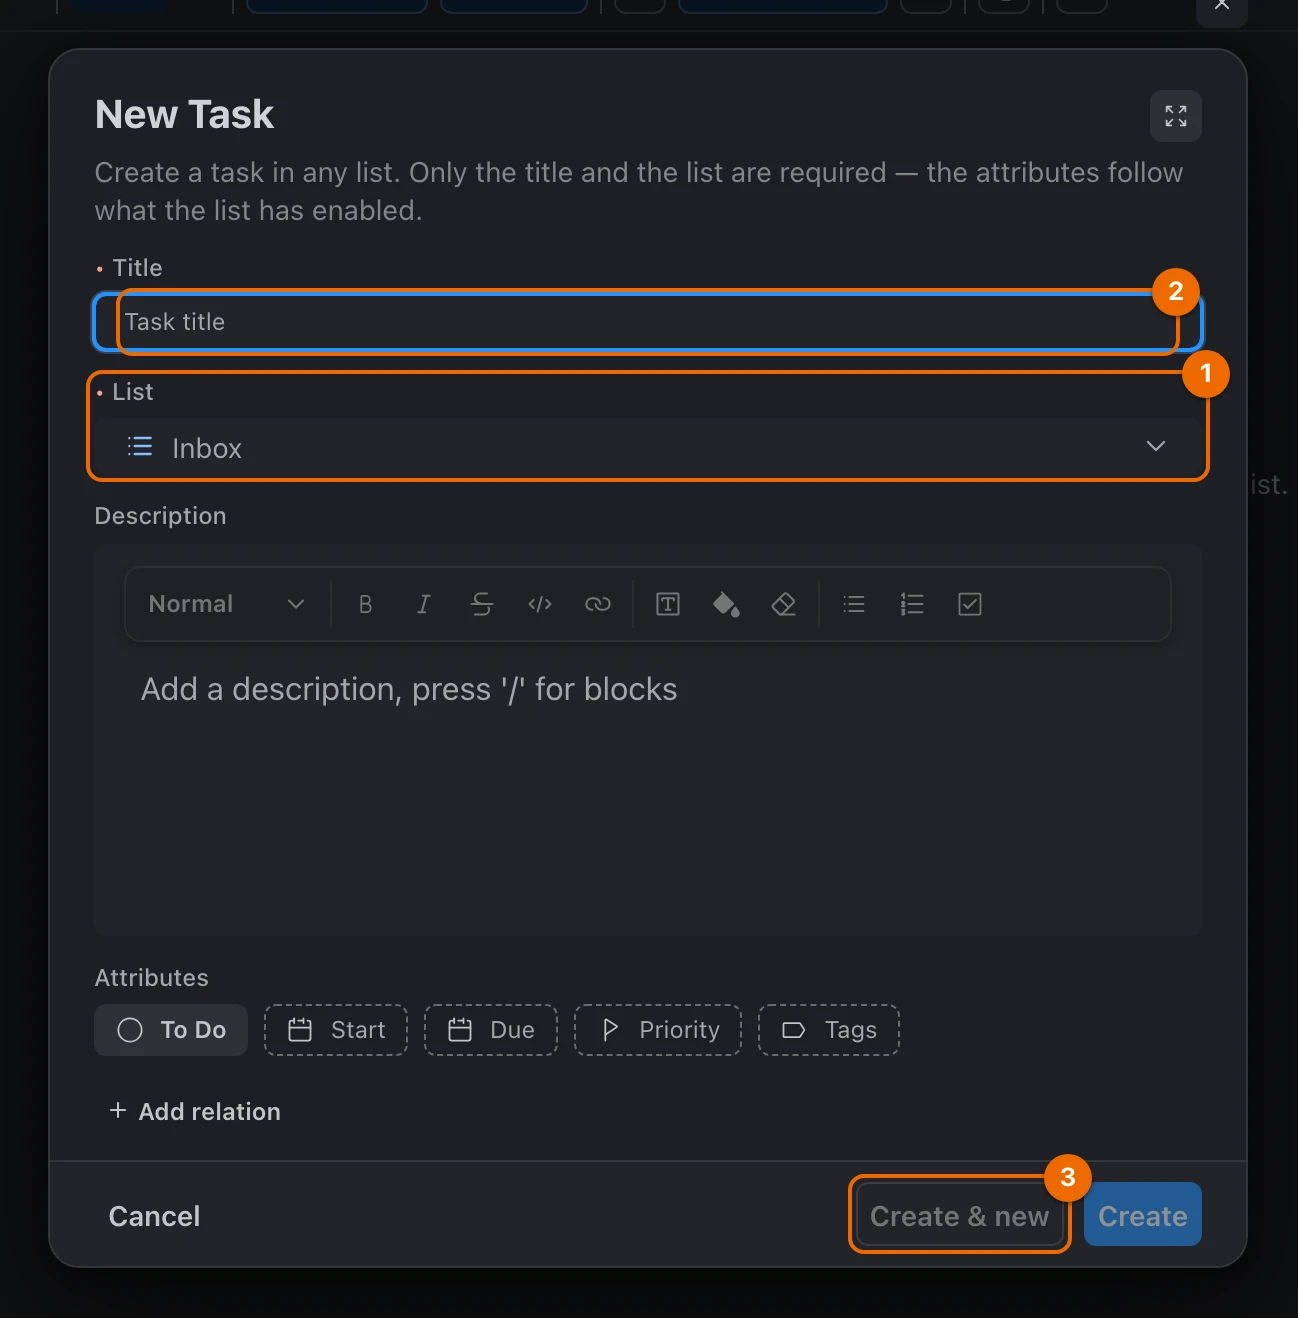
Click + (Create) at the top of the sidebar and choose New task. The New Task form opens with List set to Inbox.
List is not Inbox?
Go back to Workspace settings → GTD and check that New task is Always.
In Title, type Learn Spanish and click Create & new. The task is created, and the form stays open for the next one.
Type Draft the Q4 budget and click Create & new. The form stays open again.
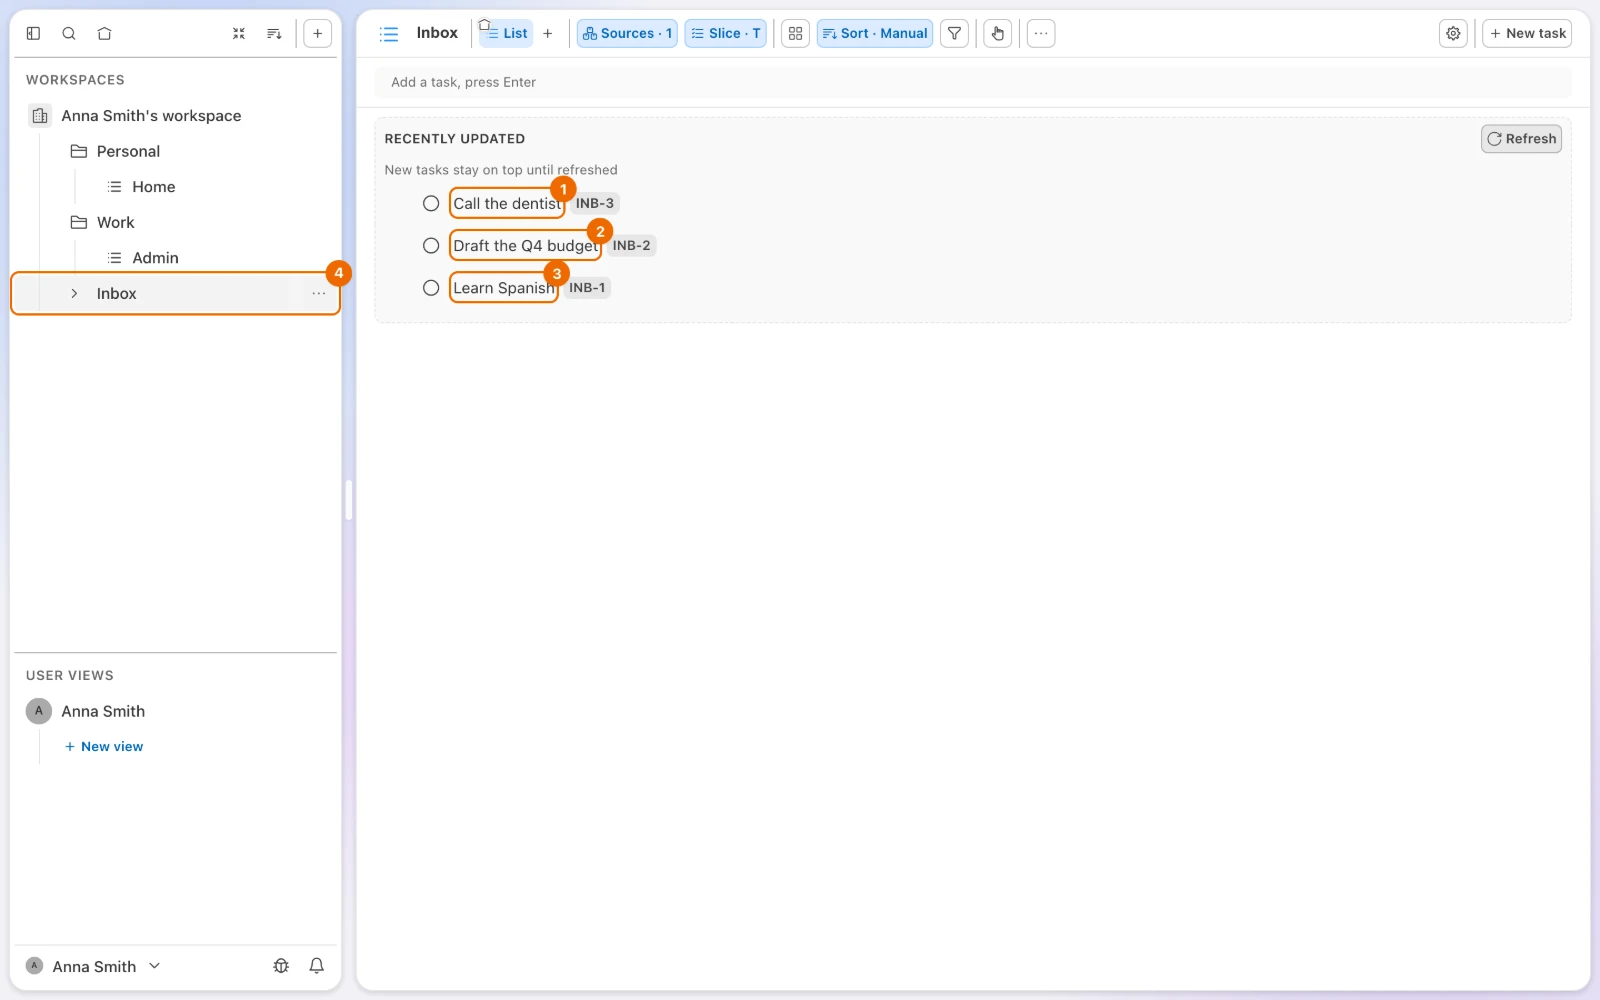
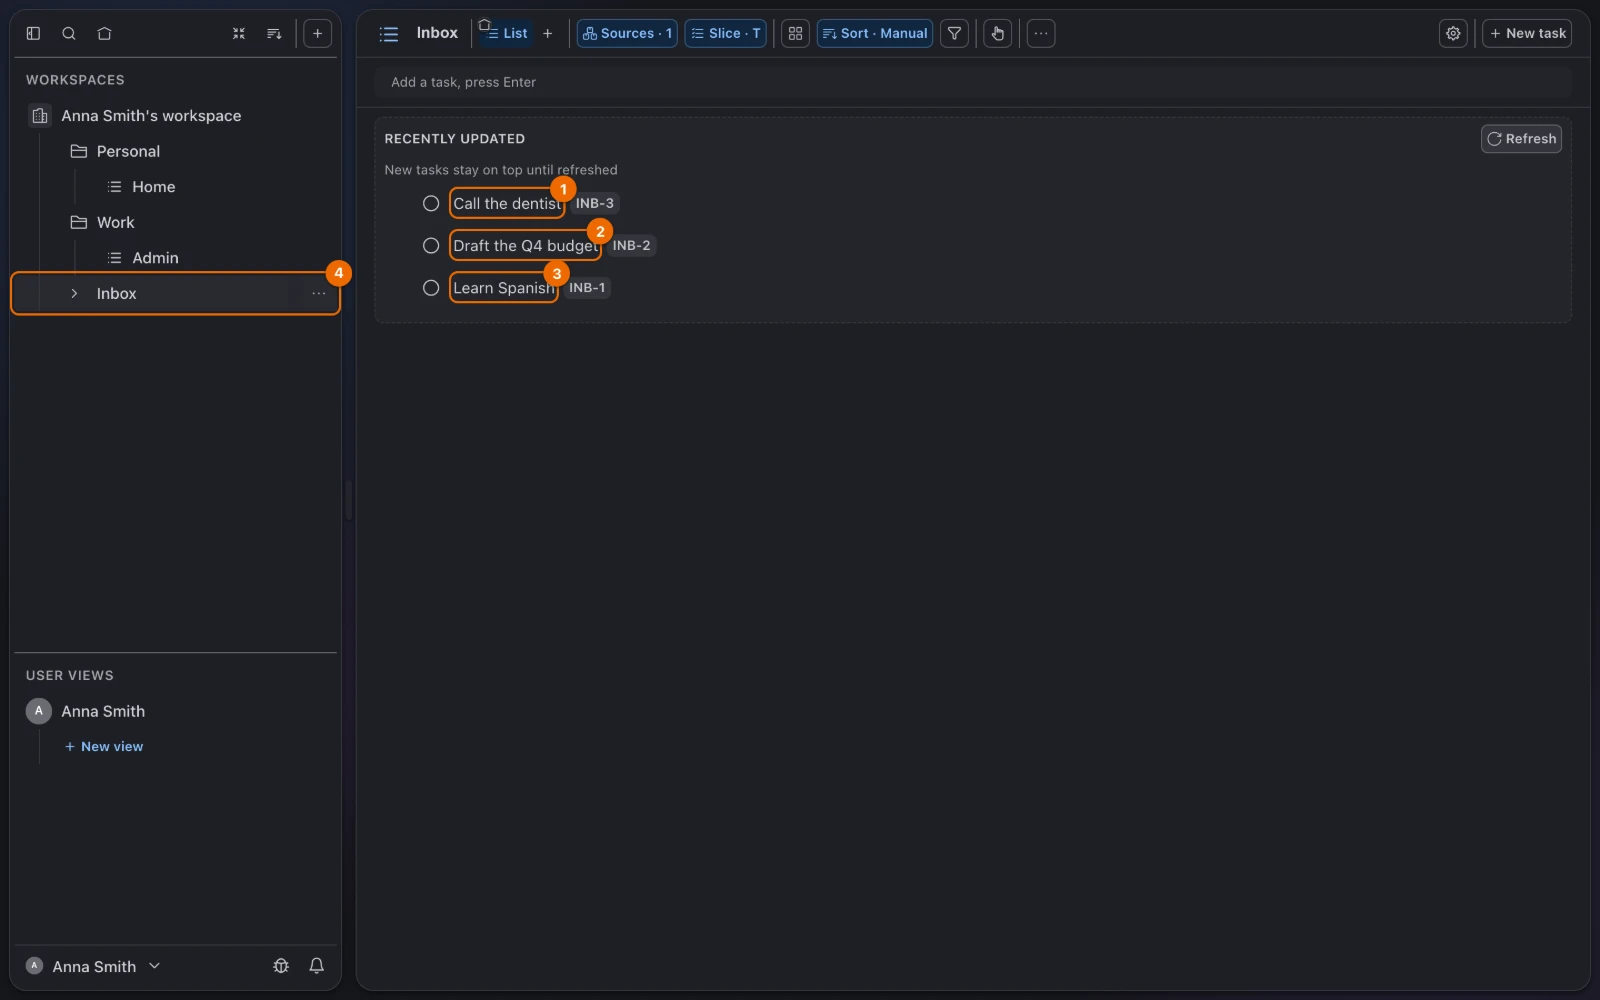
Type Call the dentist and click Create. Three tasks wait in Inbox, with Call the dentist first.
New tasks go on top
Each new task lands at the top of the list, so the last one you add comes first.
Later, you can capture from your phone with the Telegram bot or ask Claude to do it.
5. GTD view on the Inbox list
A GTD session hands you one task at a time and asks what it is. It runs in a view of the GTD view type.
In the sidebar, open the More actions menu (…) of Inbox and choose New view. The new view form opens.
In Display Mode, choose GTD. The Icon row switches to the GTD icon.
In Name, type Clarify. Create becomes available.
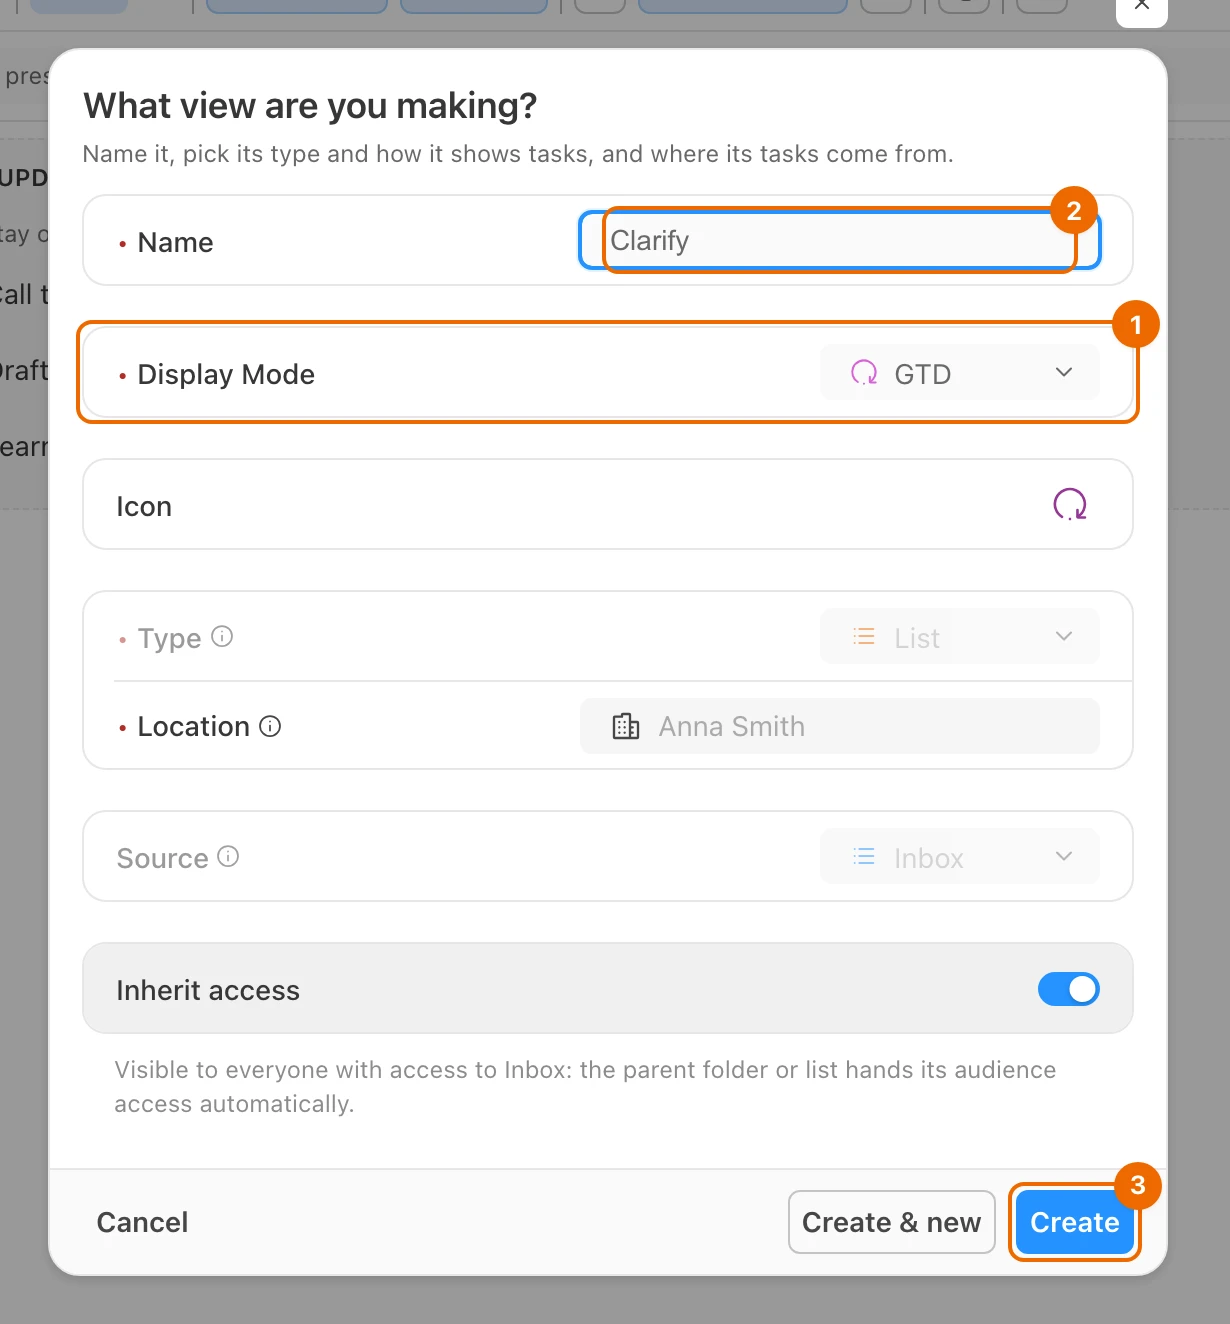
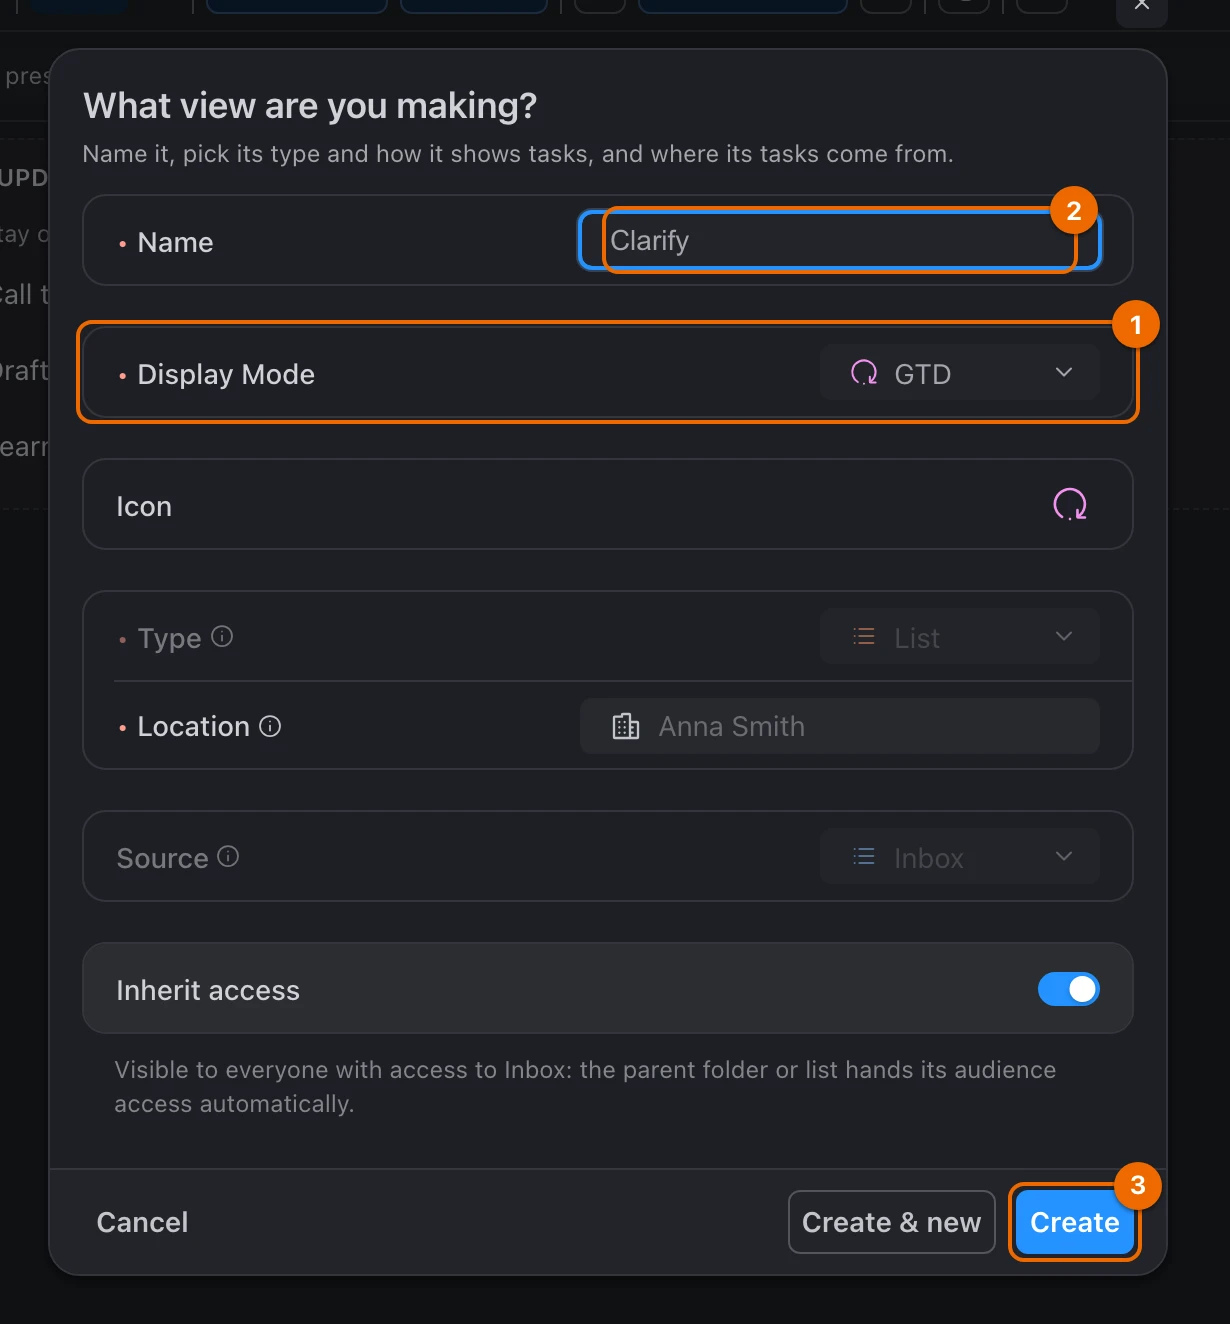
Click Create. The view shows your three tasks under Up next.
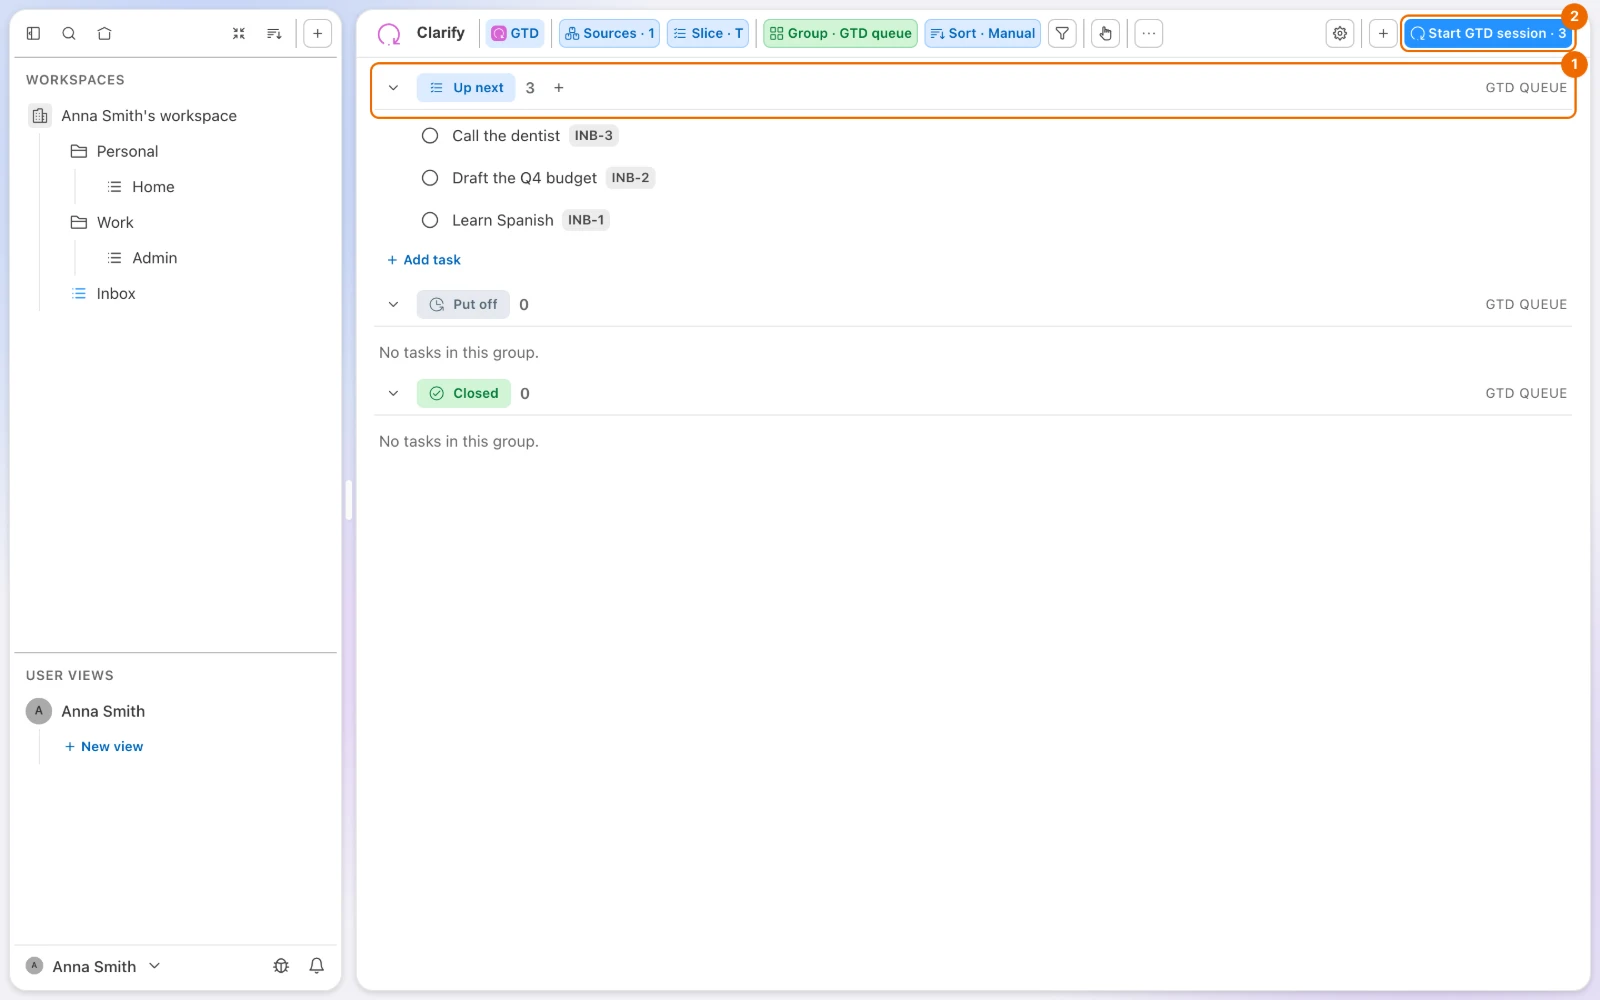
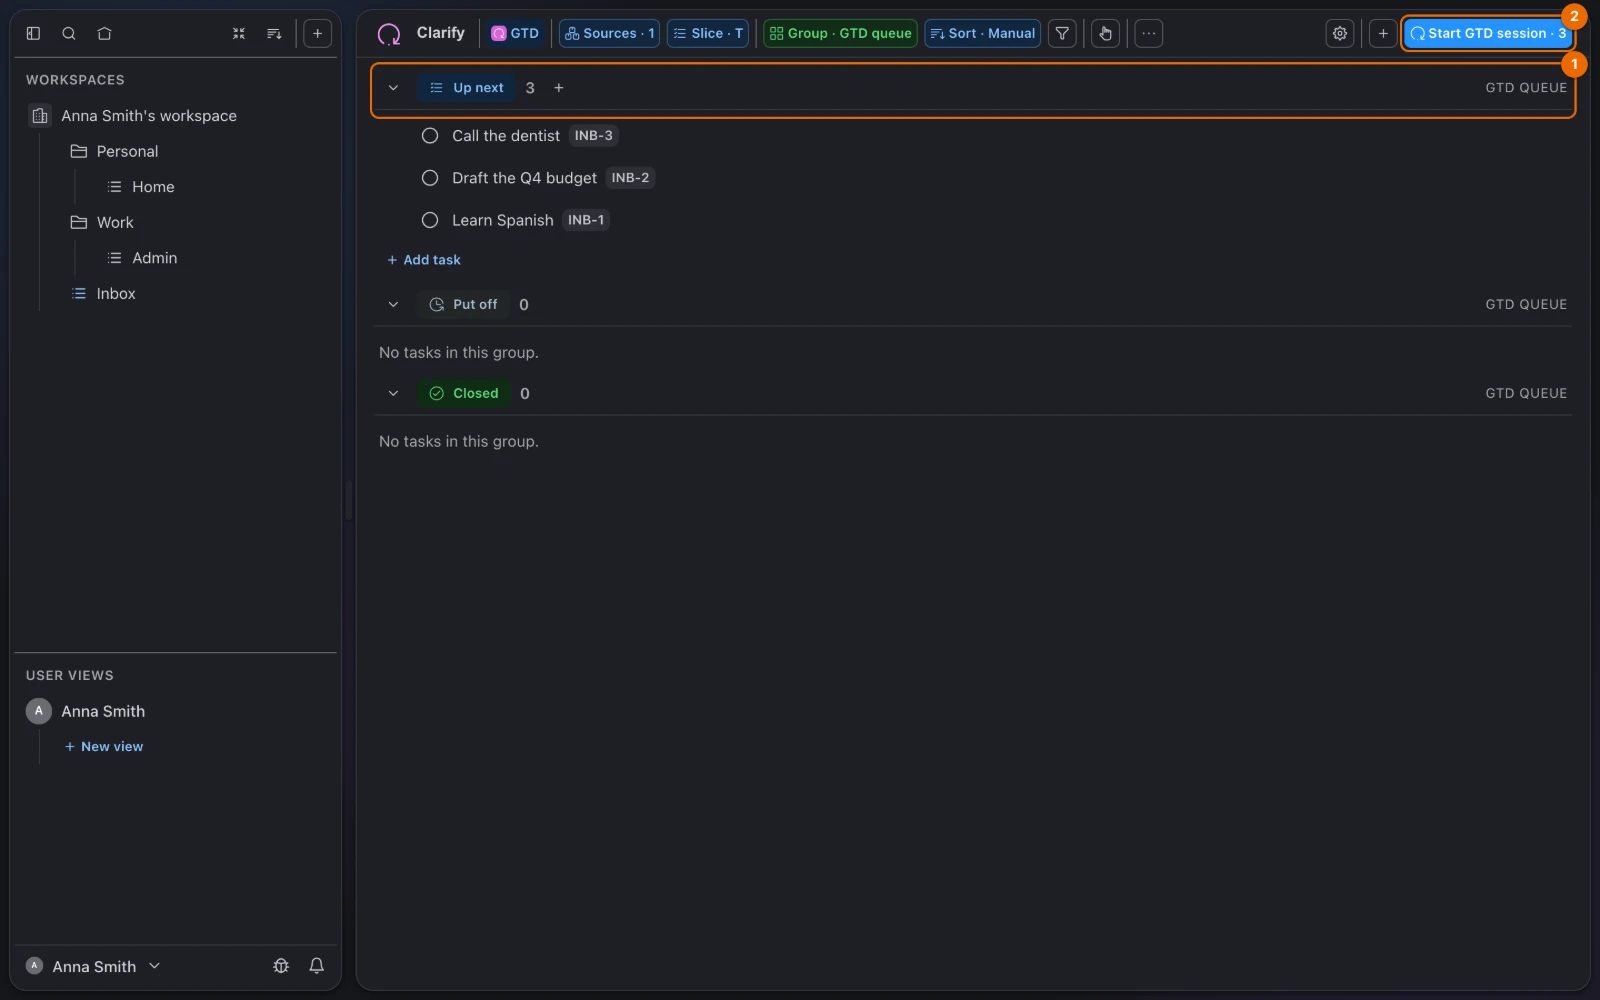
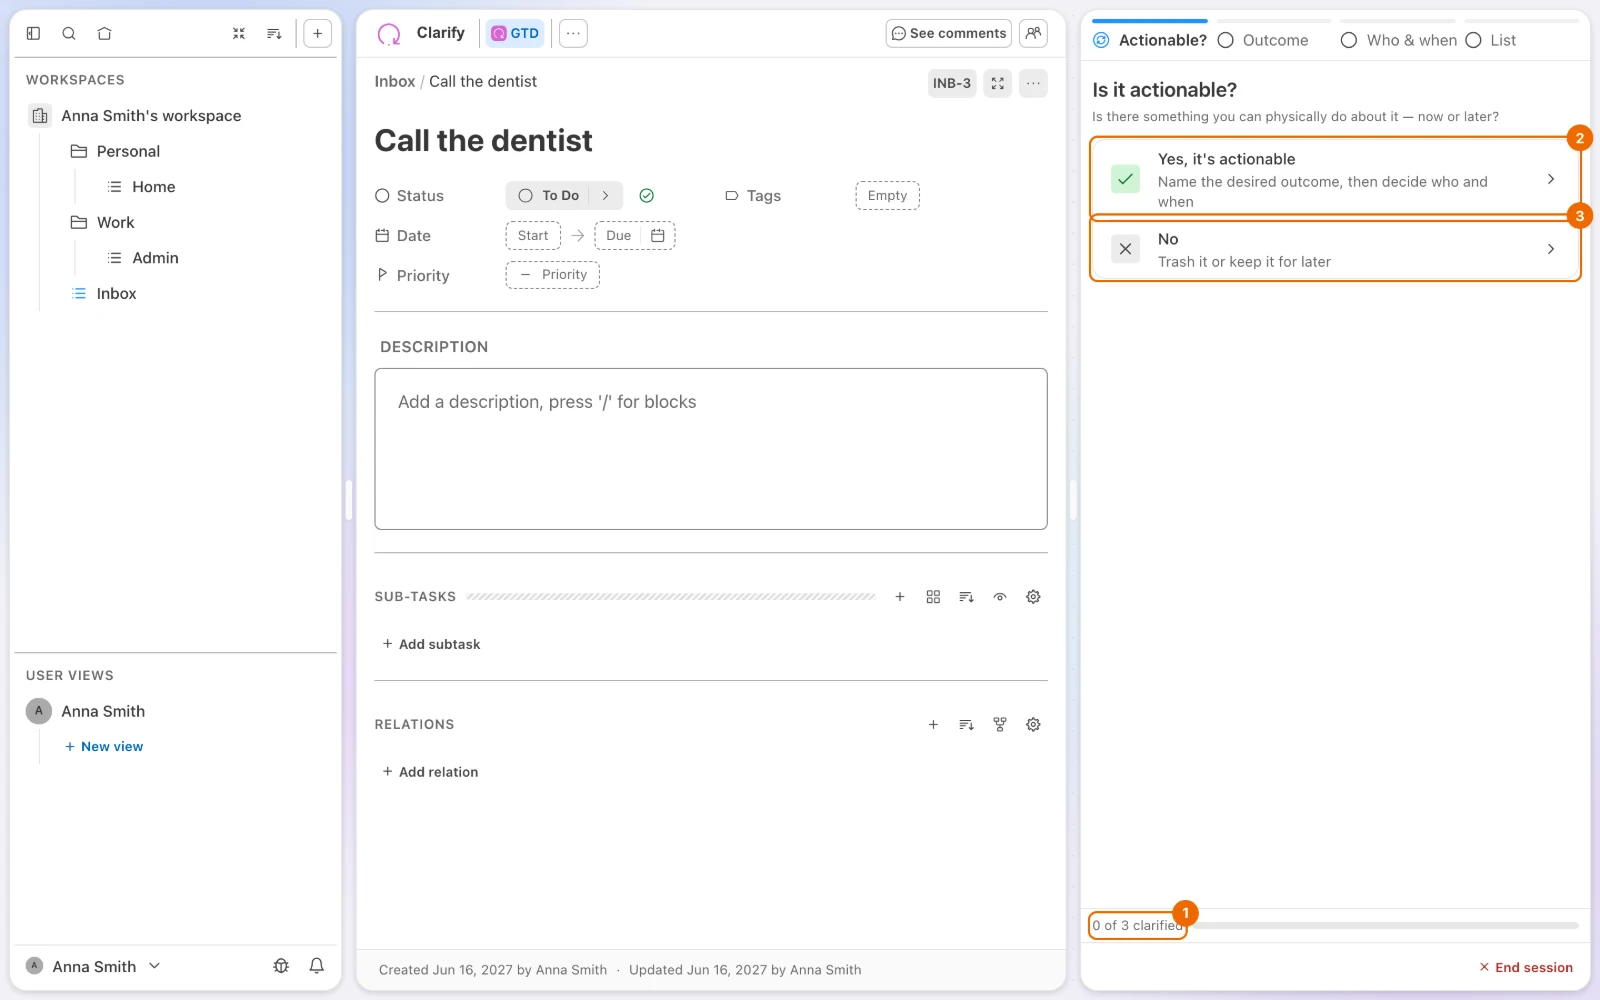
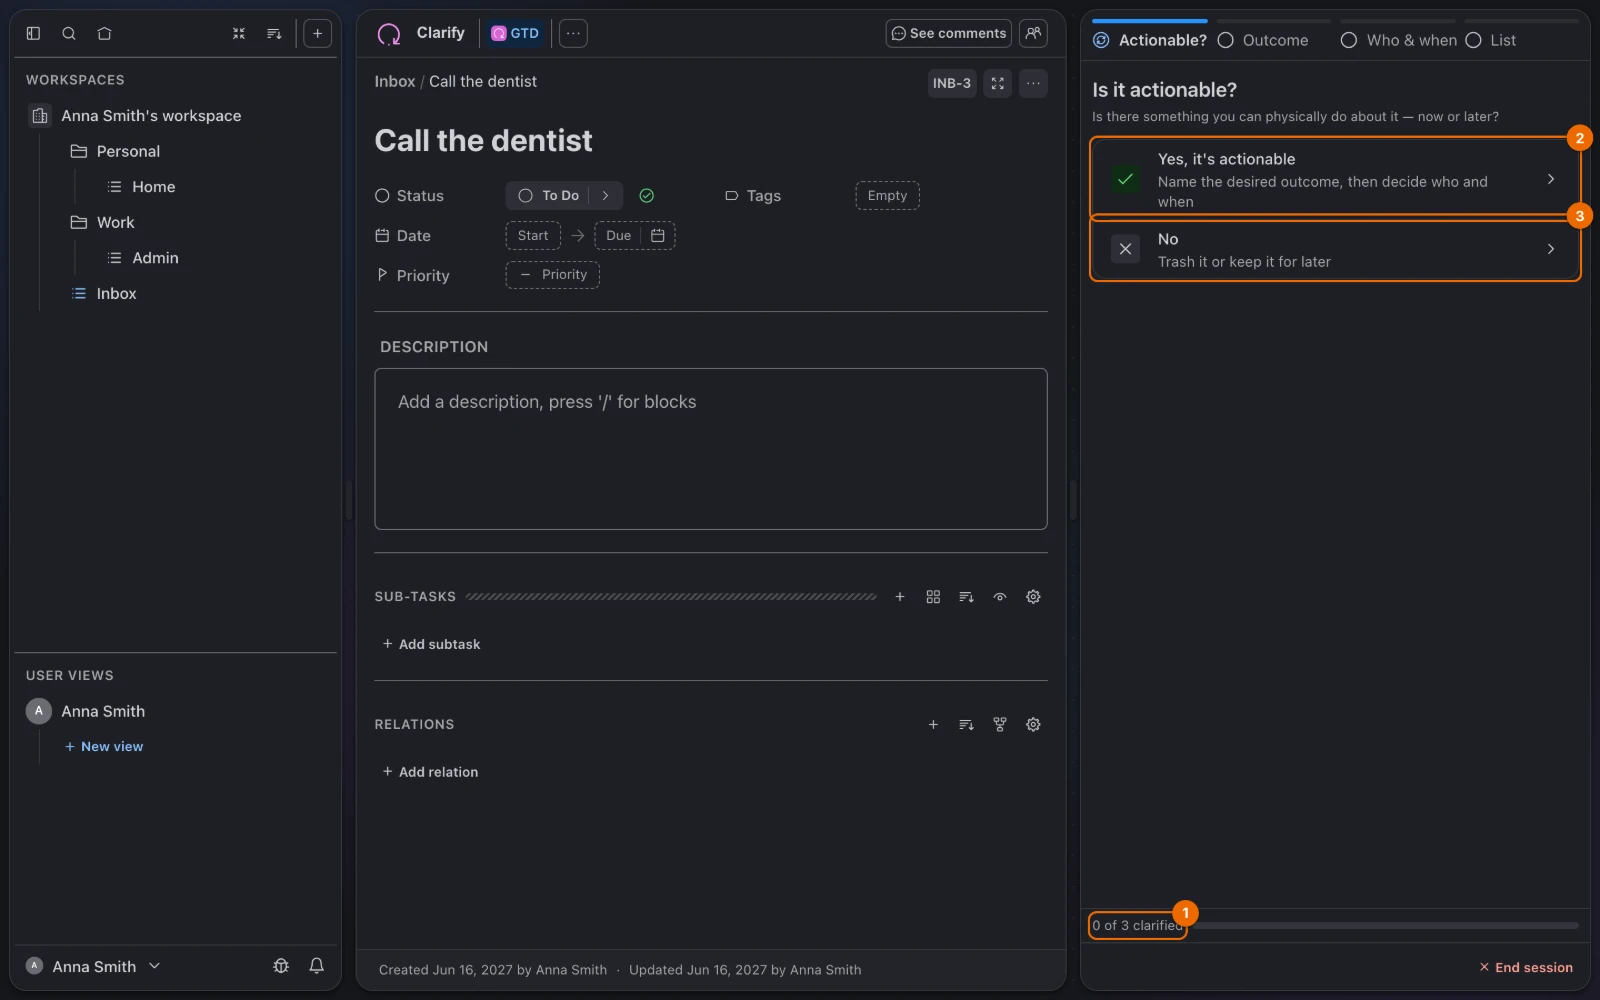
Click Start GTD session · 3. The Guided GTD panel shows Call the dentist.
Start button greyed out?
The view has no task waiting. Check that you opened New view from the Inbox list's menu, not from another list.
6. GTD session: empty the Inbox list
Choose Yes, it's actionable. Hule asks What is the desired outcome? with the task's title filled in.
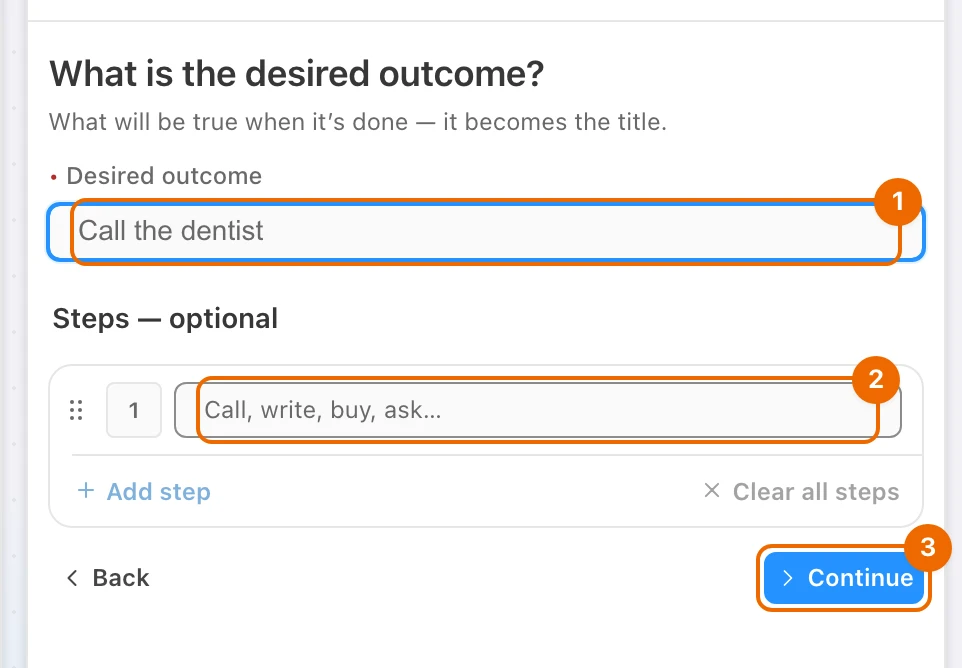
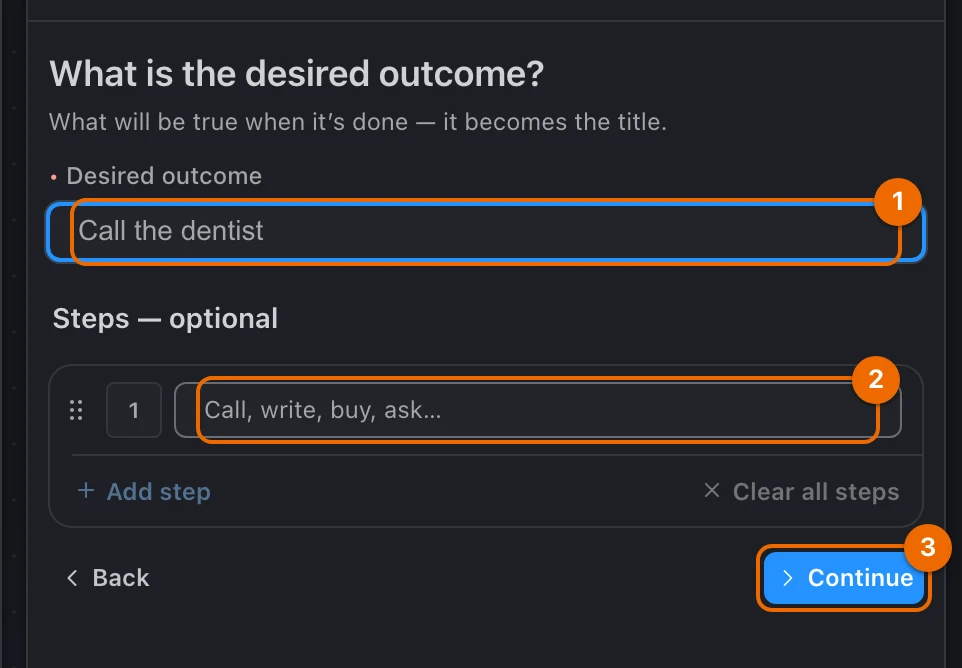
Click Continue. The panel asks Who does it, and when?
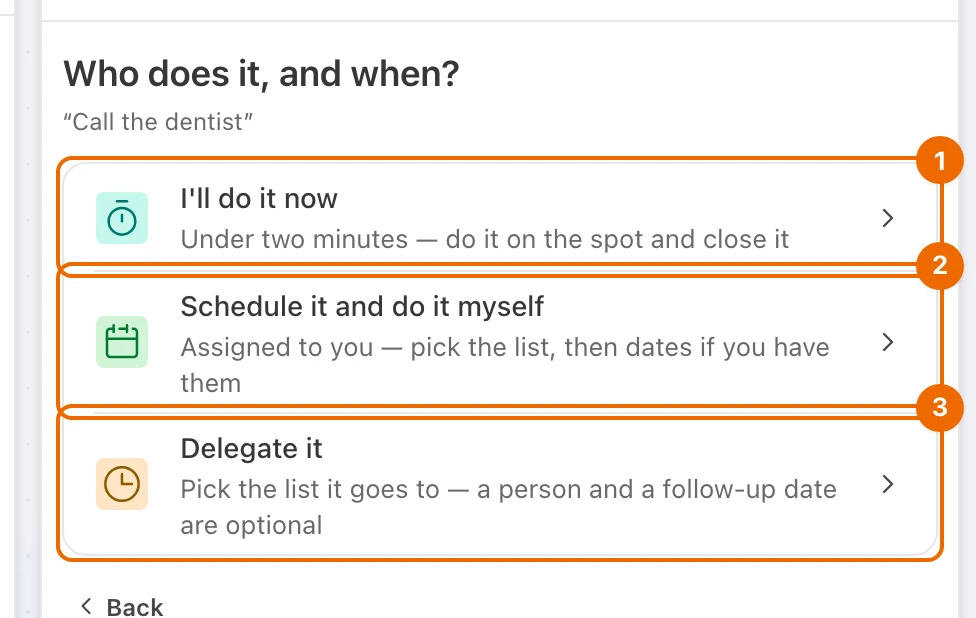
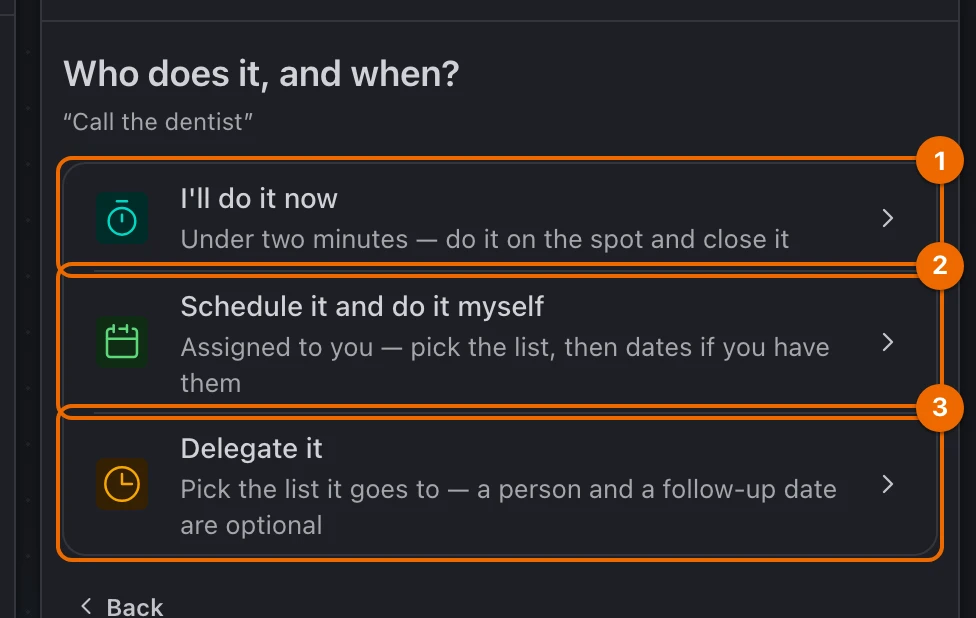
Choose I'll do it now. A two-minute timer starts.
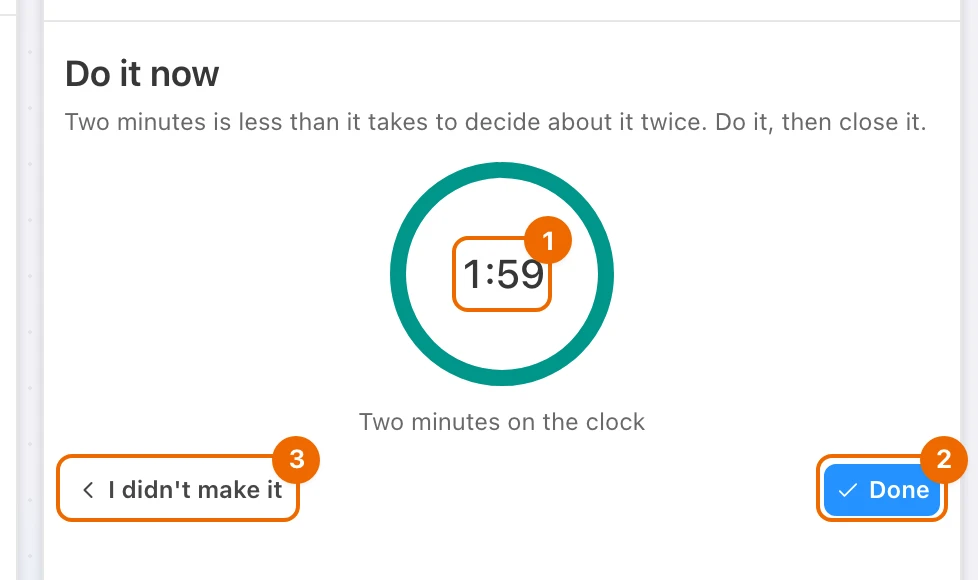
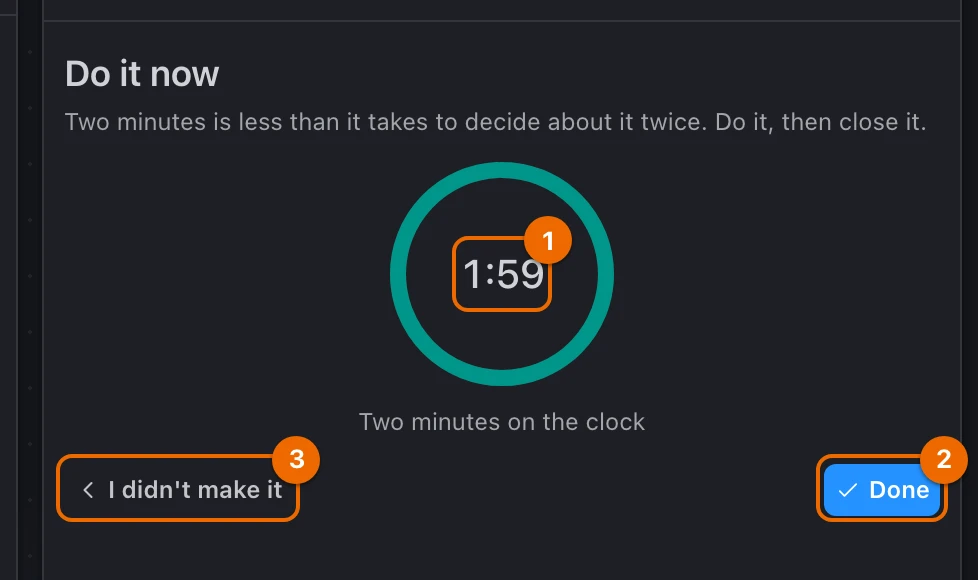
The two-minute rule
In GTD, anything that takes under two minutes is done on the spot.
Make the call, then click Done. The task is closed, and the panel moves to Draft the Q4 budget.
Choose Yes, it's actionable. Hule asks What is the desired outcome?
Click Continue. The panel asks Who does it, and when?
Choose Schedule it and do it myself. The panel asks When, and which list?
In Move to list, pick Admin. The button reads Move to Admin.
In When, click Due and pick next Friday (due date). The date shows in When.
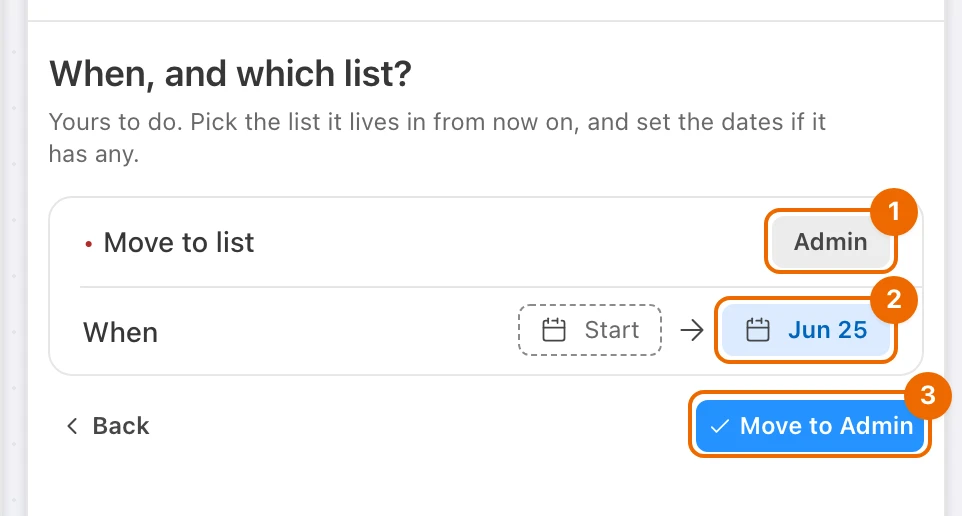
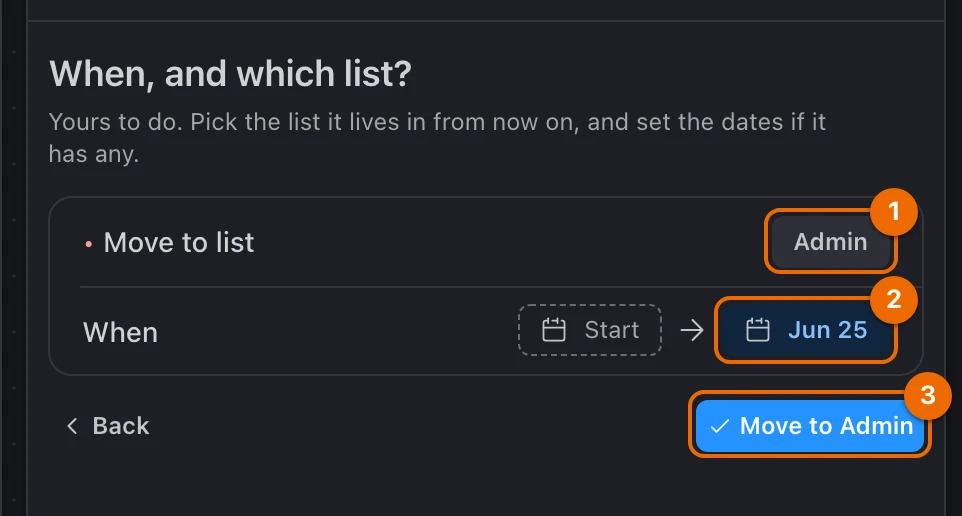
Click Move to Admin. The task moves to Admin, due next Friday, and the panel moves to Learn Spanish.
Choose No. The panel says Then it is…
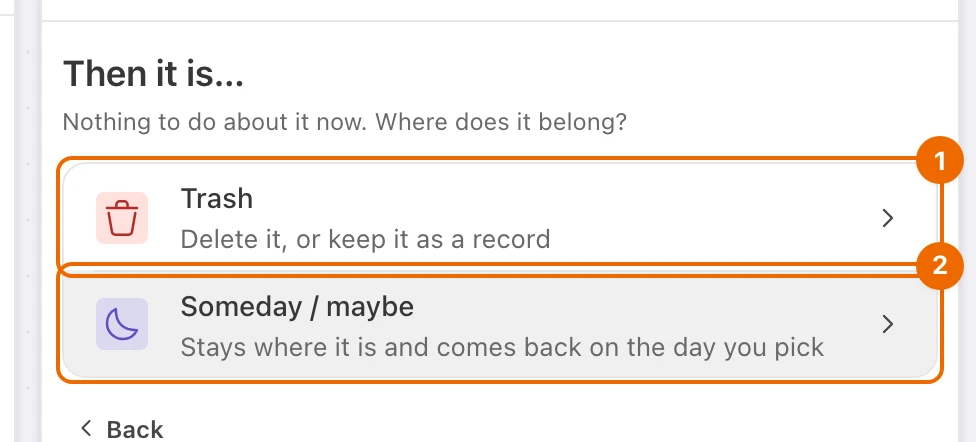
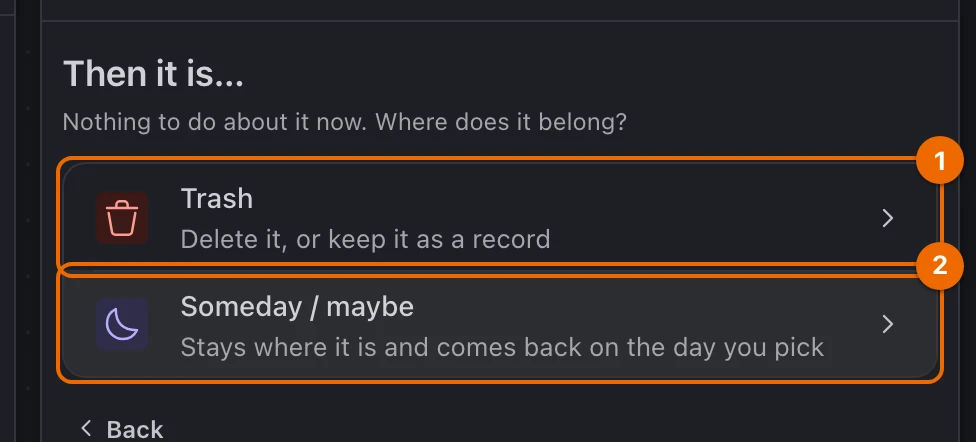
Choose Someday / maybe. The panel asks When does it come back?, with Returns on a month from today and the button reading Put off until ….
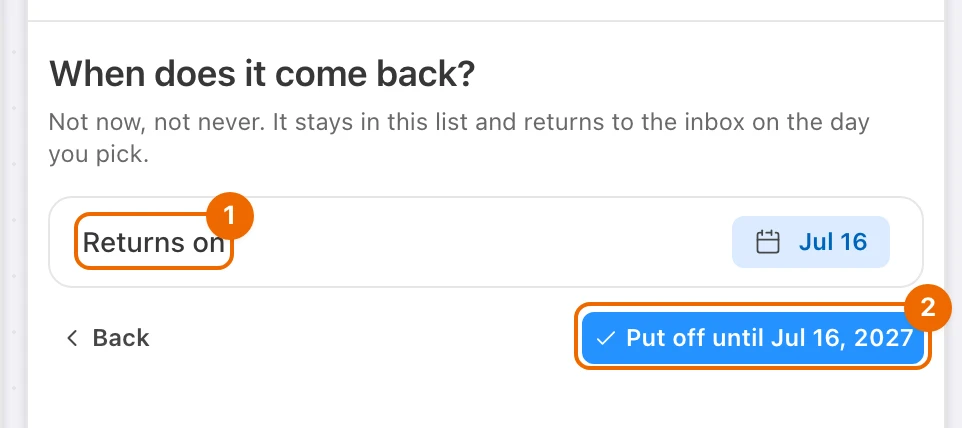
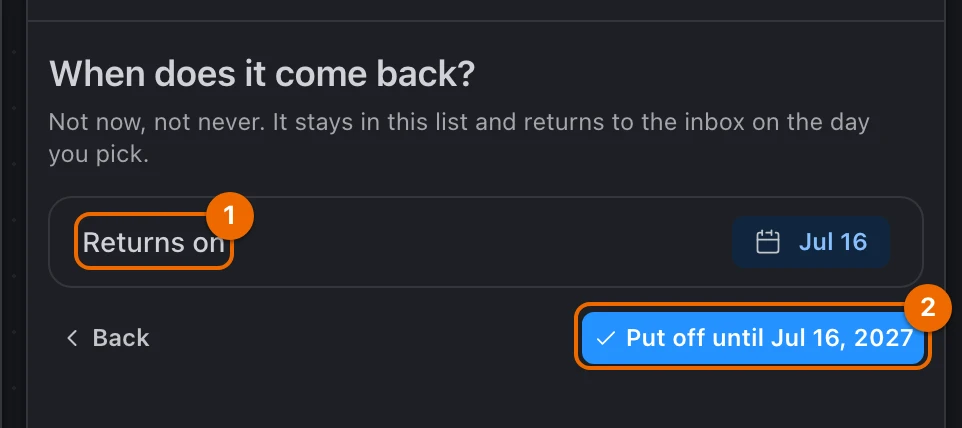
In Returns on, change the date to three months ahead. The button shows the new date.
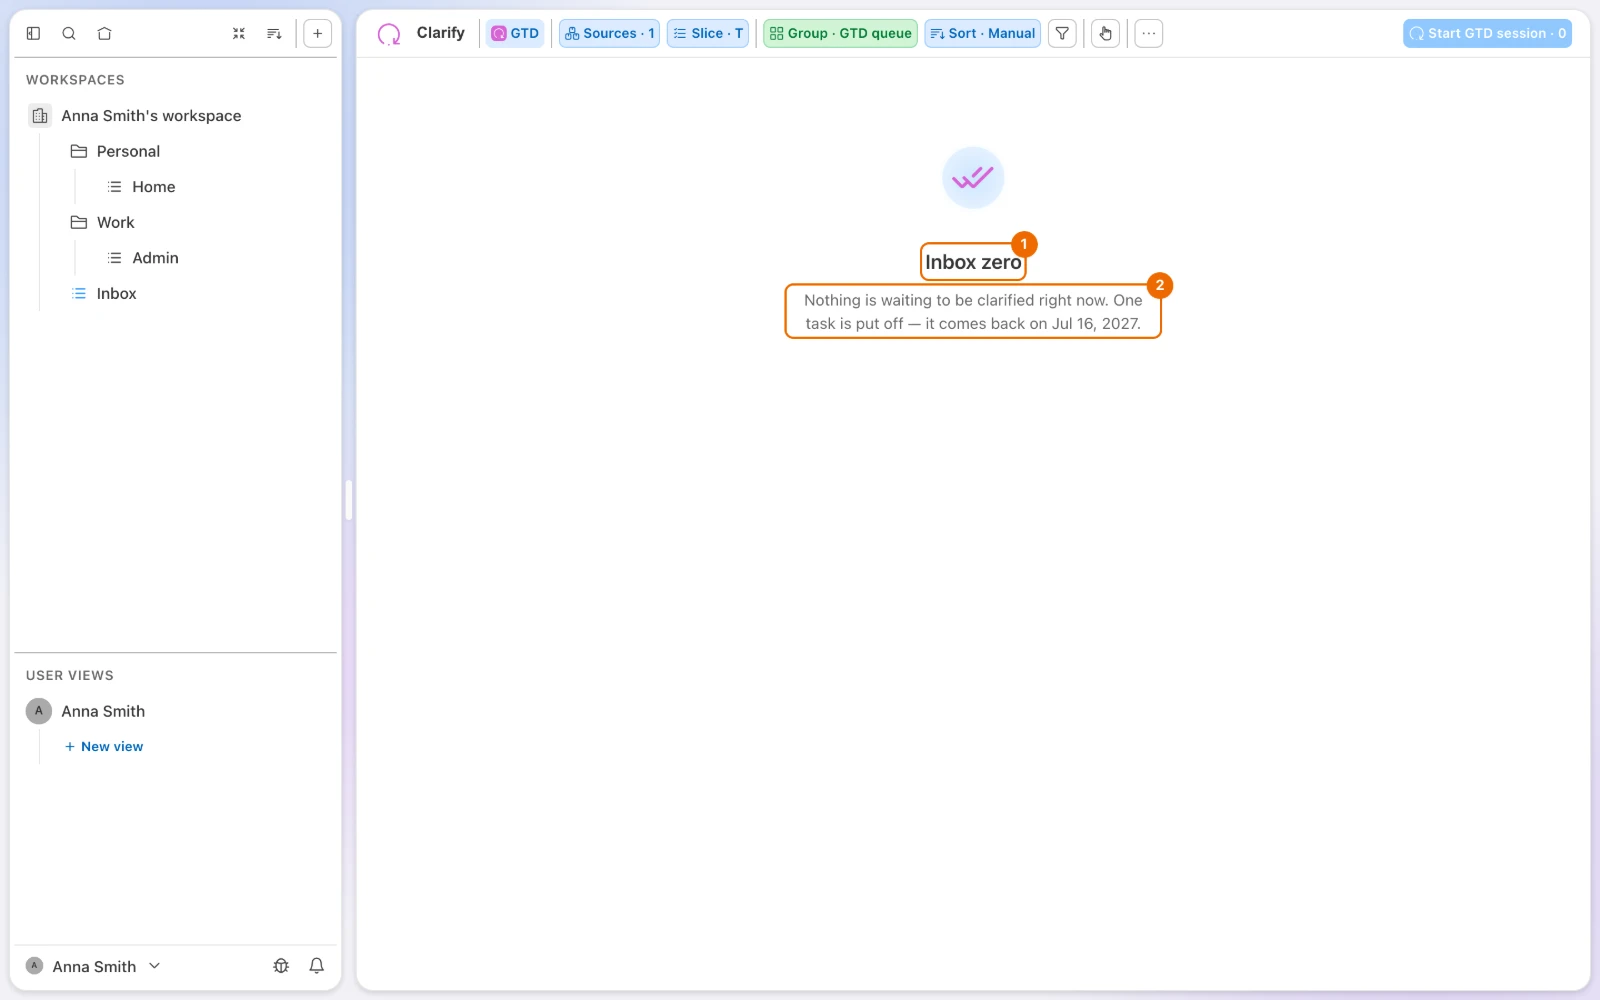
Click Put off until …. Inbox zero replaces the task card, and the panel lists your decisions.
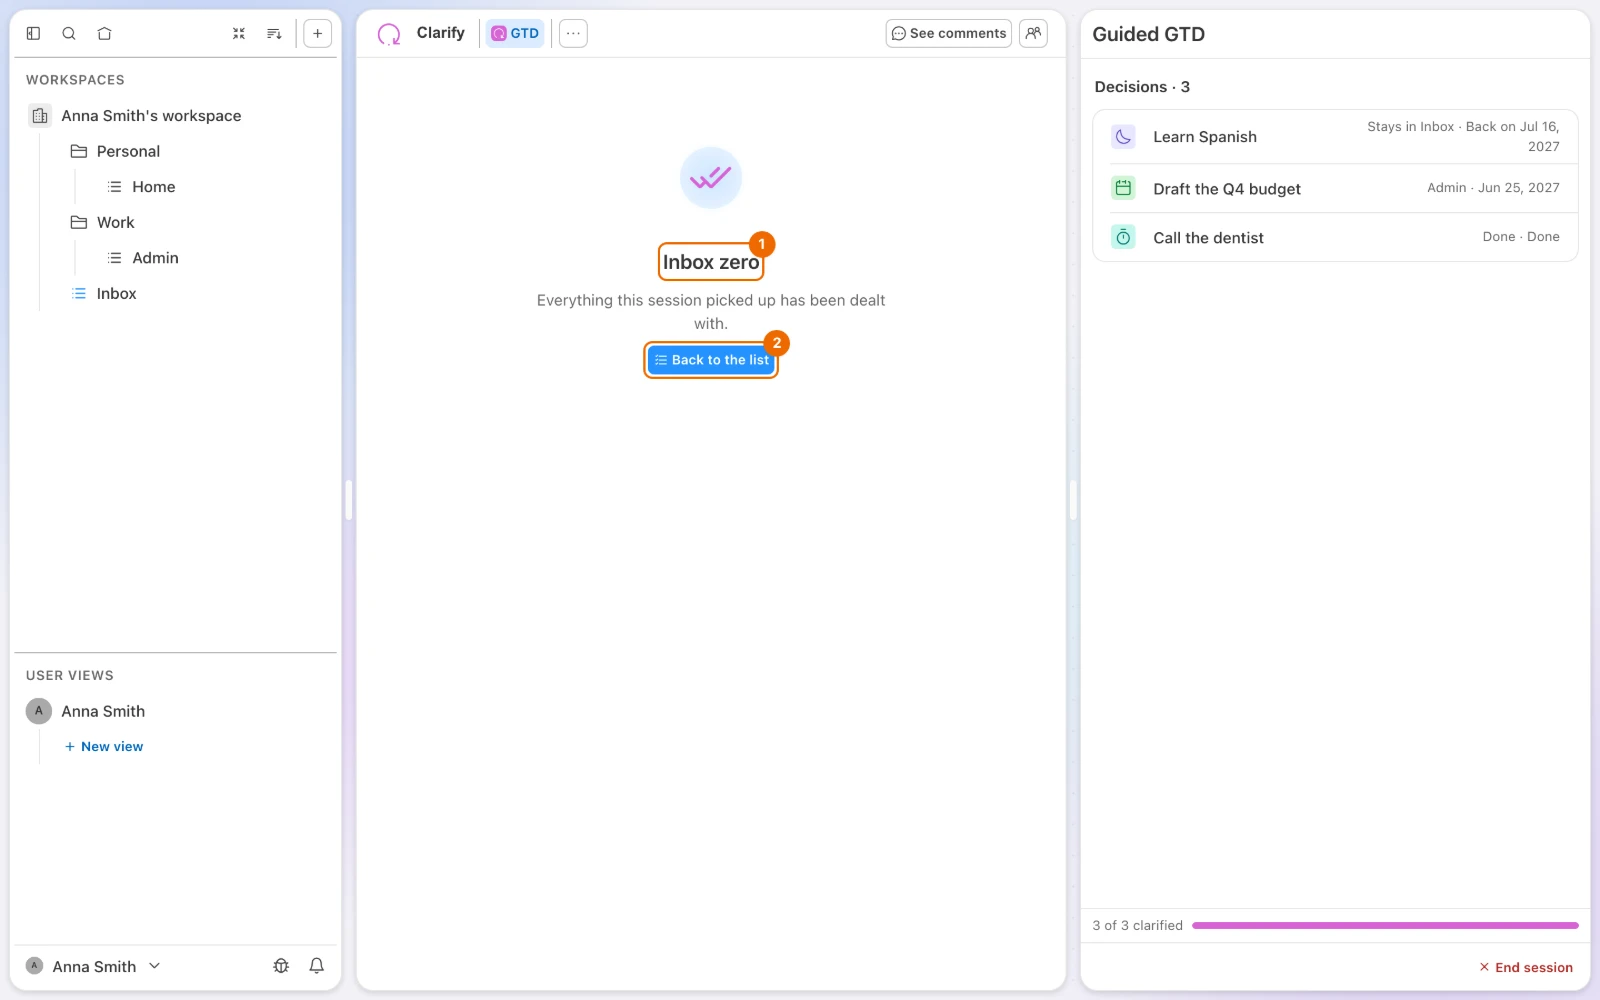
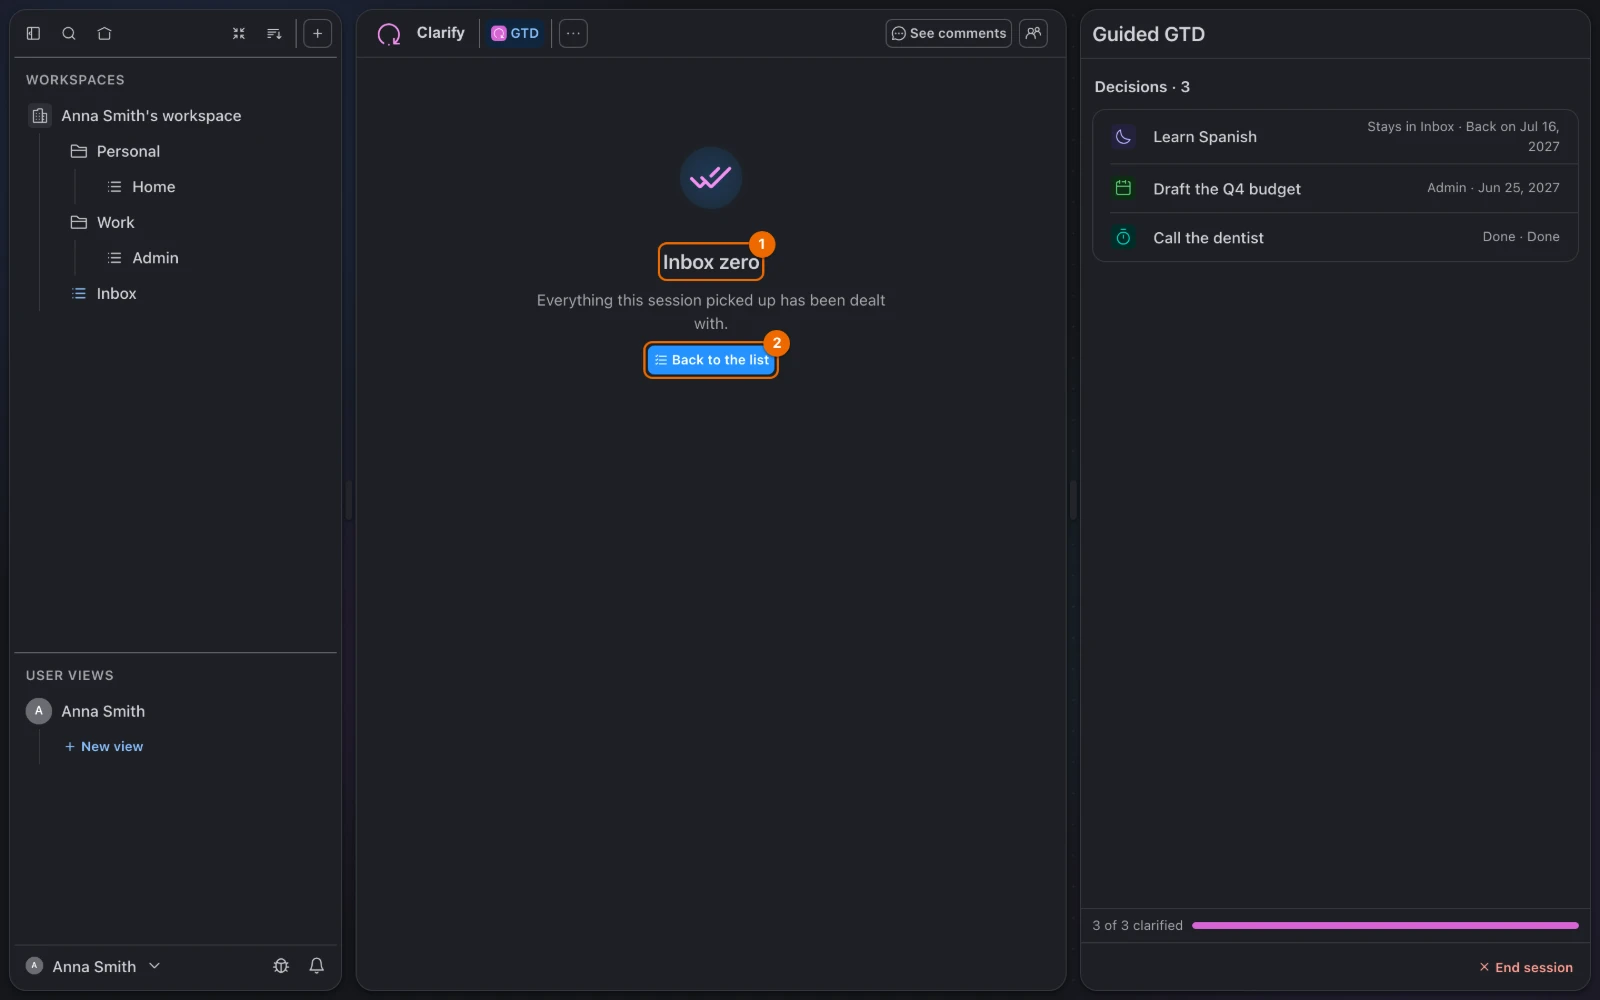
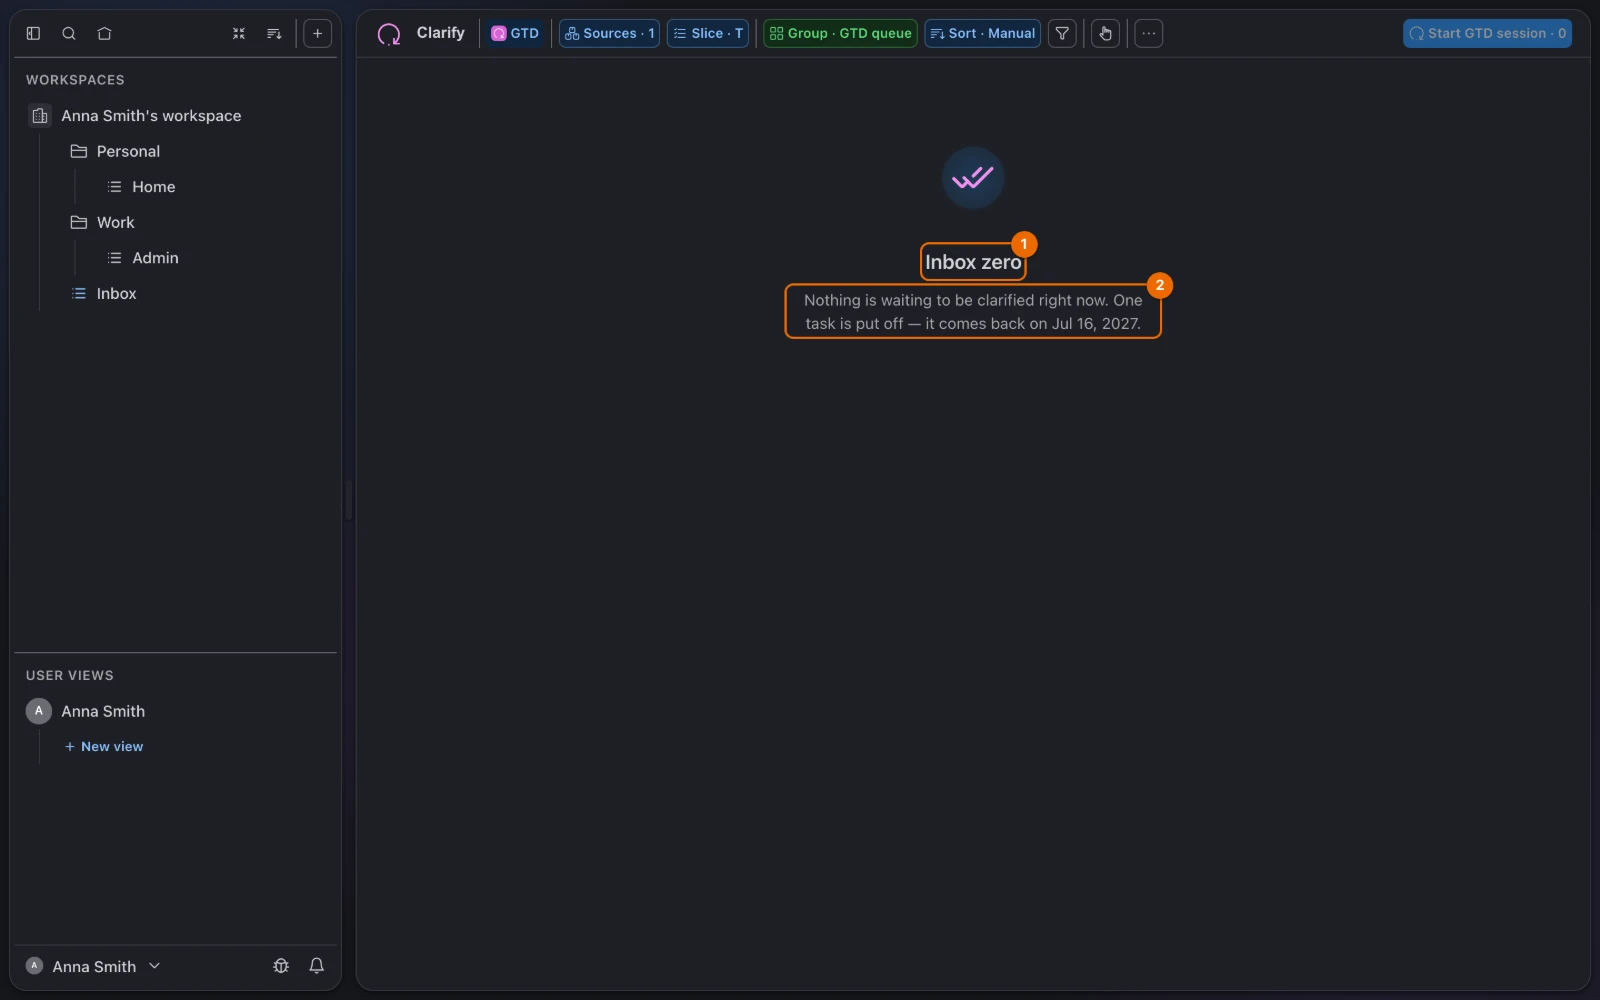
Click Back to the list. The session ends. The view still says Inbox zero and names the day Learn Spanish comes back.
More on each choice: Run a GTD session.
7. Today view as your home page
A personal view can gather tasks from all your lists and open as your home page.
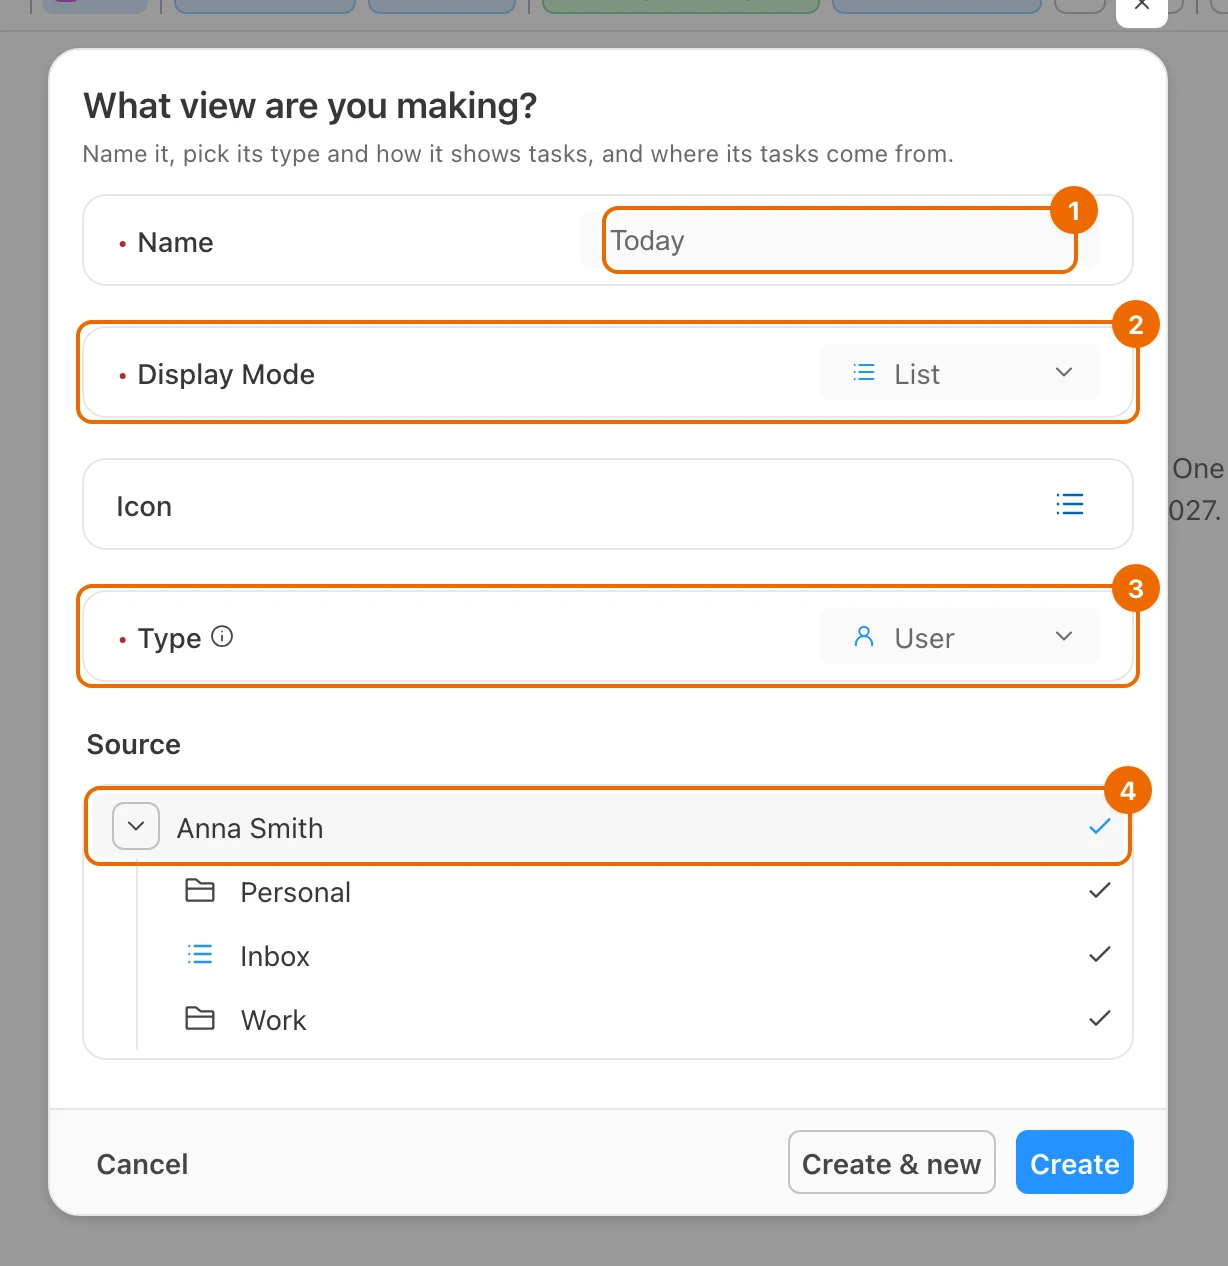
Click + (Create) at the top of the sidebar and choose New view. The form asks What view are you making?
Fill in the form:
- Name: Today
- Display Mode: List
- Type: keep User
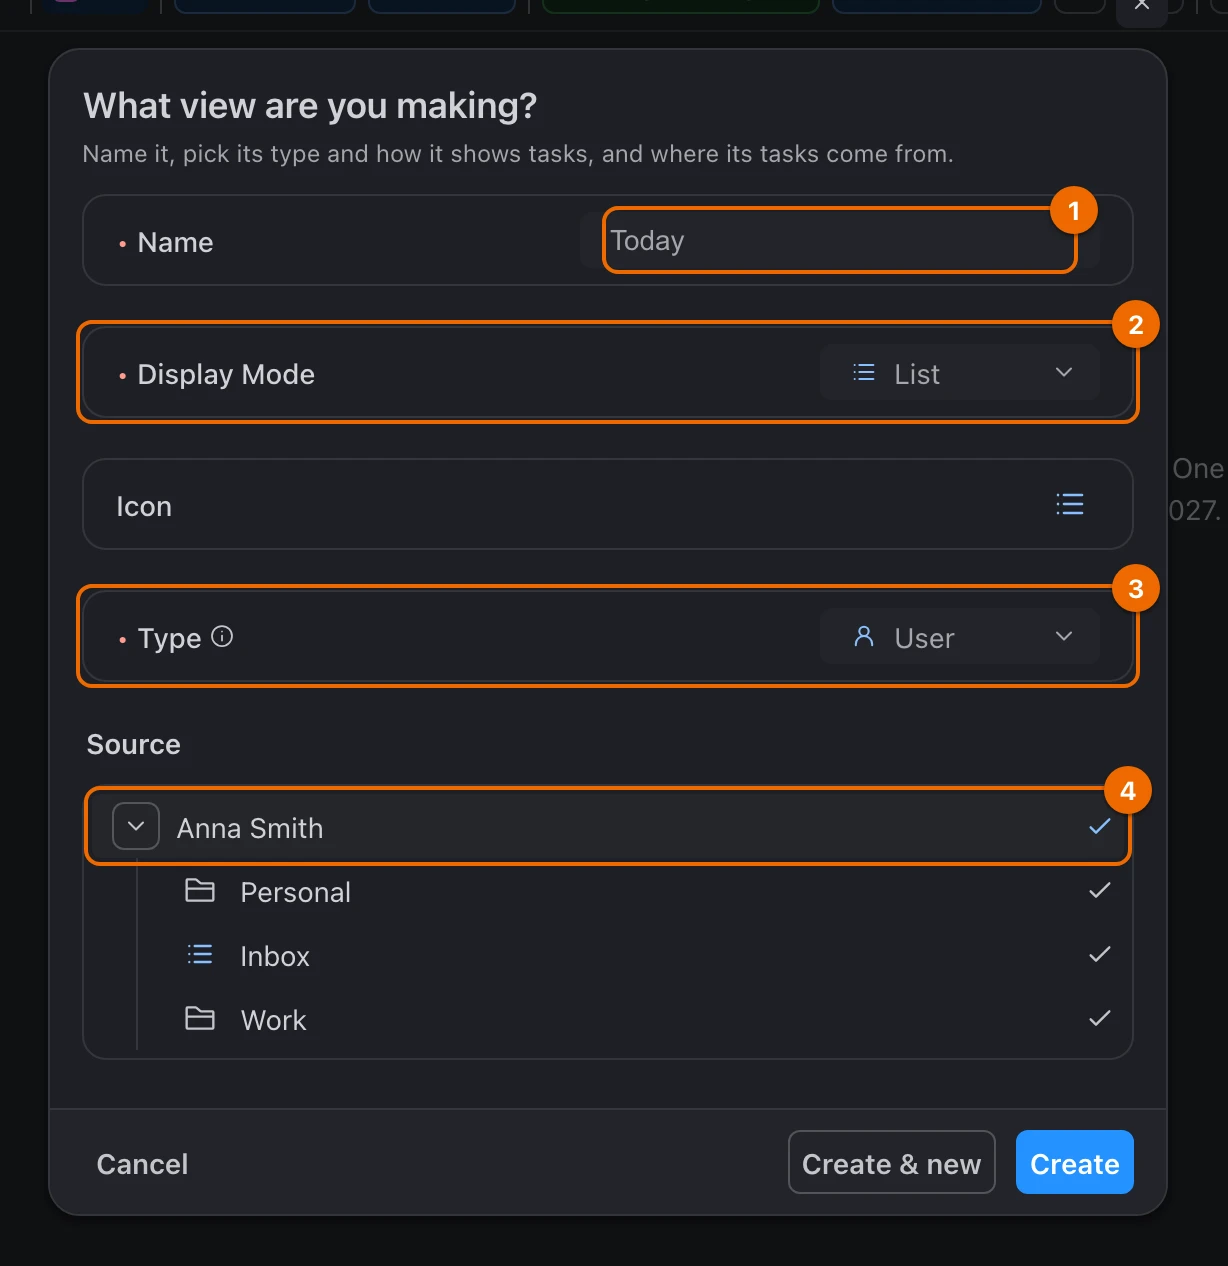
The form says A personal view, visible only to you. It pulls tasks from the sources you pick below.
In Source, pick your workspace. Create becomes available.
Click Create. The view opens with every task in the workspace, and appears under User Views in the sidebar.
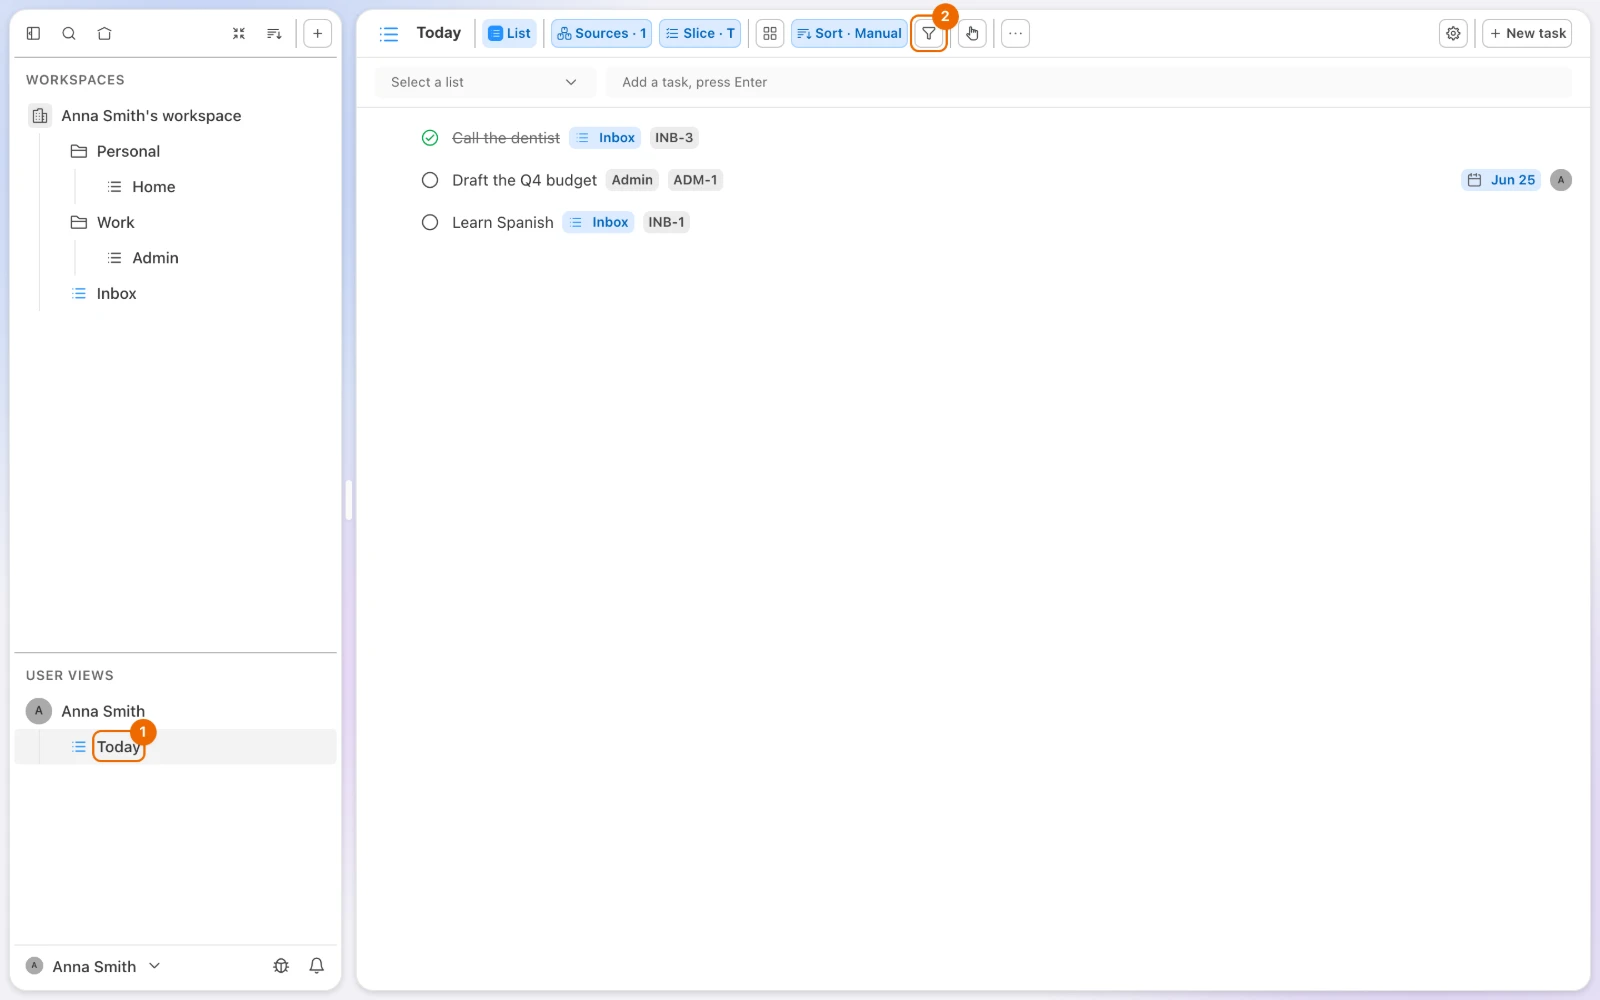
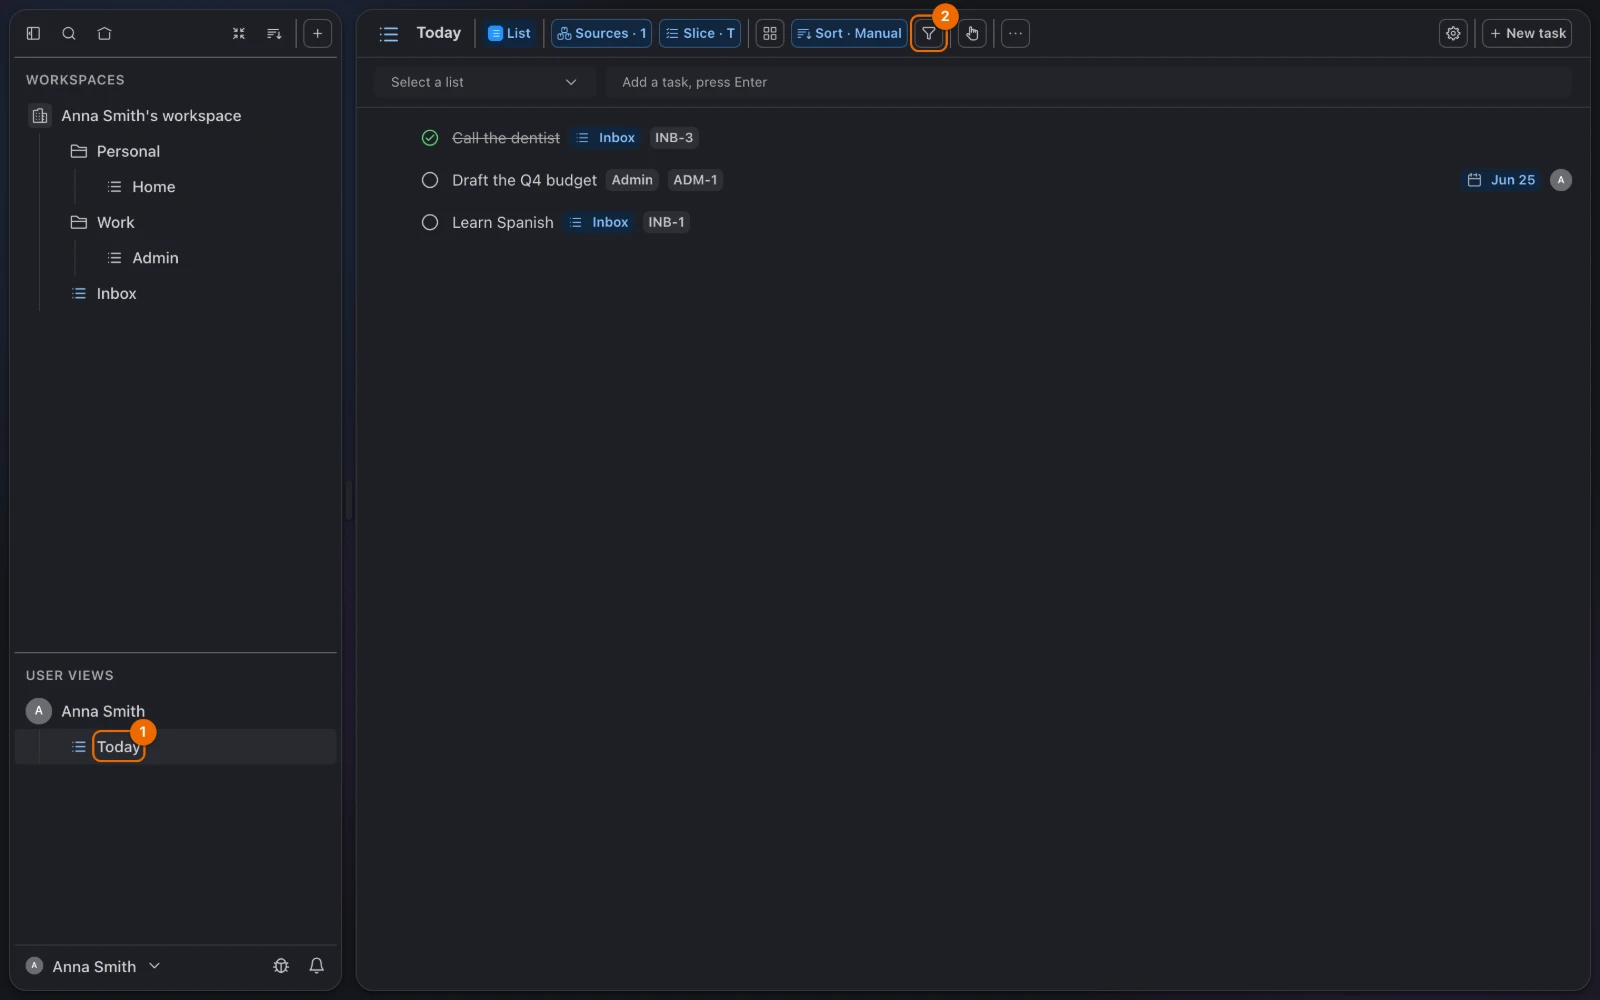
Click Filter (the funnel icon in the view header). The filter strip opens.
Click + Rule. A new rule chip appears on the filter strip (filters in detail).
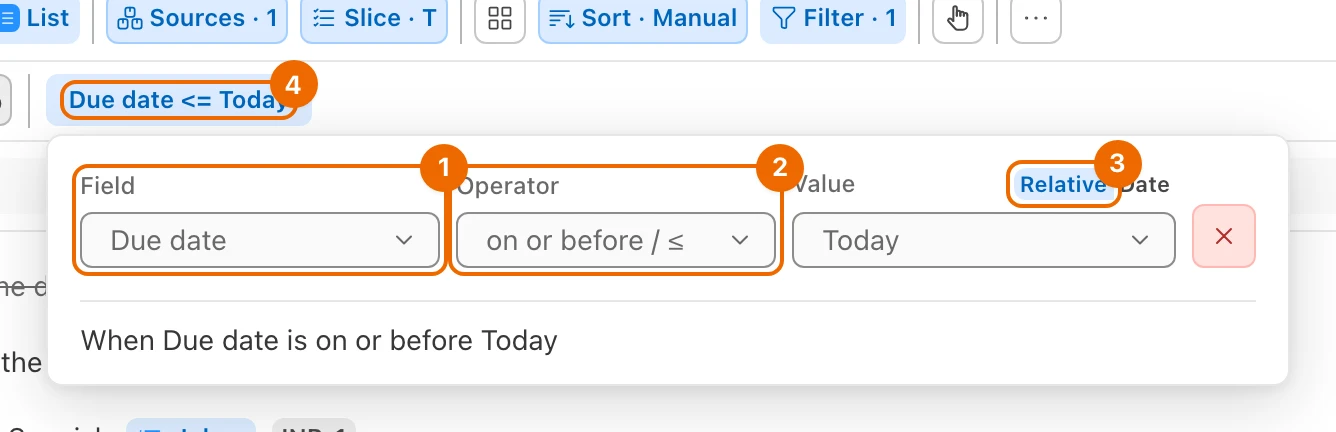
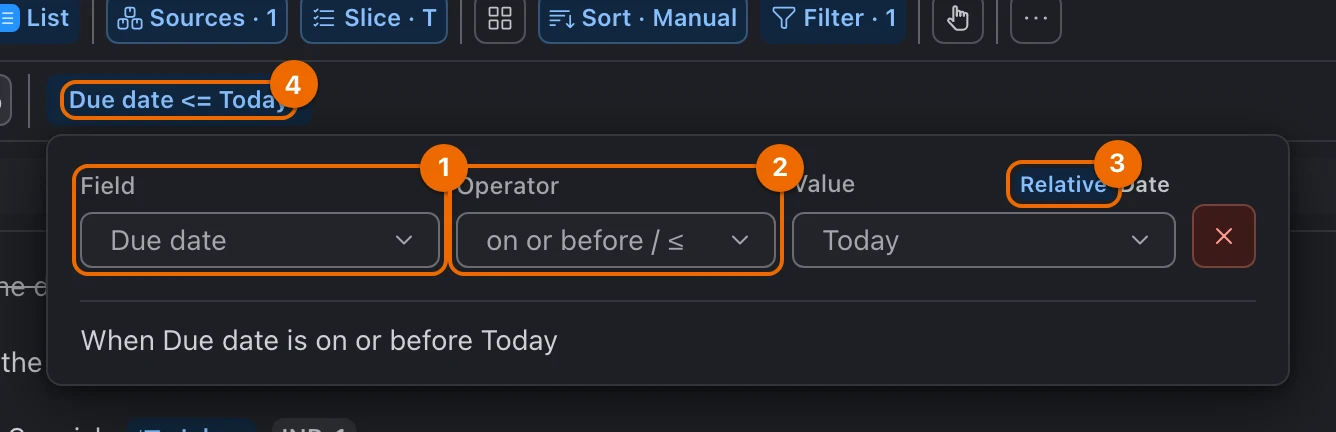
Click the chip. Its editor opens.
Set the rule:
- Field: Due date
- Operator: on or before / ≤
- Value: switch to Relative and pick Today
The chip reads "Due date <= Today".
Click + Rule again. A second chip appears.
Click the new chip. Its editor opens.
Set the rule:
- Field: Stage (stages)
- Operator: is not
- Value: Done
The second chip reads "Stage != Done".
Click Save. The view is empty for now: nothing open is due today or earlier.


Save greyed out?
A rule has no value yet. Pick one, or remove the empty rule.
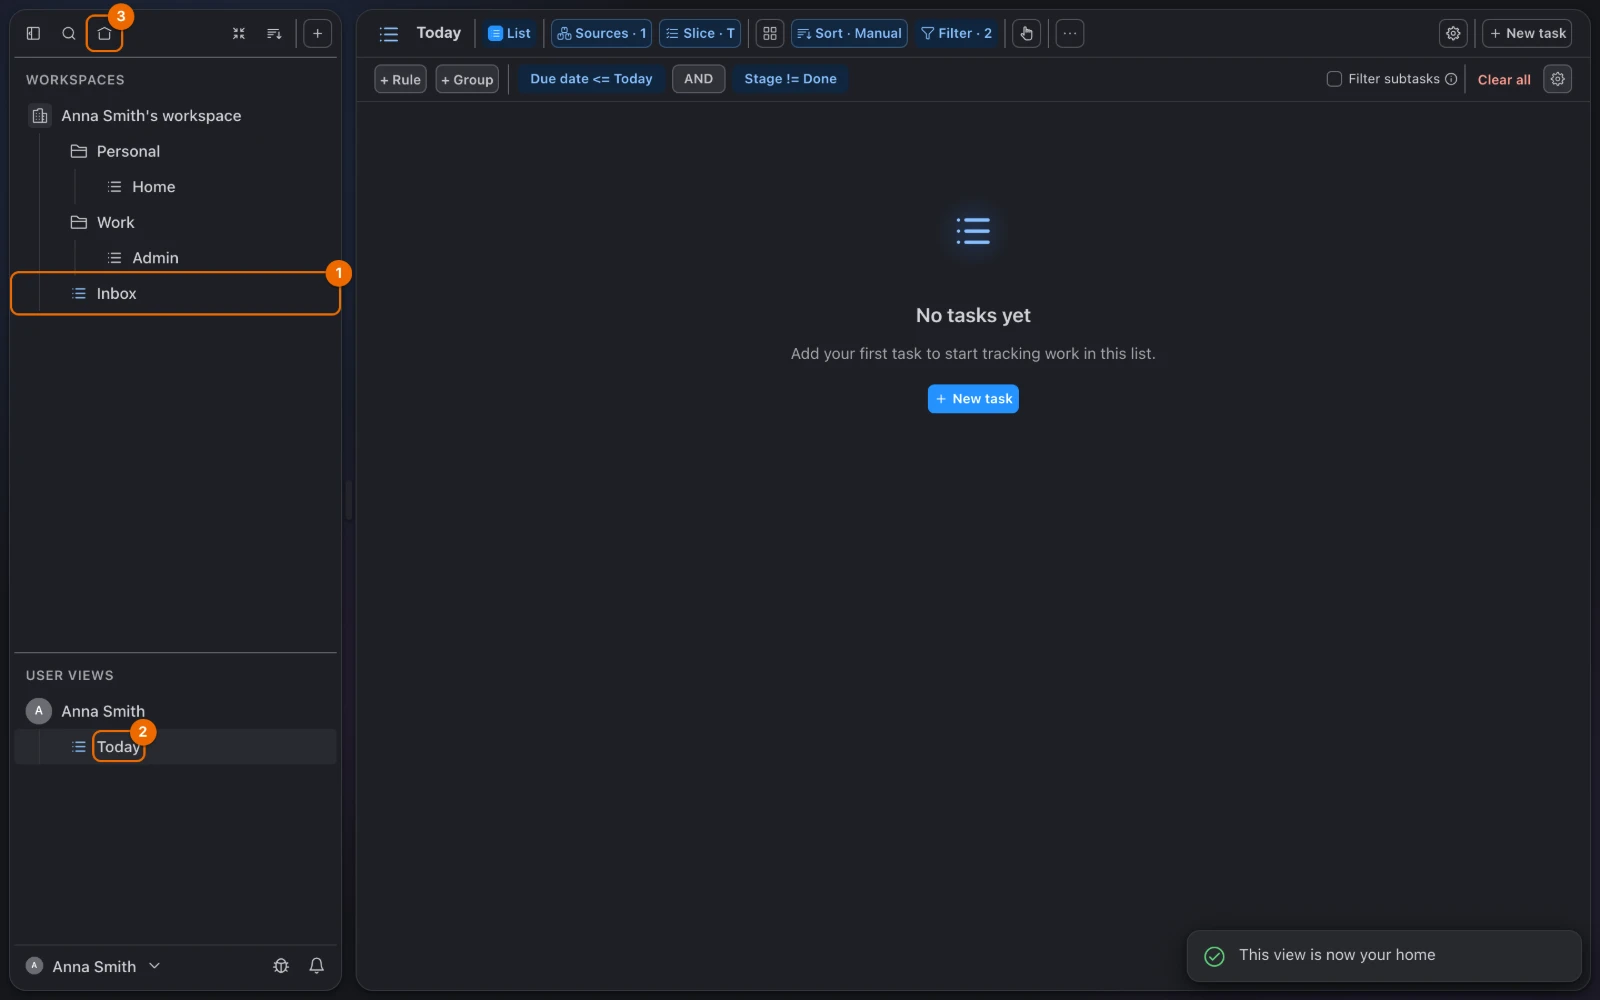
In the sidebar, open the More actions menu (…) of Today and choose Set as home. Hule says This view is now your home. The Home button now opens it, as in the picture at the top of this page.
No Set as home?
Only your own personal views can be your home page. If Type was not User, create the view again from + (Create) with User in Type.
On that Friday, Draft the Q4 budget shows up here by itself. More options: Build your own Today view.
Step problems and fixes
| If you see | Do this |
|---|---|
| The confirmation page says "Invalid or expired verification link" | If you already opened the link, your account exists: sign in at app.hule-do.com/login. If the link is more than an hour old, register again at app.hule-do.com/register and open the newest email: each registration replaces the previous link. |
| New Task opens without Inbox in List | Check that Workspace settings → GTD → New task is Always (Inbox list setting). |
| Start GTD session is greyed out | The view has nothing waiting. Check that the view was made from the Inbox list's menu (Run a GTD session), or capture a task first. |
| Save is greyed out in the Today view | A rule has no value. Pick one, or remove the rule (View filters). |
| There is no Set as home in the menu of Today | Only your own personal views can be your home page. Check that Type was User (Home page). |
What you just learned
- Every task lives in one list, and folders group lists however you like: The Hule model.
- The Inbox list, the GTD session and the lists behind them are the GTD method in Hule: GTD in Hule.
- A view shows tasks from anywhere without moving them, and a personal one is yours alone: Views as lenses on tasks.
Where to go next
- Set up a recurring task for things you do every week.
- Run a GTD session for every choice the session offers.
- Build a Today view to add your own rules and sorting.