Build a second brain with relations
This recipe is for people who keep a second brain of notes and tasks in Hule and lose track of how they connect. You link things as you write, by mentioning one task in another, and a Relations view later shows the web: which ideas feed which projects, and what depends on what. Why relations work this way is explained in Task relations and the relations graph.
You need a workspace where you can create lists.
Permission to create lists
In someone else's workspace you need Create in the Lists block of your permission set: List/Folder manager and Admin have it, Worker doesn't. Ask the workspace owner for one of them.
Linked notes and their map
A Notes list holds one task per note, for example:
- an idea, such as Idea: offline mode;
- a reading note, such as Reading: Local-first software;
- a decision, such as Decision: pick a sync library.
Around it you get:
- links that appear on their own while you write: mention a task with
#and the two are related; - a personal Relations view, Map, that draws your notes and project tasks as a graph.
After two weeks of notes, Map looks like this:
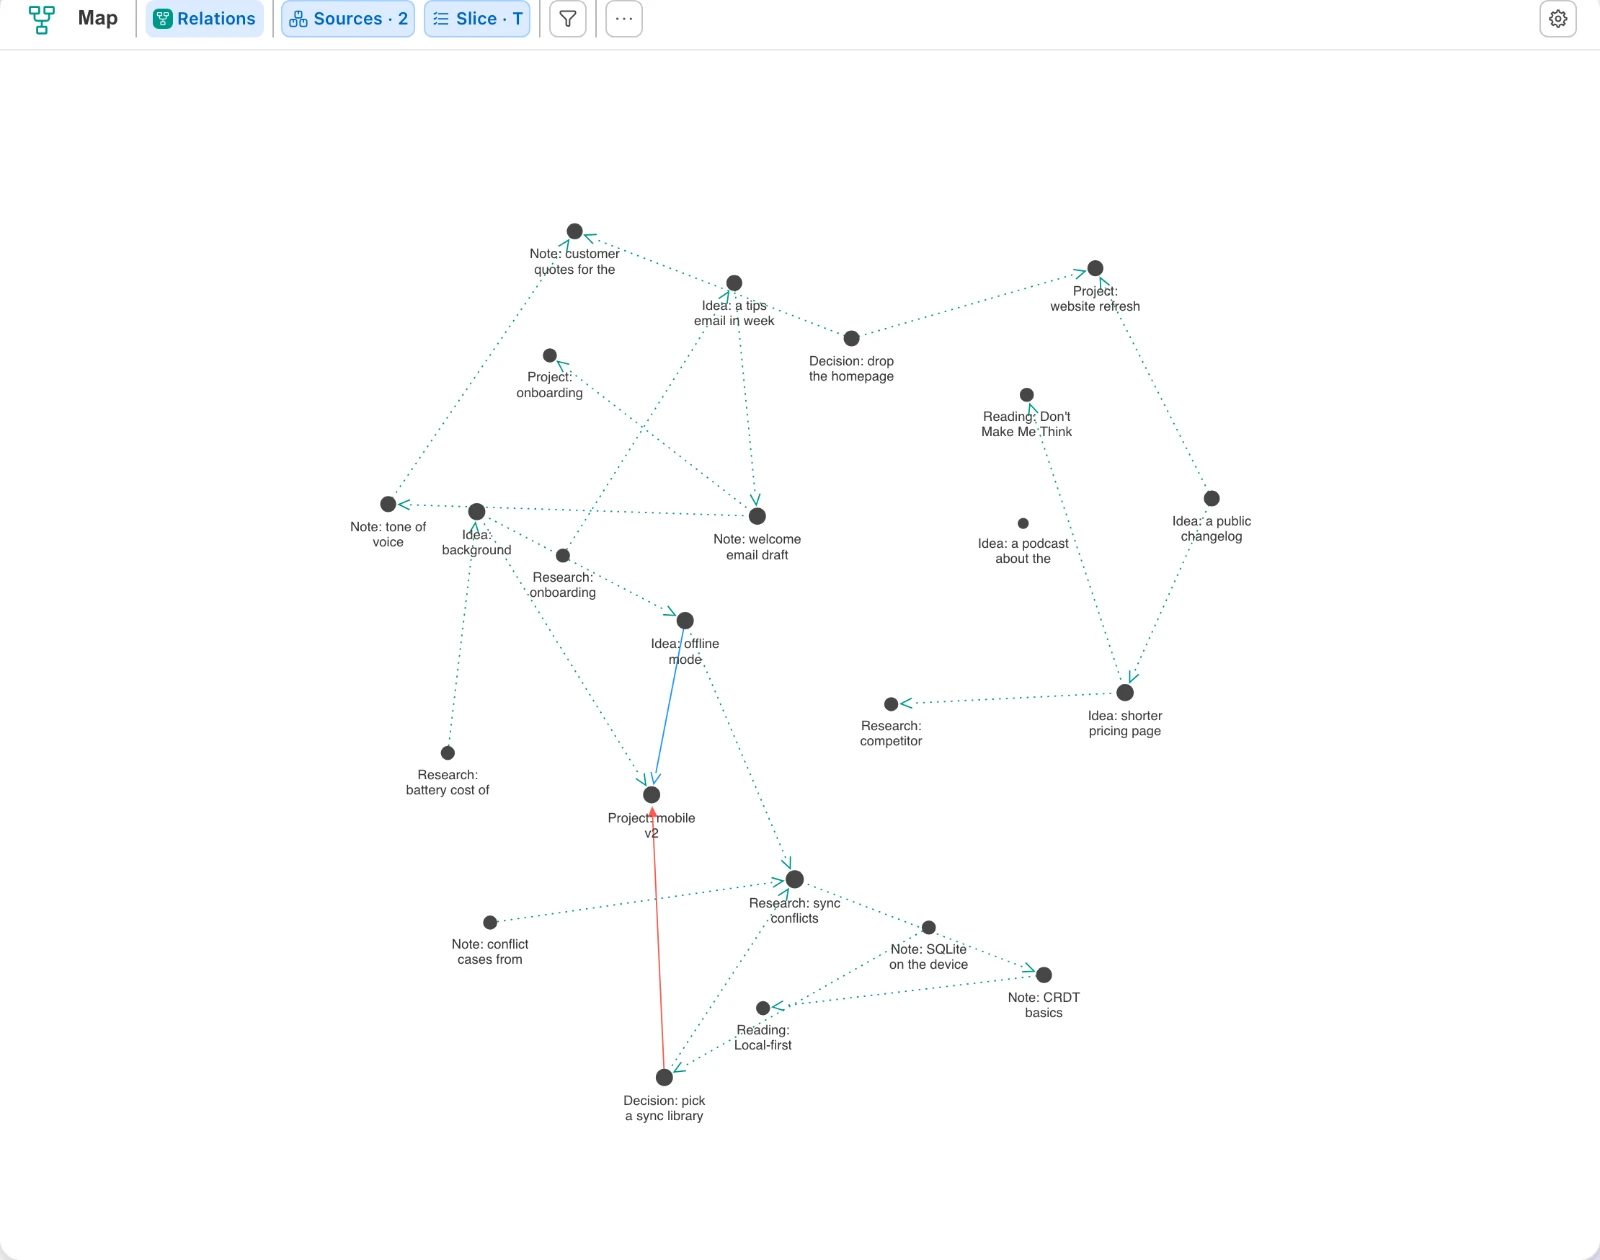
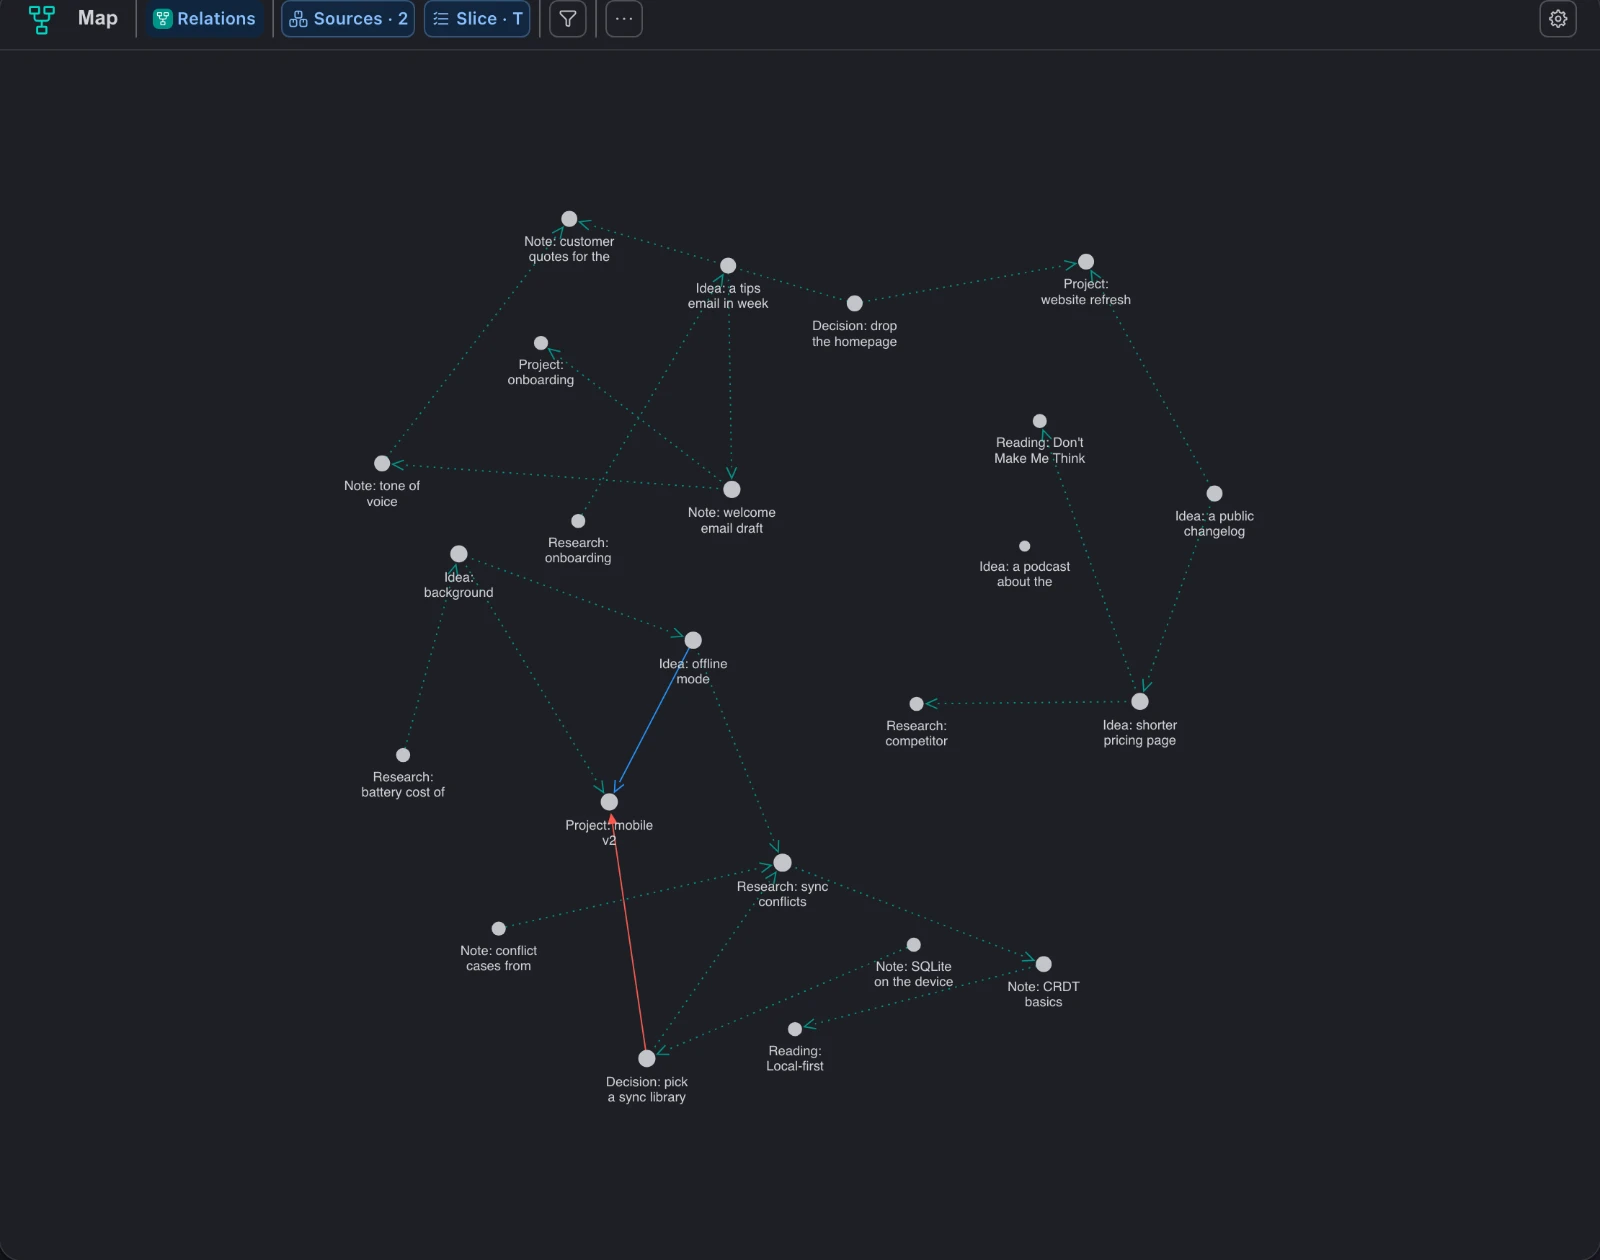
Four of its tasks, with each line named:
flowchart LR
  IDEA["Idea: offline mode"]
  RES["Research: sync conflicts"]
  DEC["Decision: pick a sync library"]
  PROJ["Project: mobile v2"]
  IDEA -- mentions --> RES
  DEC -- mentions --> RES
  IDEA -- relates to --> PROJ
  DEC -- blocks --> PROJ
Notes list and Map setup
Create a Notes list in your workspace, at its top level or in one of its folders (Create a list). The list appears in the sidebar, with Relations on: the Simple list preset has it.
In the sidebar's User Views, hover over the row with your name and choose + → New view. The What view are you making? form opens.
Name it Map.
Under Display Mode, choose Relations (Views as lenses on tasks).
Under Source, pick Notes and the lists of the projects your notes touch.
Pick both lists
A relation shows only when both of its tasks are in the view's sources.
Click Create (Relations graph). The graph shows every task in those lists as a dot; lines appear as you link tasks.
In Notes, open a note, for example Idea: offline mode (Create and edit tasks). The task opens with its description and comments.
In the task's description or in a new comment, type
#, start typing a task's title, and pick it (Link tasks with #). The task appears as a link that opens it.Pick the task from the list
Typed text is not a mention: choose the task in the
#list. A task in another workspace creates no relation.In a comment, send it. The task you are in shows a Mentions relation in its Relations section. A mention in the description needs no sending: the description saves as you type, and the relation comes with the save.
Mentions as you write
- Write one idea per task. A short title states the idea, the description holds the details. Small notes link better than long ones.
- Mention as you write. When a note builds on another idea or touches a project,
#-mention it in the sentence, in the description. - Open Map weekly. The weekly review is a good moment.
- Read the clusters. A cluster is what you keep thinking about; a lone node is an idea you never connected. Link it or let it go.
When a link means more than "see also", add it by hand in the task's Relations section (Link two tasks) with a named type:
| Relation type | Use it for |
|---|---|
| Blocks / Is blocked by | a dependency: one task waits for the other |
| Duplicates | a note that repeats another |
| Relates to | any other link that matters |
Mention relations follow the mentions
Remove every mention of a task, in the description and in comments, and the relation goes too.
Map problems and fixes
| Symptom | Fix |
|---|---|
| No relation appeared after a mention | Pick the task from the # list, not typed text, and keep both tasks in one workspace. A comment's mention counts once you send the comment. See Link tasks with #. |
| The map is empty | It shows only tasks from its sources. Open Sources in the view header and add your Notes list; see Sources: where a view looks. |
| Linked tasks show no line | Put both tasks in the view's sources, and turn the relation type on under Configure graph → Filters; see Relations graph. |
| The graph is a tangle | Set Slice in the view header to Tasks to hide subtask lines (which tasks a view shows), or pick Relaxed under Configure graph → Forces → Preset to spread the nodes out (Relations graph). |
| A relation you removed by hand stays gone while the mention stays | Remove the mention and add it again; see Remove a relation. |
Variations
Your own relation types. Open the menu at the bottom of the sidebar (your name) → Workspace settings (pick the workspace if you have several) → Relation Templates → New template, and add types such as supports / is supported by; see Relation types.
Creating a type needs a permission
You need Create in the Relation templates block; Admin has it, Worker doesn't.
One task's links on its own. Open a task: its Relations section lists its links by type, and Show graph draws them around that task alone; see Relations graph.